Overview
For this first post, I'll be writing it as a retrospective. In the future, I'd like to make a page when I start a project and update as it goes.
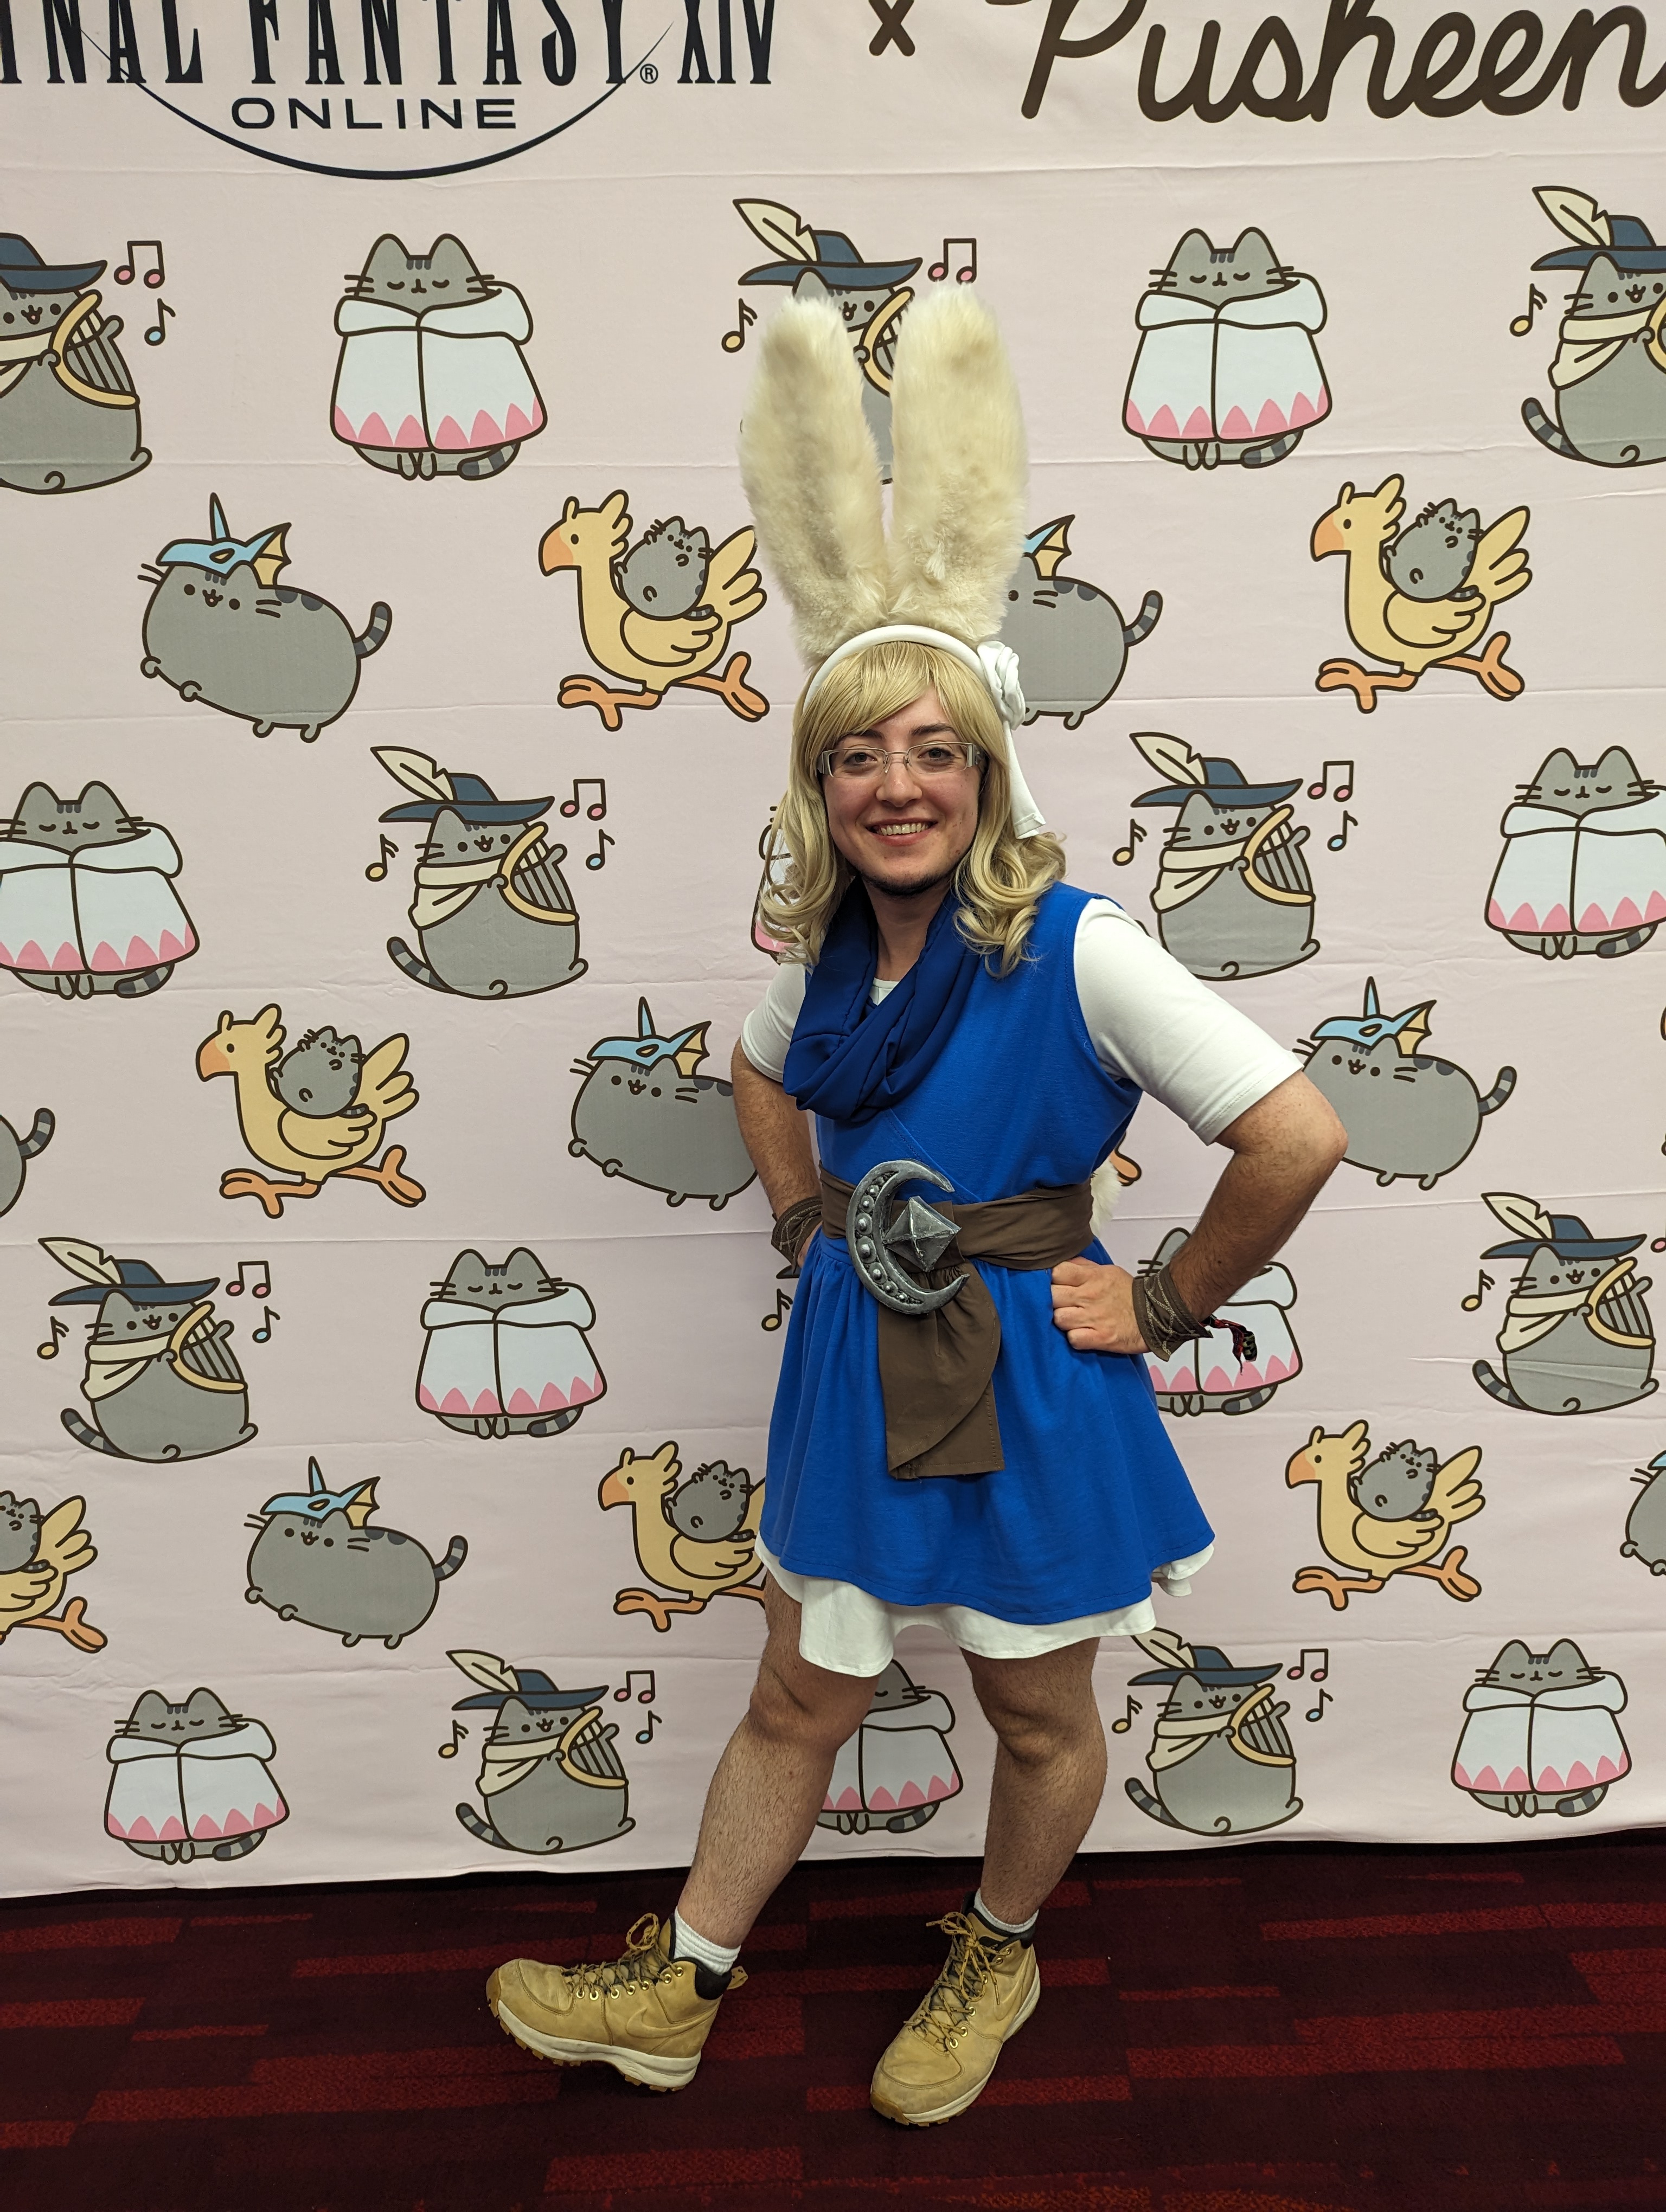
Inspired by Eva's amazing Red Mage cosplay progress thread, even before the FanFest was announced, I decided I wanted to make a cosplay! (Around December 2022, I think?) I was a little worried I might not get tickets, but I had a good feeling about it, and was just really excited to make this anyway! Lucky for me, I did get tickets a couple months later, and could get to work for real.
I tried to mostly use supplies I had on hand, but I did end up having to purchase some things. Thankfully, some stuff I'll be able to use again for other projects, like the glue gun. I have a good amount of fabric left over as well.
On to the process!
Ears
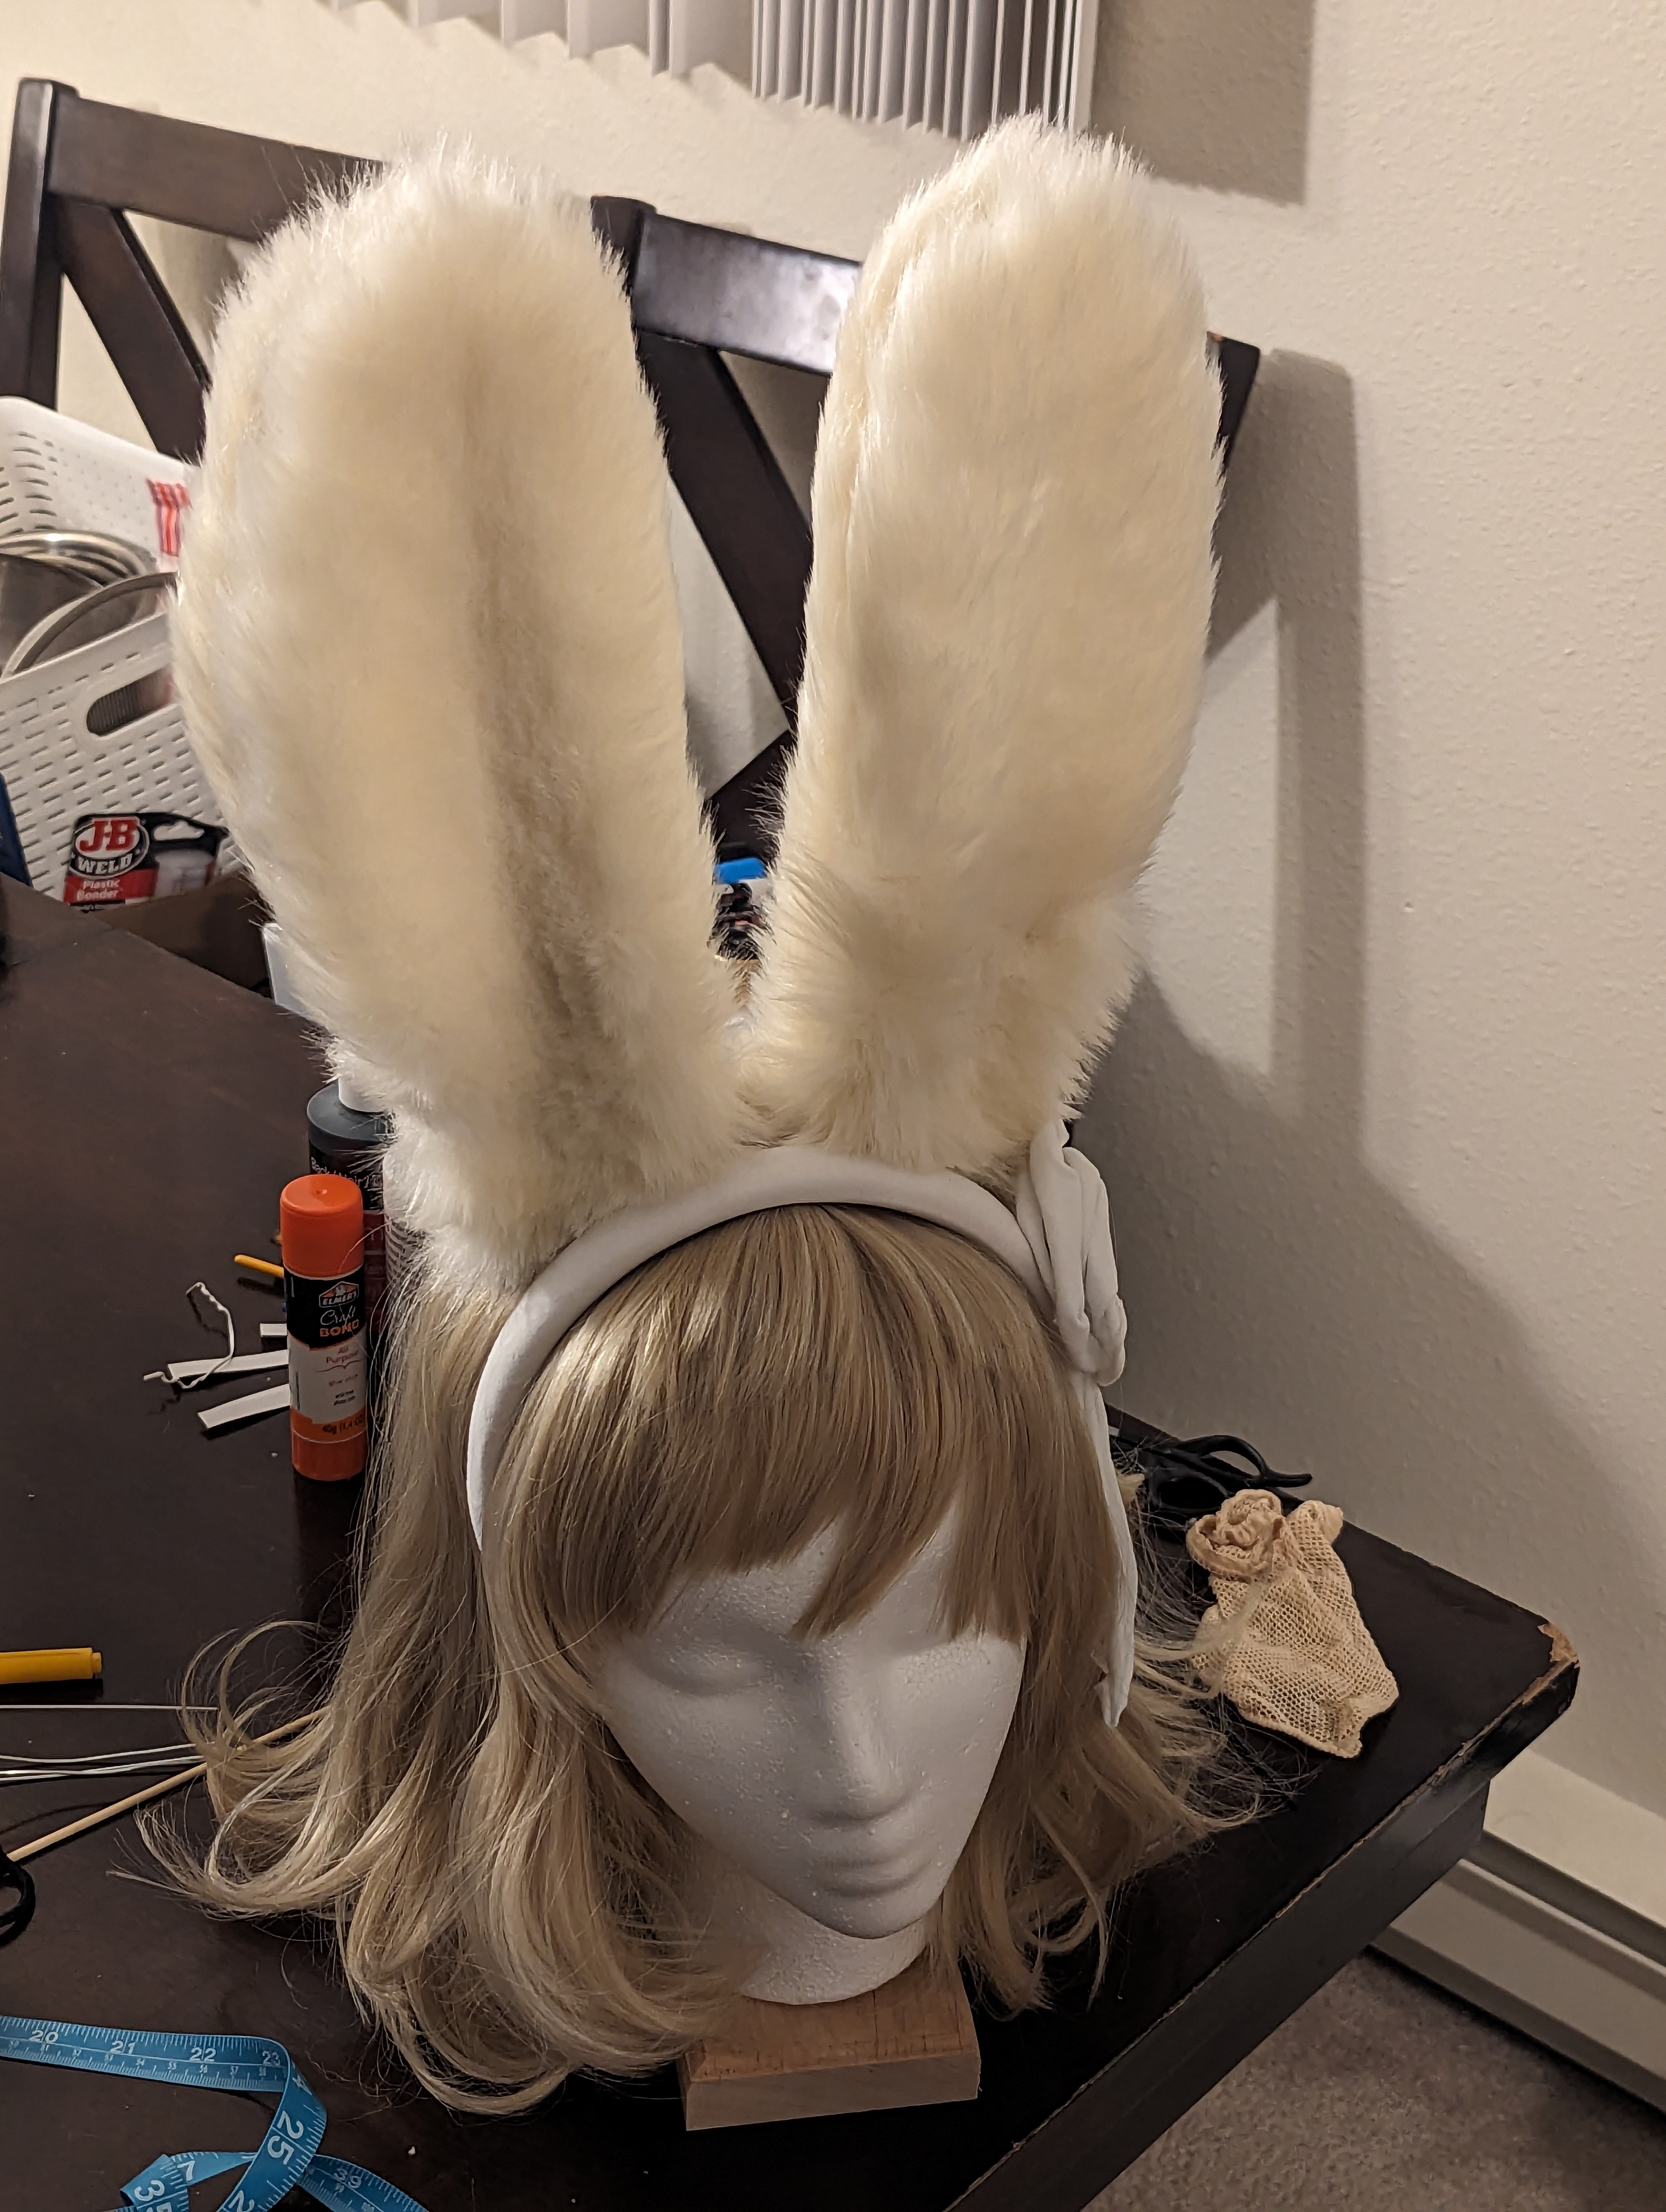
The ears were the first thing I started, and the last thing I finished. Like, c'mon, it's a bunny, it's the most important part!
Initially I cut the pattern out of the top of a pizza box, so I could hold it up to my head in the mirror and estimate the size. With some trimming, I was happy with the size and shape, and cut it out of the furry fabric.
I tried to do the typical sewing thing where you sew right side to right side and then flip inside out. But, a lot of the fluff on the edges got stuck in the seam. Even going through with a pencil or pin and picking a lot of the fur out, there was a sort of noticeable line down the side. I think I could've actually gotten away with sewing the wrong sides together, or even hot gluing.
Next, I trimmed down the fur with an electric shaver. It's a subtle effect, but I think it's a nice detail. The inner ears were shortest, while the backs were left untouched. If i had chalk pastels, I would have liked to add pink to the inner ears, but I didn't have anything appropriate for that.
With the fabric done, (I thought) it was time to stuff them. Following a method I'd seen in a fursuit tutorial, I trimmed down a piece of upholstery foam, and cut horizontal lines a few inches apart down the length of the ear. Then I hot glued a strip of elastic to the back. This…ended up being totally useless. It made the ears too thick, and didn't really add any springiness to them besides. It probably would work better for a different style of ear, or on the scale of a fursuit where it's fine for it to be thicker. But hey, I tried!
Around there I stopped work on the ears until I got the wig ready. (You can jump to the Wig section to read about that!) Then came what would prove to be the hardest part of the costume…how to attach the ears to the wig.
I was already going to be wearing a headband, so I didn't want to wear a second one. Hair clips wouldn't provide enough stability, as the ears were so tall with a narrow base. Running floral wires through the wig seemed promising, but ran into a similar issue as the hair clips.
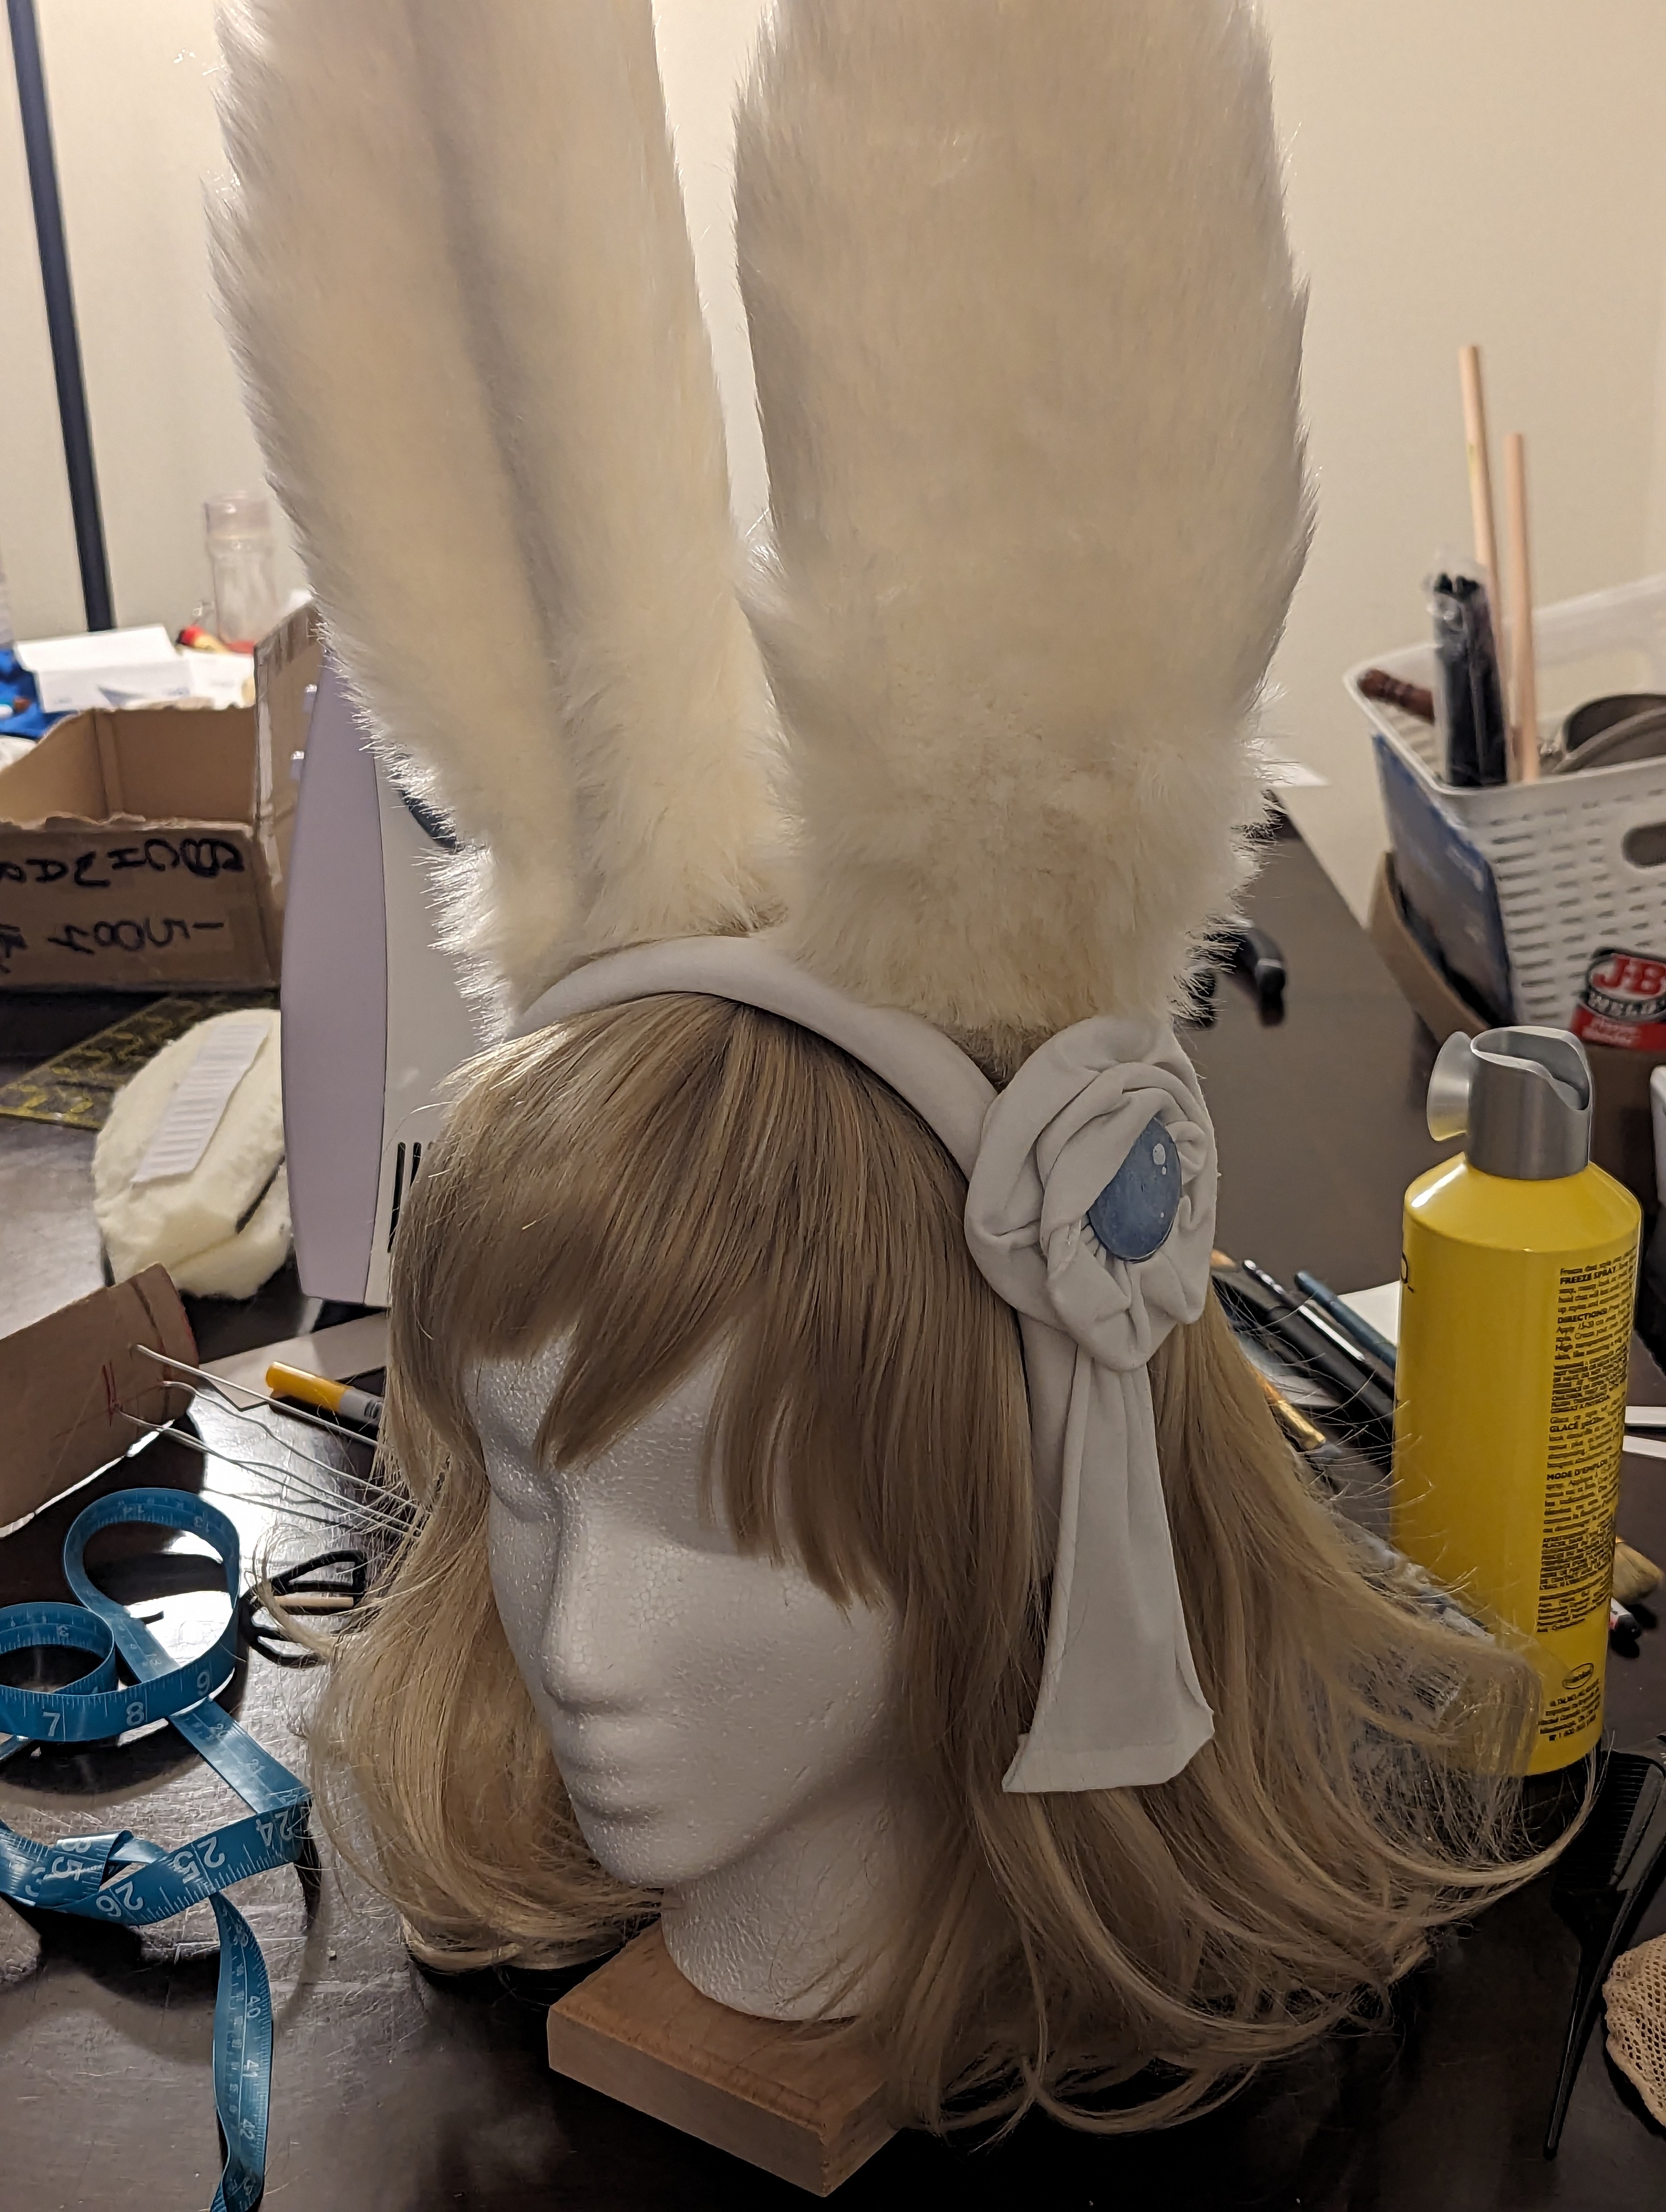
My girlfriend actually came up with a great solution: to have a square of cardboard act as a mount. Three wires poked through the cardboard and secured with hot glue, and then poked through the wig. The cardboard would rest on top of my head and under the wig. This way, the wires would be stable, and only have a little wiggle.
The fabric going directly over the wires wasn't quite perfect, though. The fabric still tended to shift around. I took paper towel tubes and pressed them almost flat, into narrow ovals. Then my girlfriend helped me fill the tubes with expanding foam, like you would use for insulation. I think crumpled paper or fabric scraps would work as well, it was what I had on hand and seemed like it'd do the job. Once the foam hardened, the whole fabric-tube-ear was pushed down onto the wires.
And viola! I think it came out pretty nice. They were stable, but with enough give to wiggle some when I walked and look less dead. Trying to stabilize such big ears was rough! I think I'll stick to cat ears or something smaller next time.
Tail
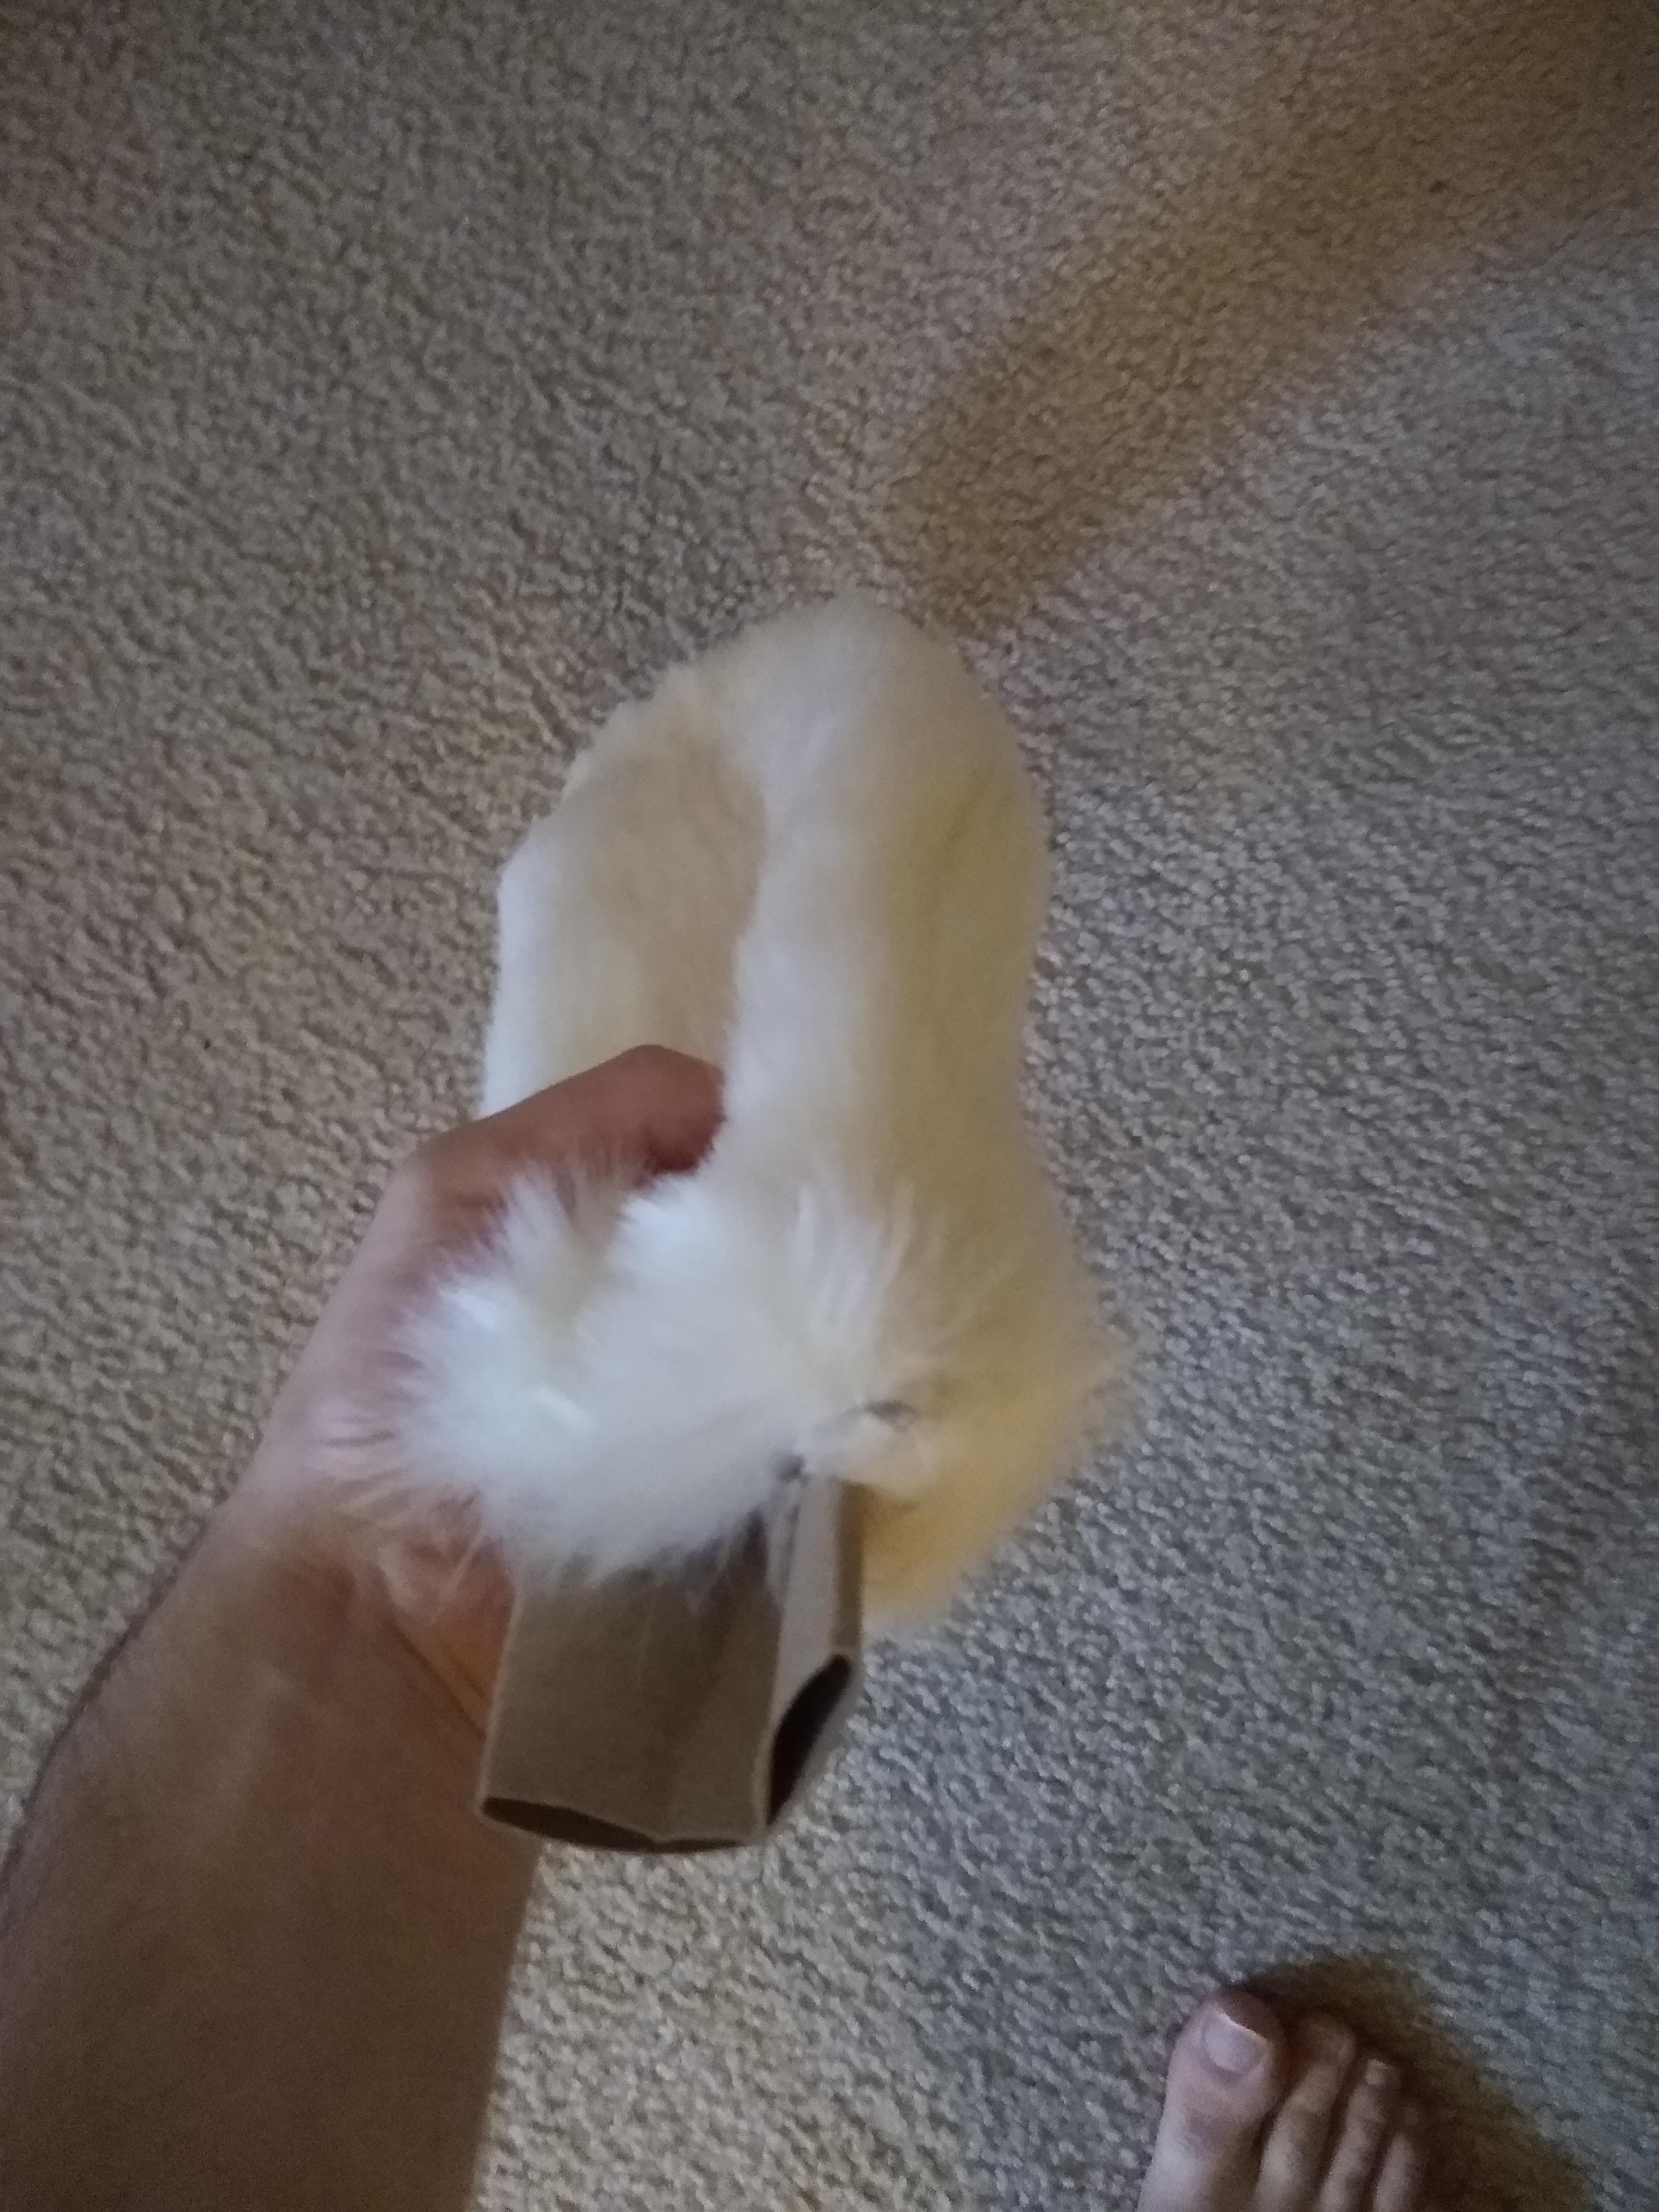
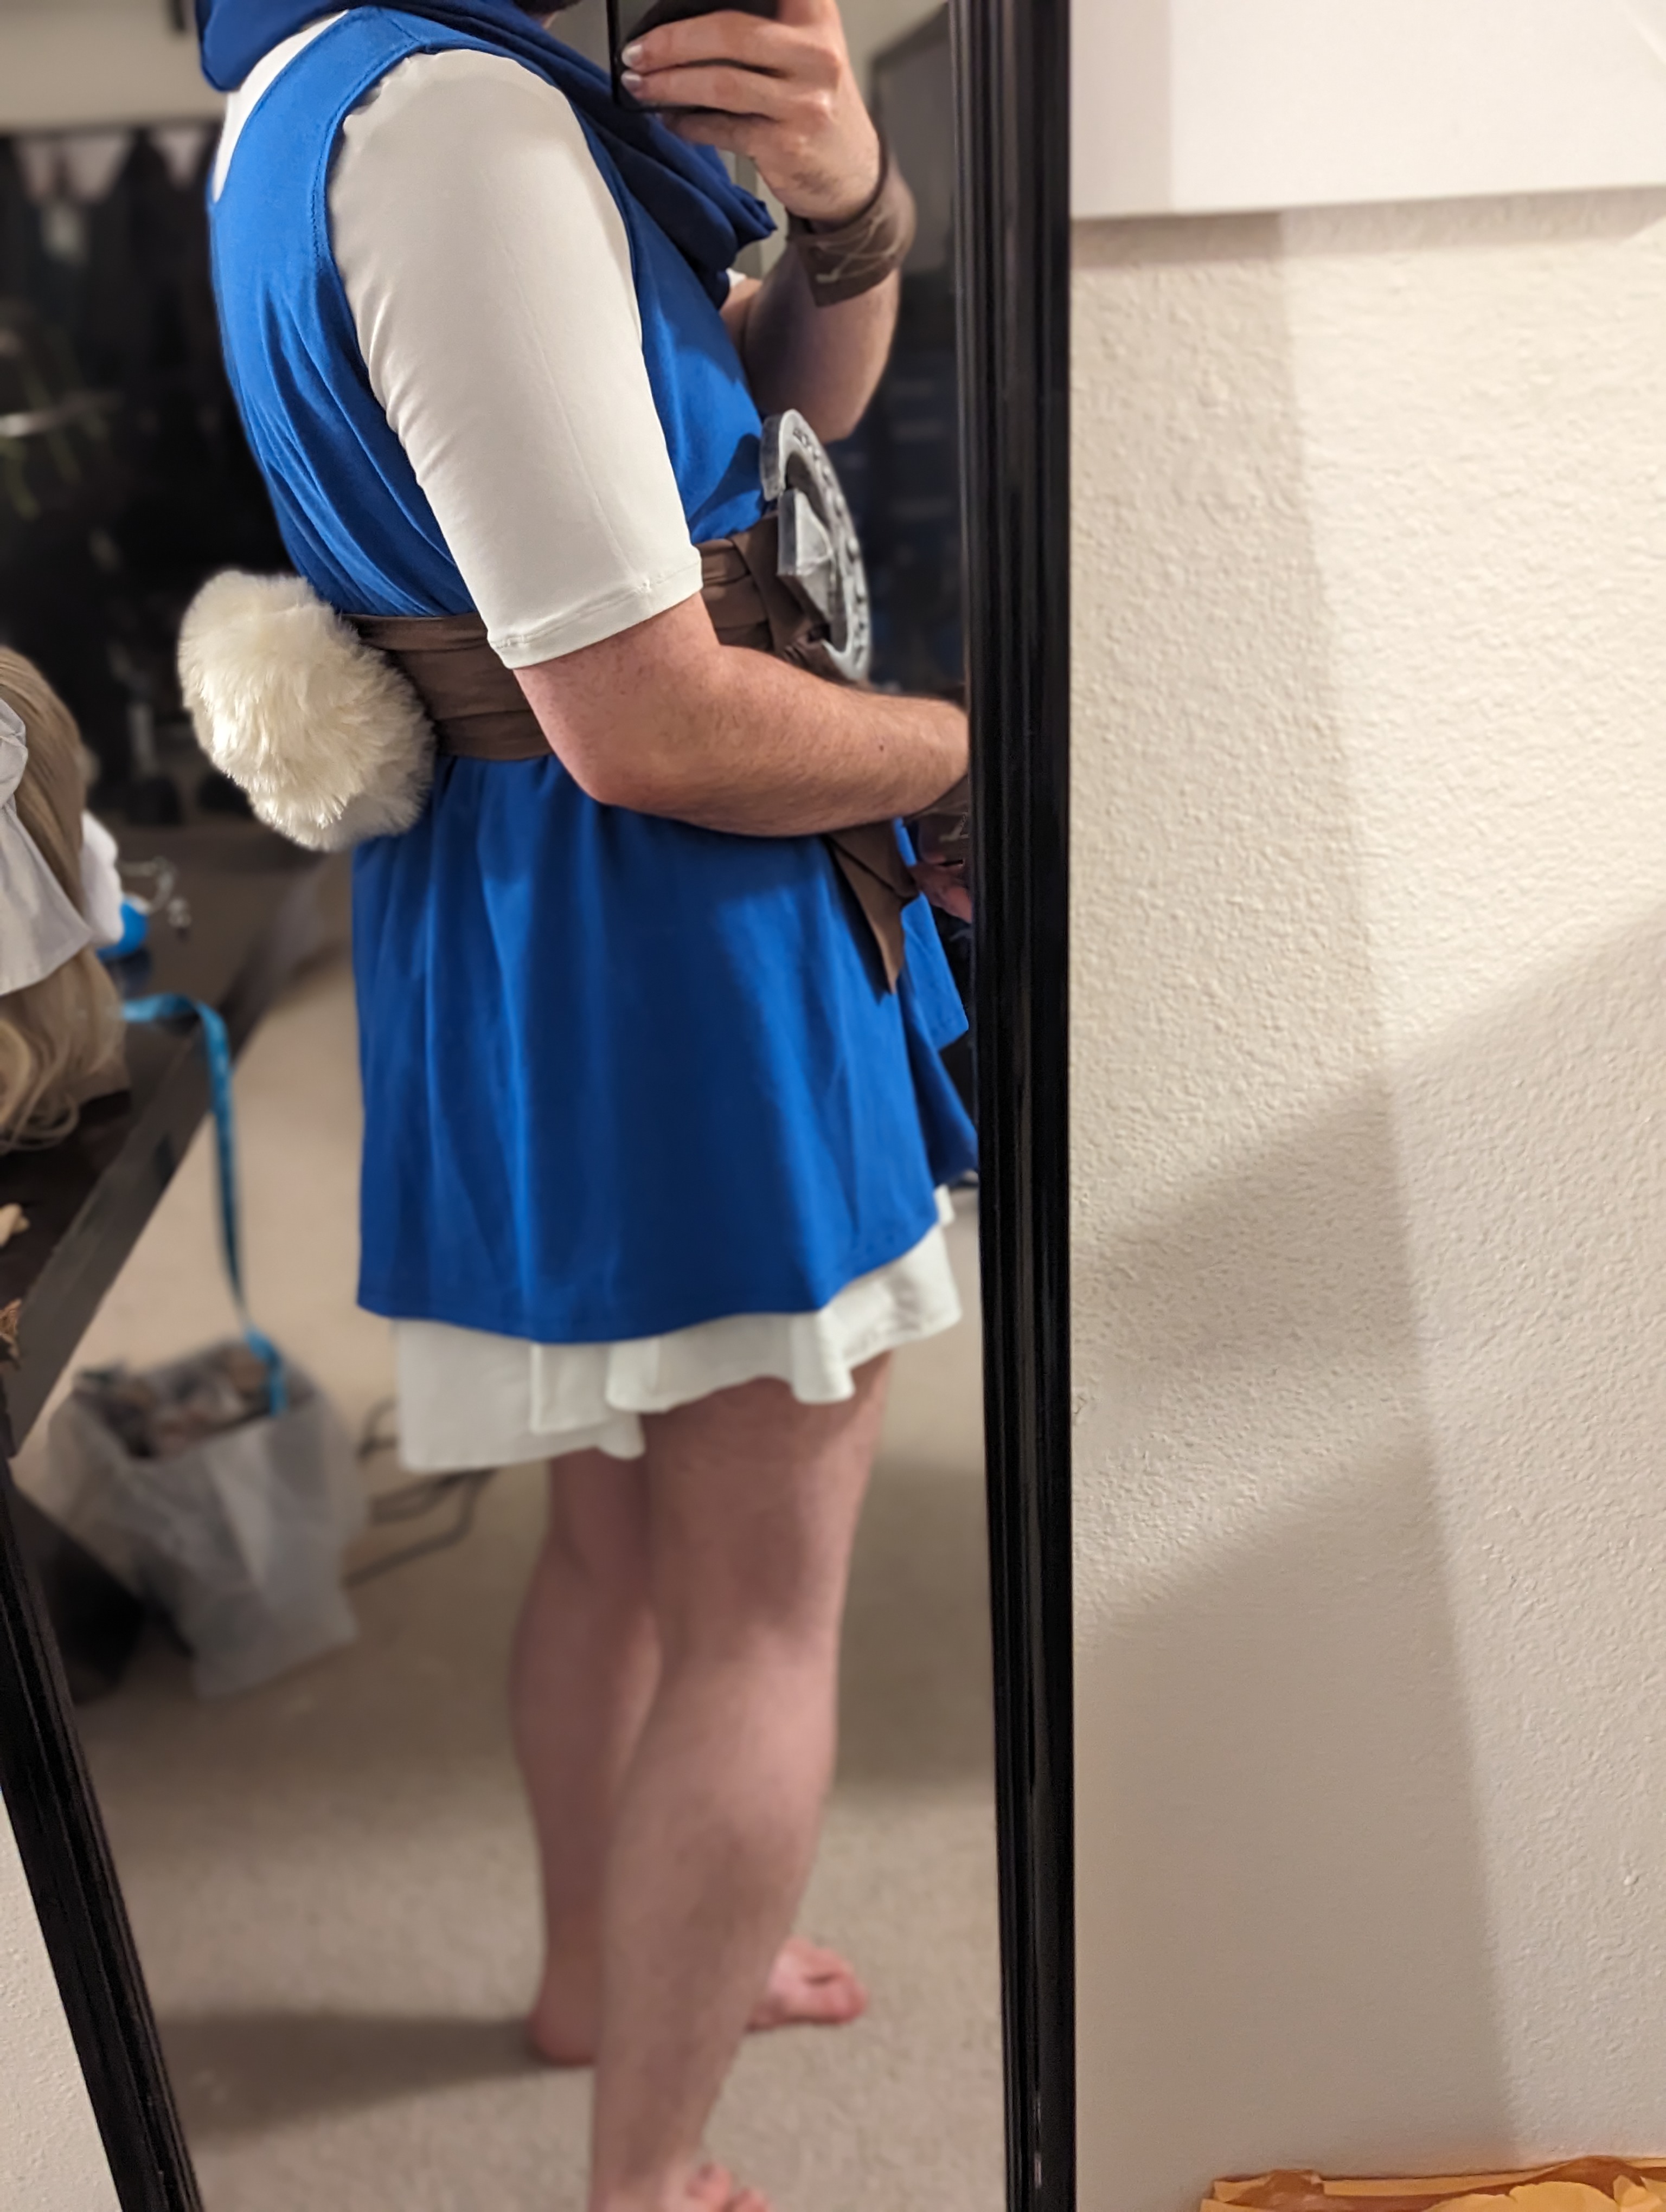
The tail is made of the same fabric as the ears. I cut a large circle, then hand-stitched a long running stitch around the edge. I pulled the thread to gather it, making a sort of oval-y sphere with one flat side. I stuffed it, then sealed it by hot gluing a cardboard circle to the back. I taped a hair styling clip to the back, which clips onto the belt.
...after the first day of wear, the cardboard had started to pull away from the fabric. I think it would have been better to sew another piece onto the tail to seal it, and then attach that to the cardboard base. The hair clip worked pretty well, though. It was easy to take off if it was in the way of sitting.
Dresses
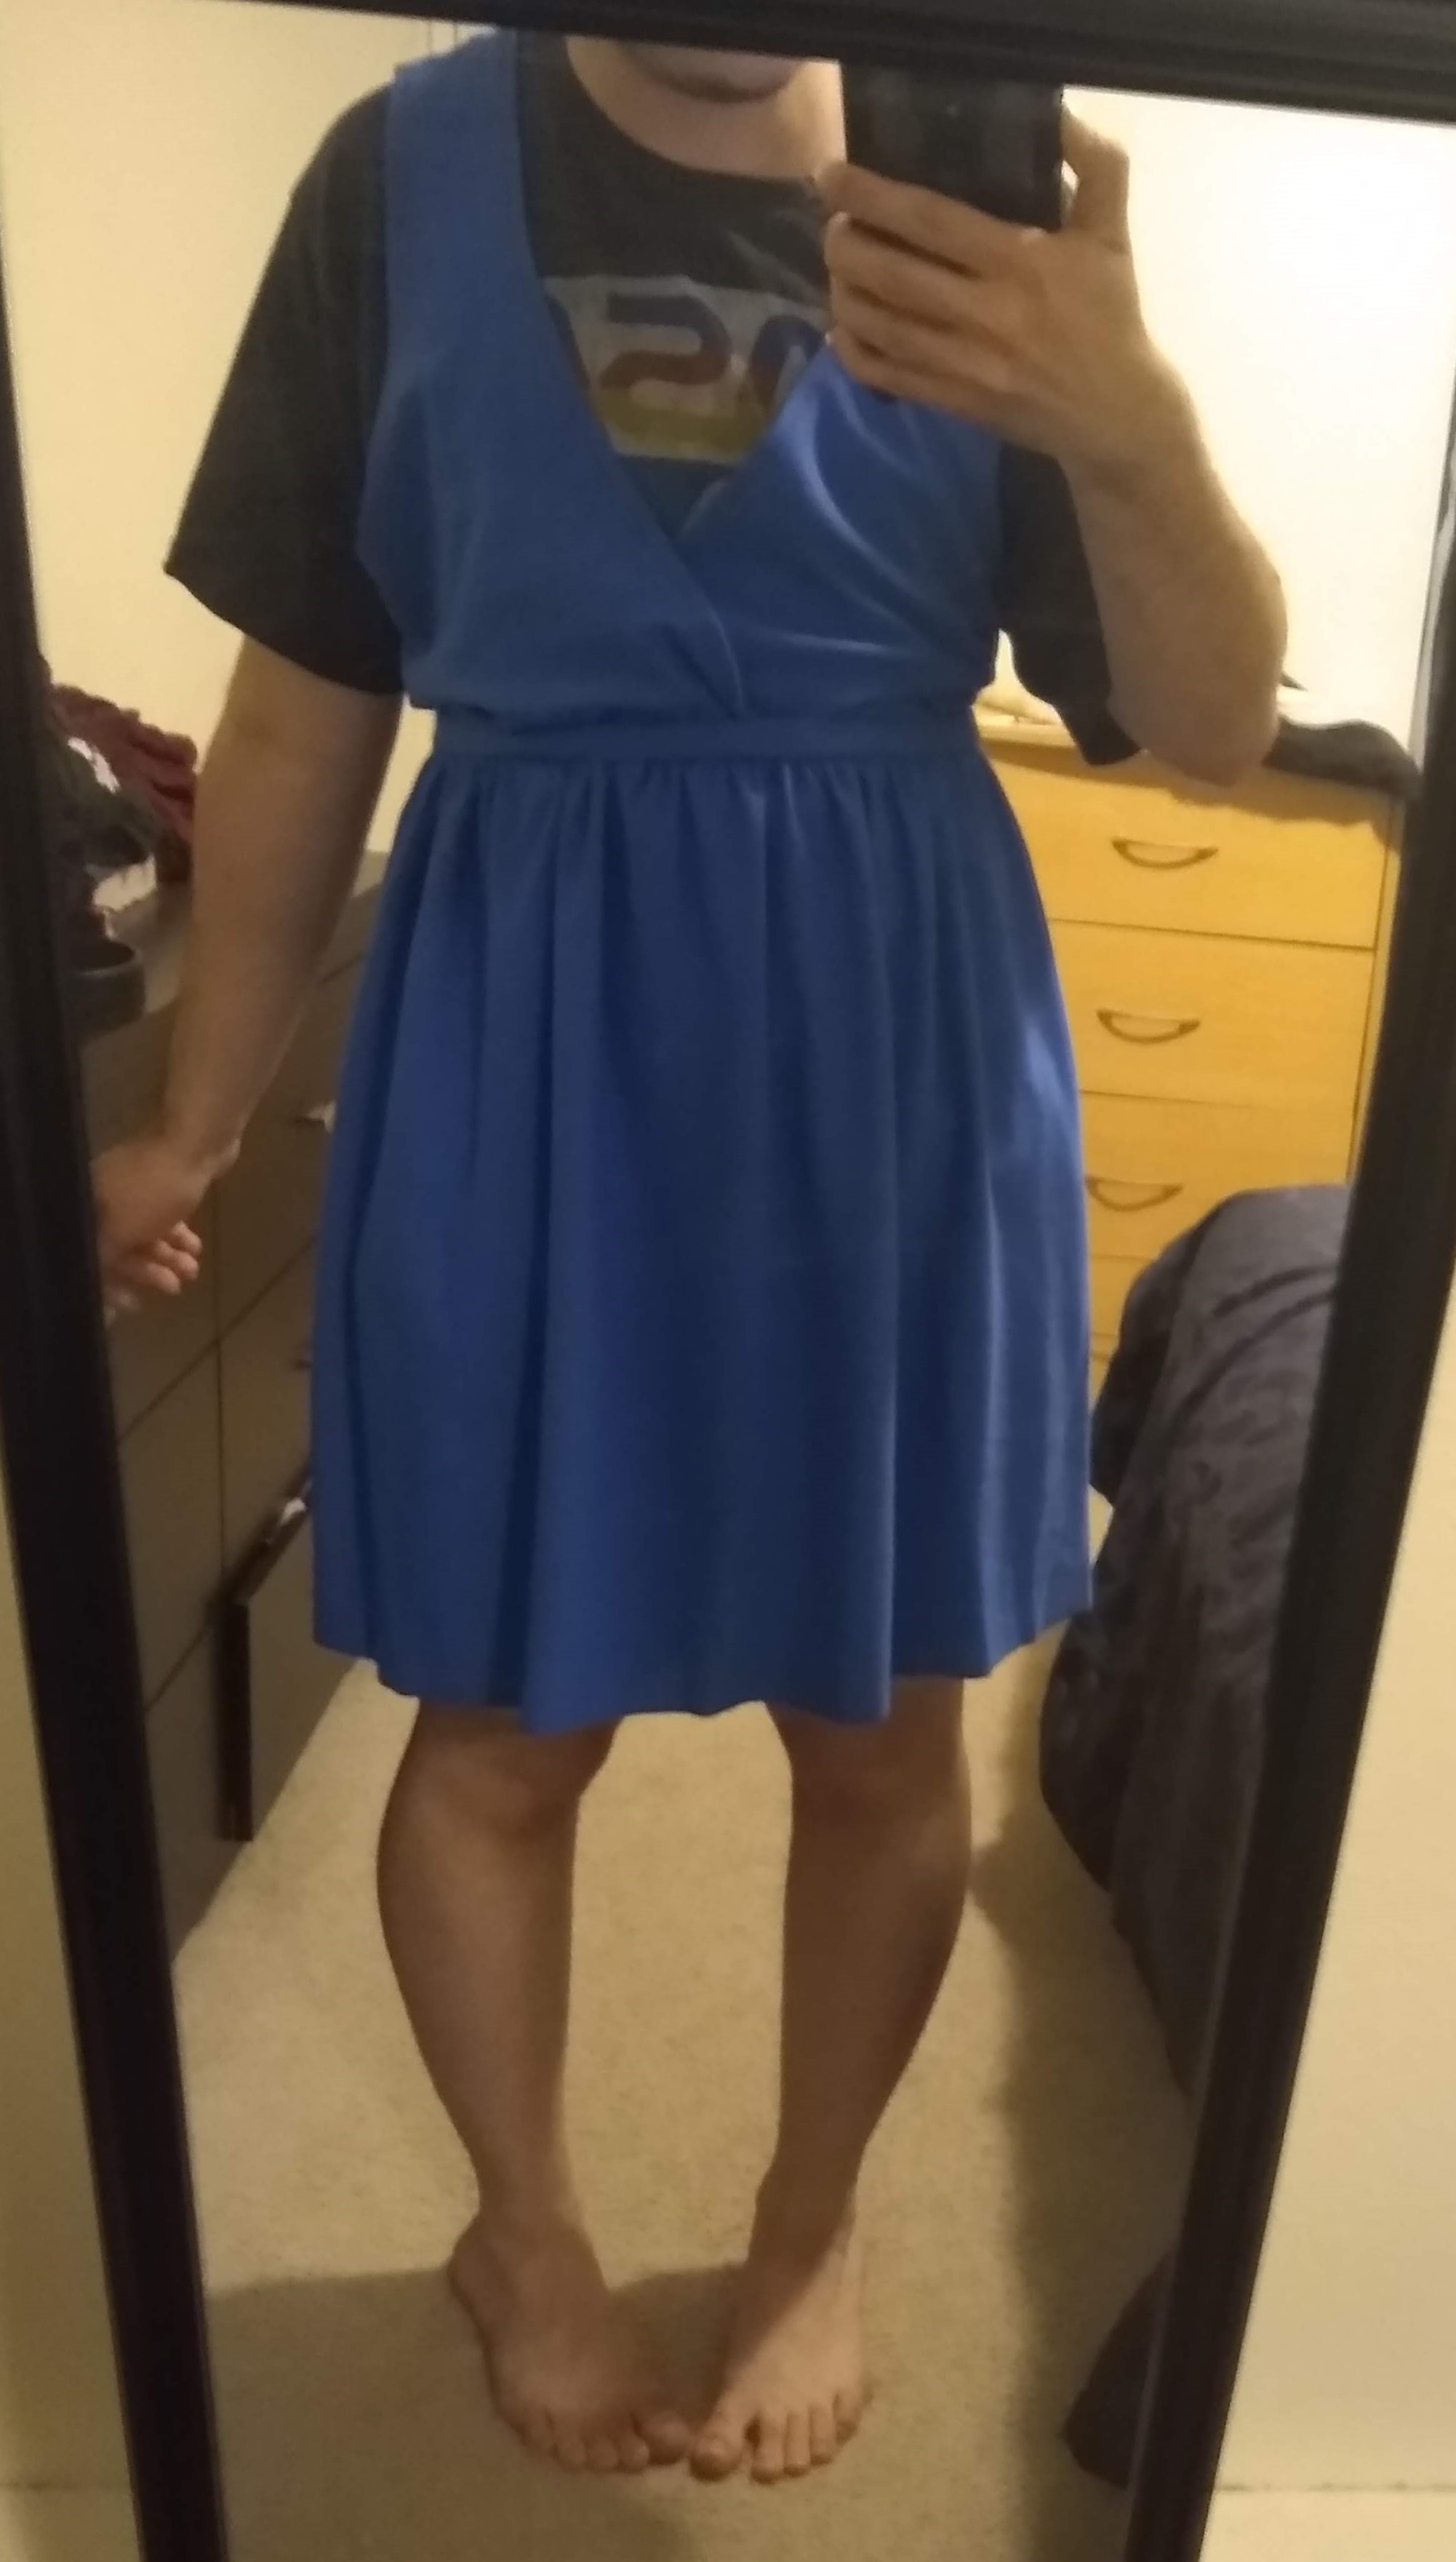
Right away I knew I wanted to modify the design to be short sleeved. Vegas summer heat? In long sleeves?? No thank you!
I started with the white layer with this free pattern from It's Always Autumn. Pretty straightforward! I left the bottom hem unfinished for the time being, as I wanted to see how it looked with the blue layer over it before I settled on a length.
The blue layer took some experimenting. I wanted some of the draping look on the top, as well as a gather on the skirt. I tackled it in two halves I then merged into a dress.
Using the same pattern as a base, I sketched up how I wanted the wrapped top to look, and cut that out. After a couple modifications, I had a paper mockup of the top half. I cut that out of the fabric, hemmed all the edges, then attached the pieces.
For the bottom, I followed this gathered skirt guide by Treasurie. Instead of cutting two rectangles, I used the full width of the bolt, to save myself some sewing. It also just happened to be about the right width I needed. I gathered the fabric, then attached a waistband. This was my first time gathering, so Treasurie's guide to gathering was a great help as well!
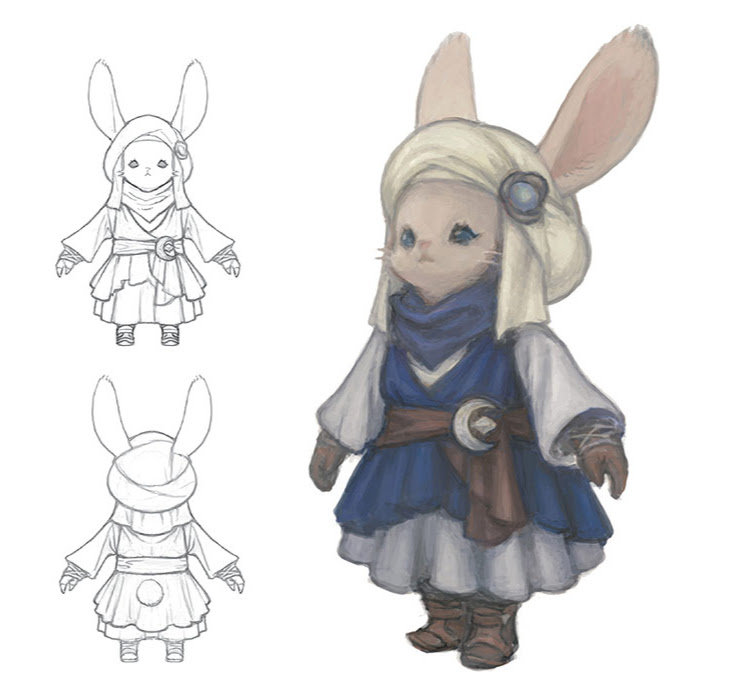
I attached the top to the waistband, and had a full dress! At this point, I hemmed both dresses to the length I settled on. The white dress has a straight hem, while the blue dress has a bit of a curve in the front. I think the actual Loporrit tunic is gathered in a way that the front hem is higher, so having a curved hem was my best guess to mimic that.
They're honestly pretty comfy!
Scarf
The easiest part of this all by far. I followed this guide by Apple Green Cottage.
Belt & Buckle
The belt is actually made of two pieces. There's a long, hemmed rectangle that wraps around to form the body of the belt. Then, there's a second piece that forms the ruffled, hanging part, and also serves as a mount for the buckle. I cut and gathered a rectangle of the same fabric, then attached it to another rectangle forming a loop. Both the belt and this smaller loop are secured with velcro. The loop can go over where the belt closes, giving it a seamless look.
Since the belt was only held up by the tension of the velcro keeping it closed, it slid around a bit in wear. I think having small belt loops or some kind of velcro or pins to the top dress to keep it in place would've been good.
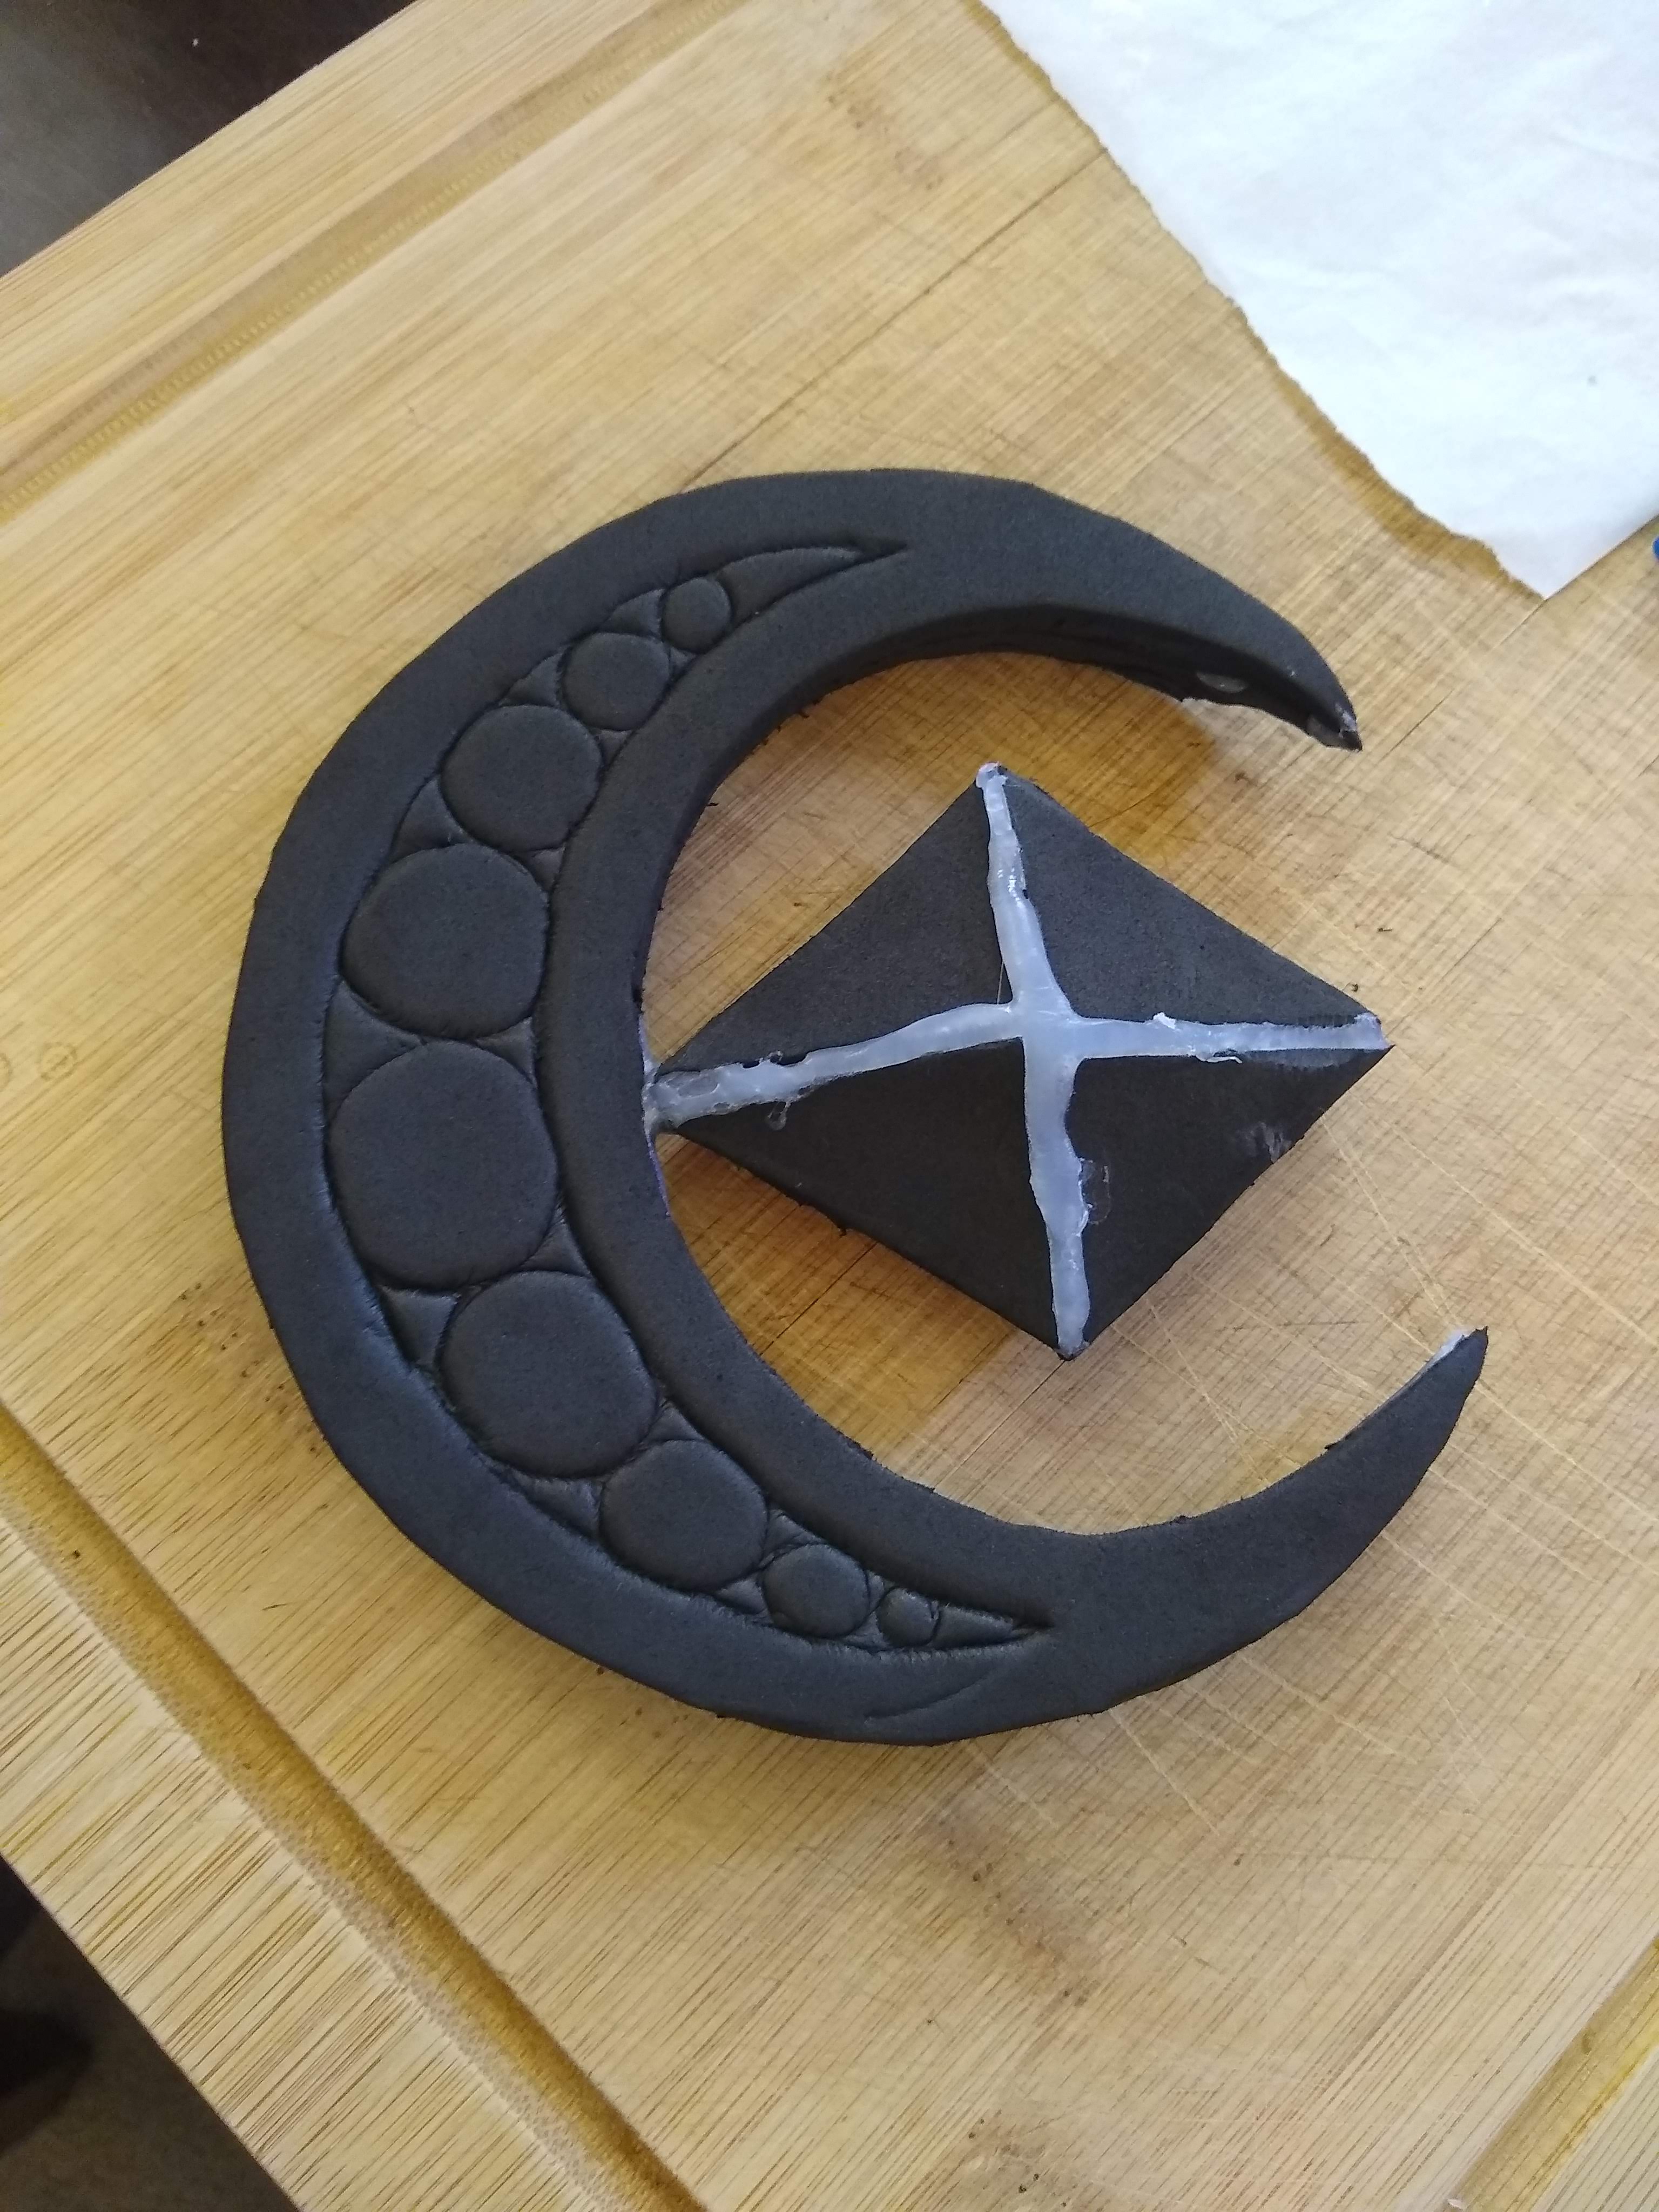
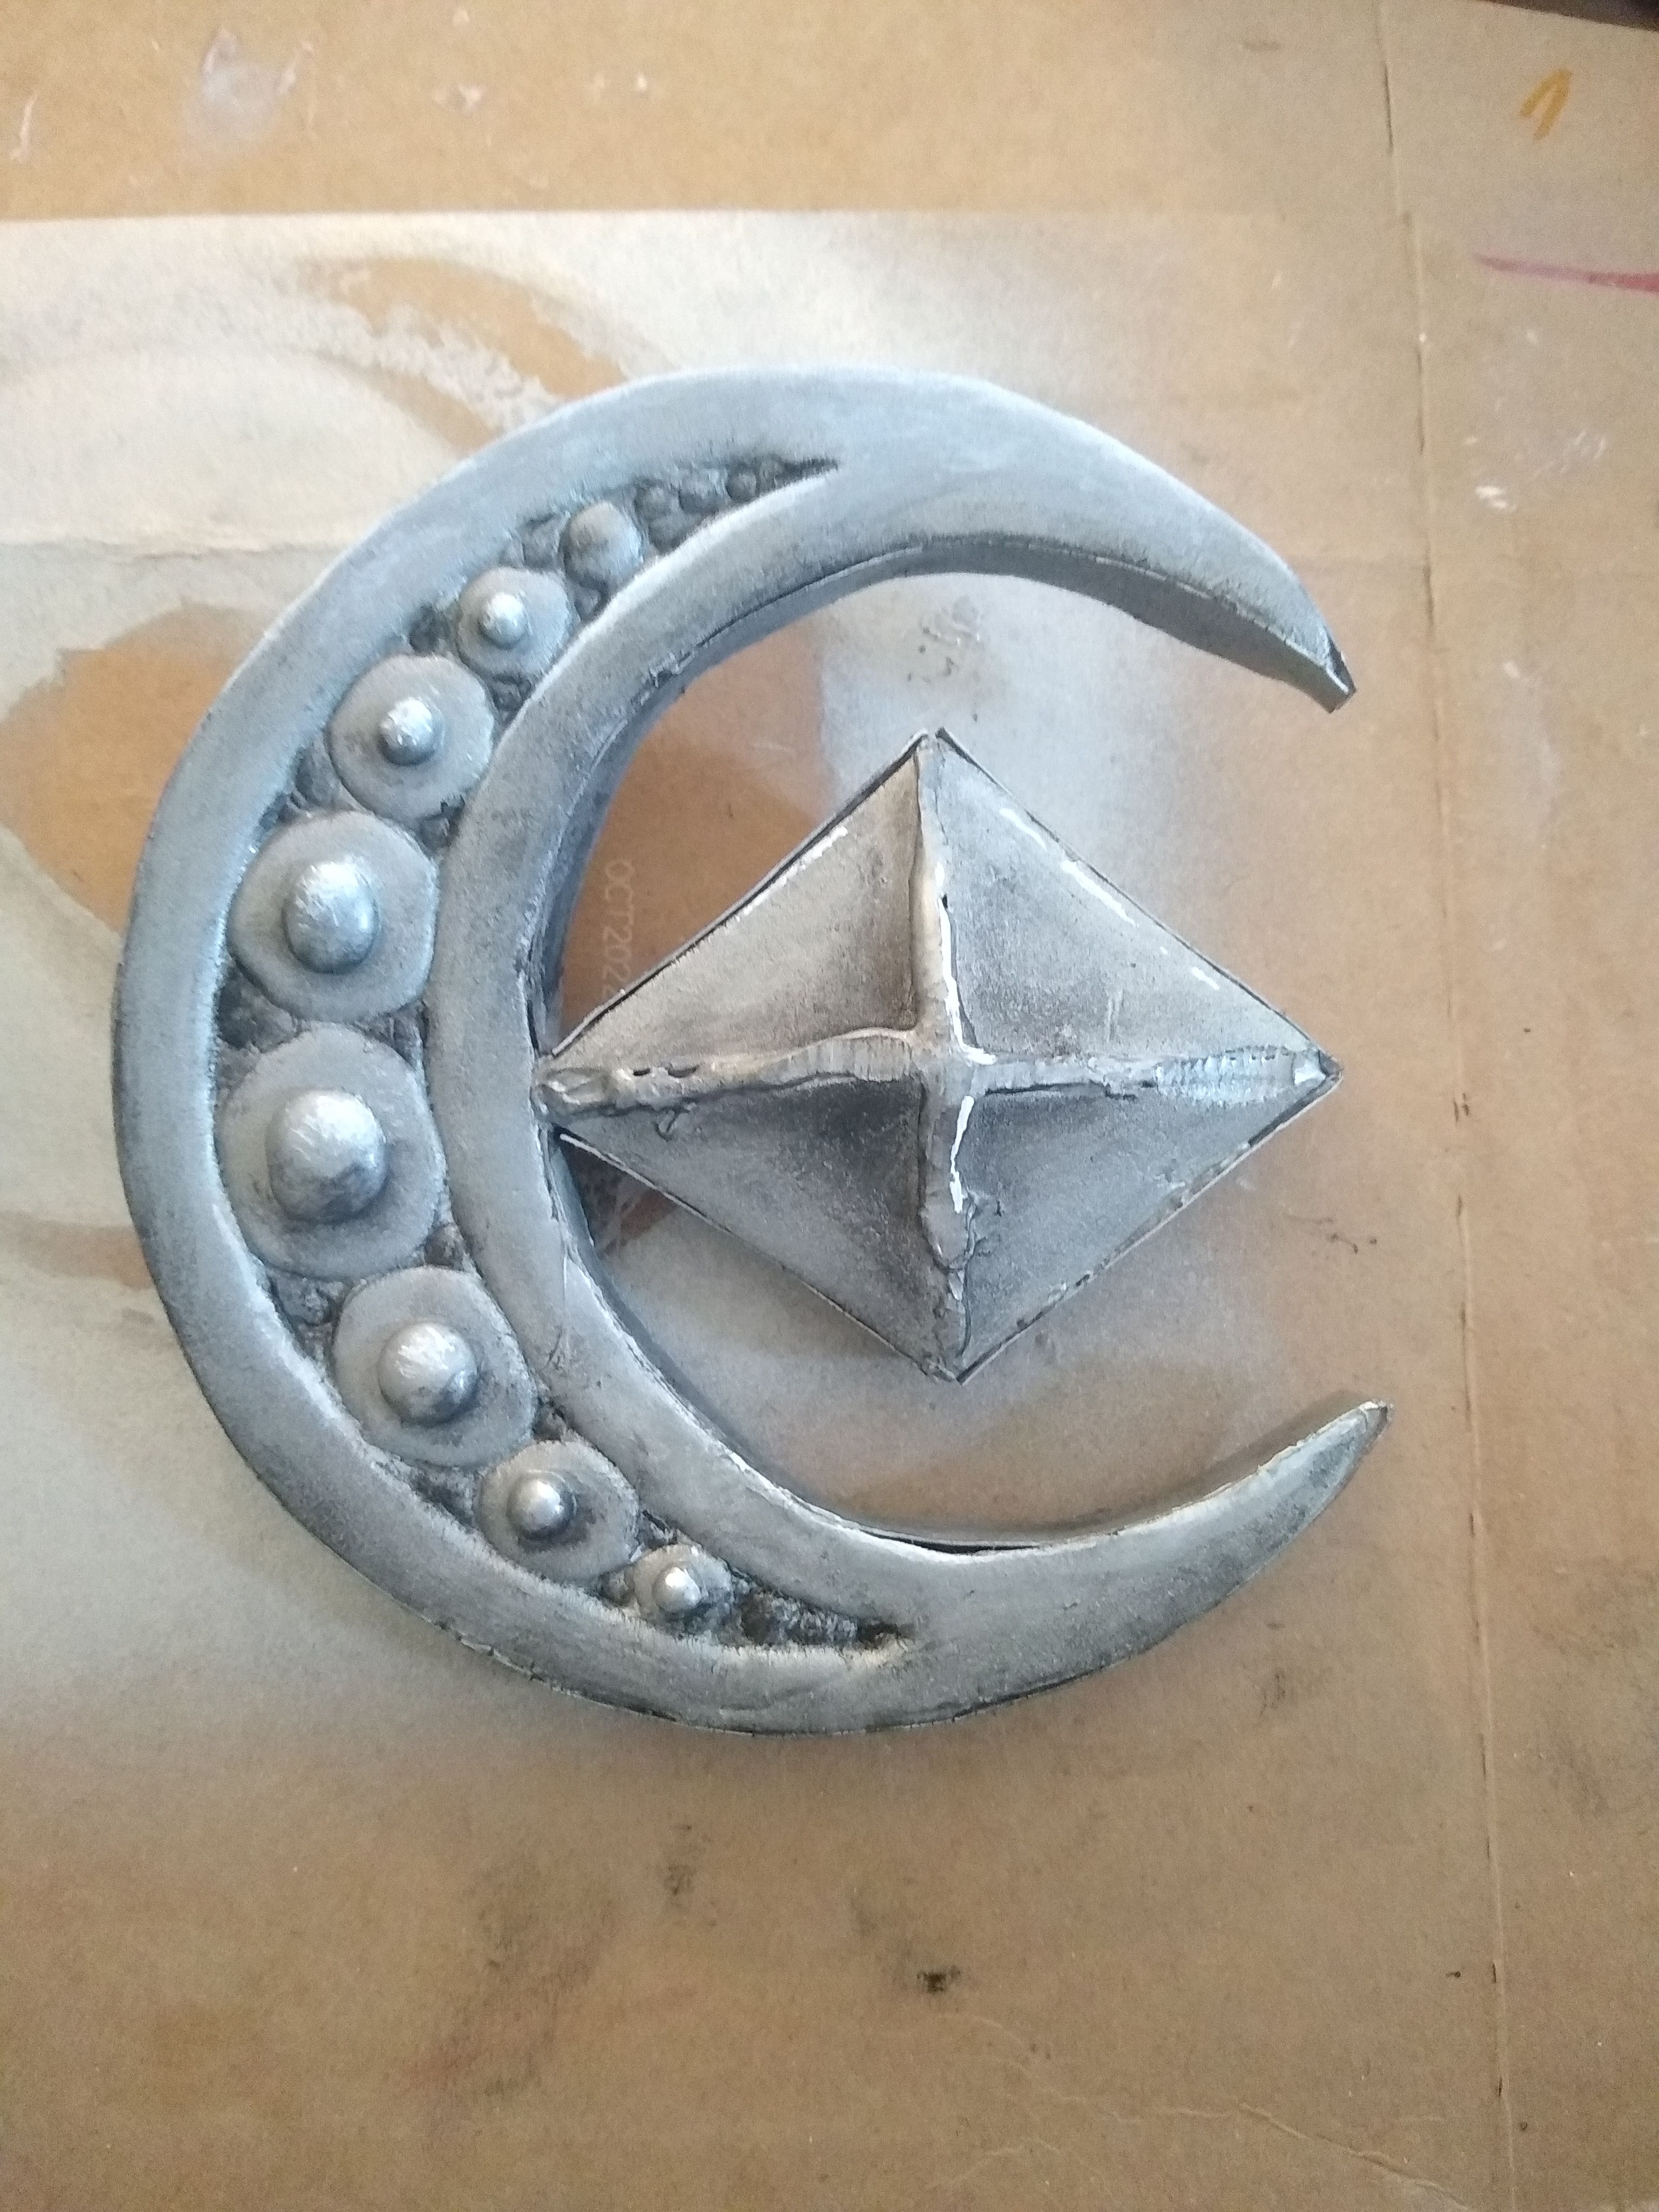
The buckle was the most fun part of this costume. I sketched out the design on paper, holding it up to try and get the size right. Then, I cut it out of kid's craft foam. (I'm not really sure what this is, to be honest. It was in the kid's section at Michaels labeled "foam sheets.") For the moon, I simply cut two layers the same and glued them together. For the diamond, there's four triangles glued atop a diamond shape to try and make it more three dimensional. To hide the seams on the sides, I cut thin strips of cardstock and glued those down.
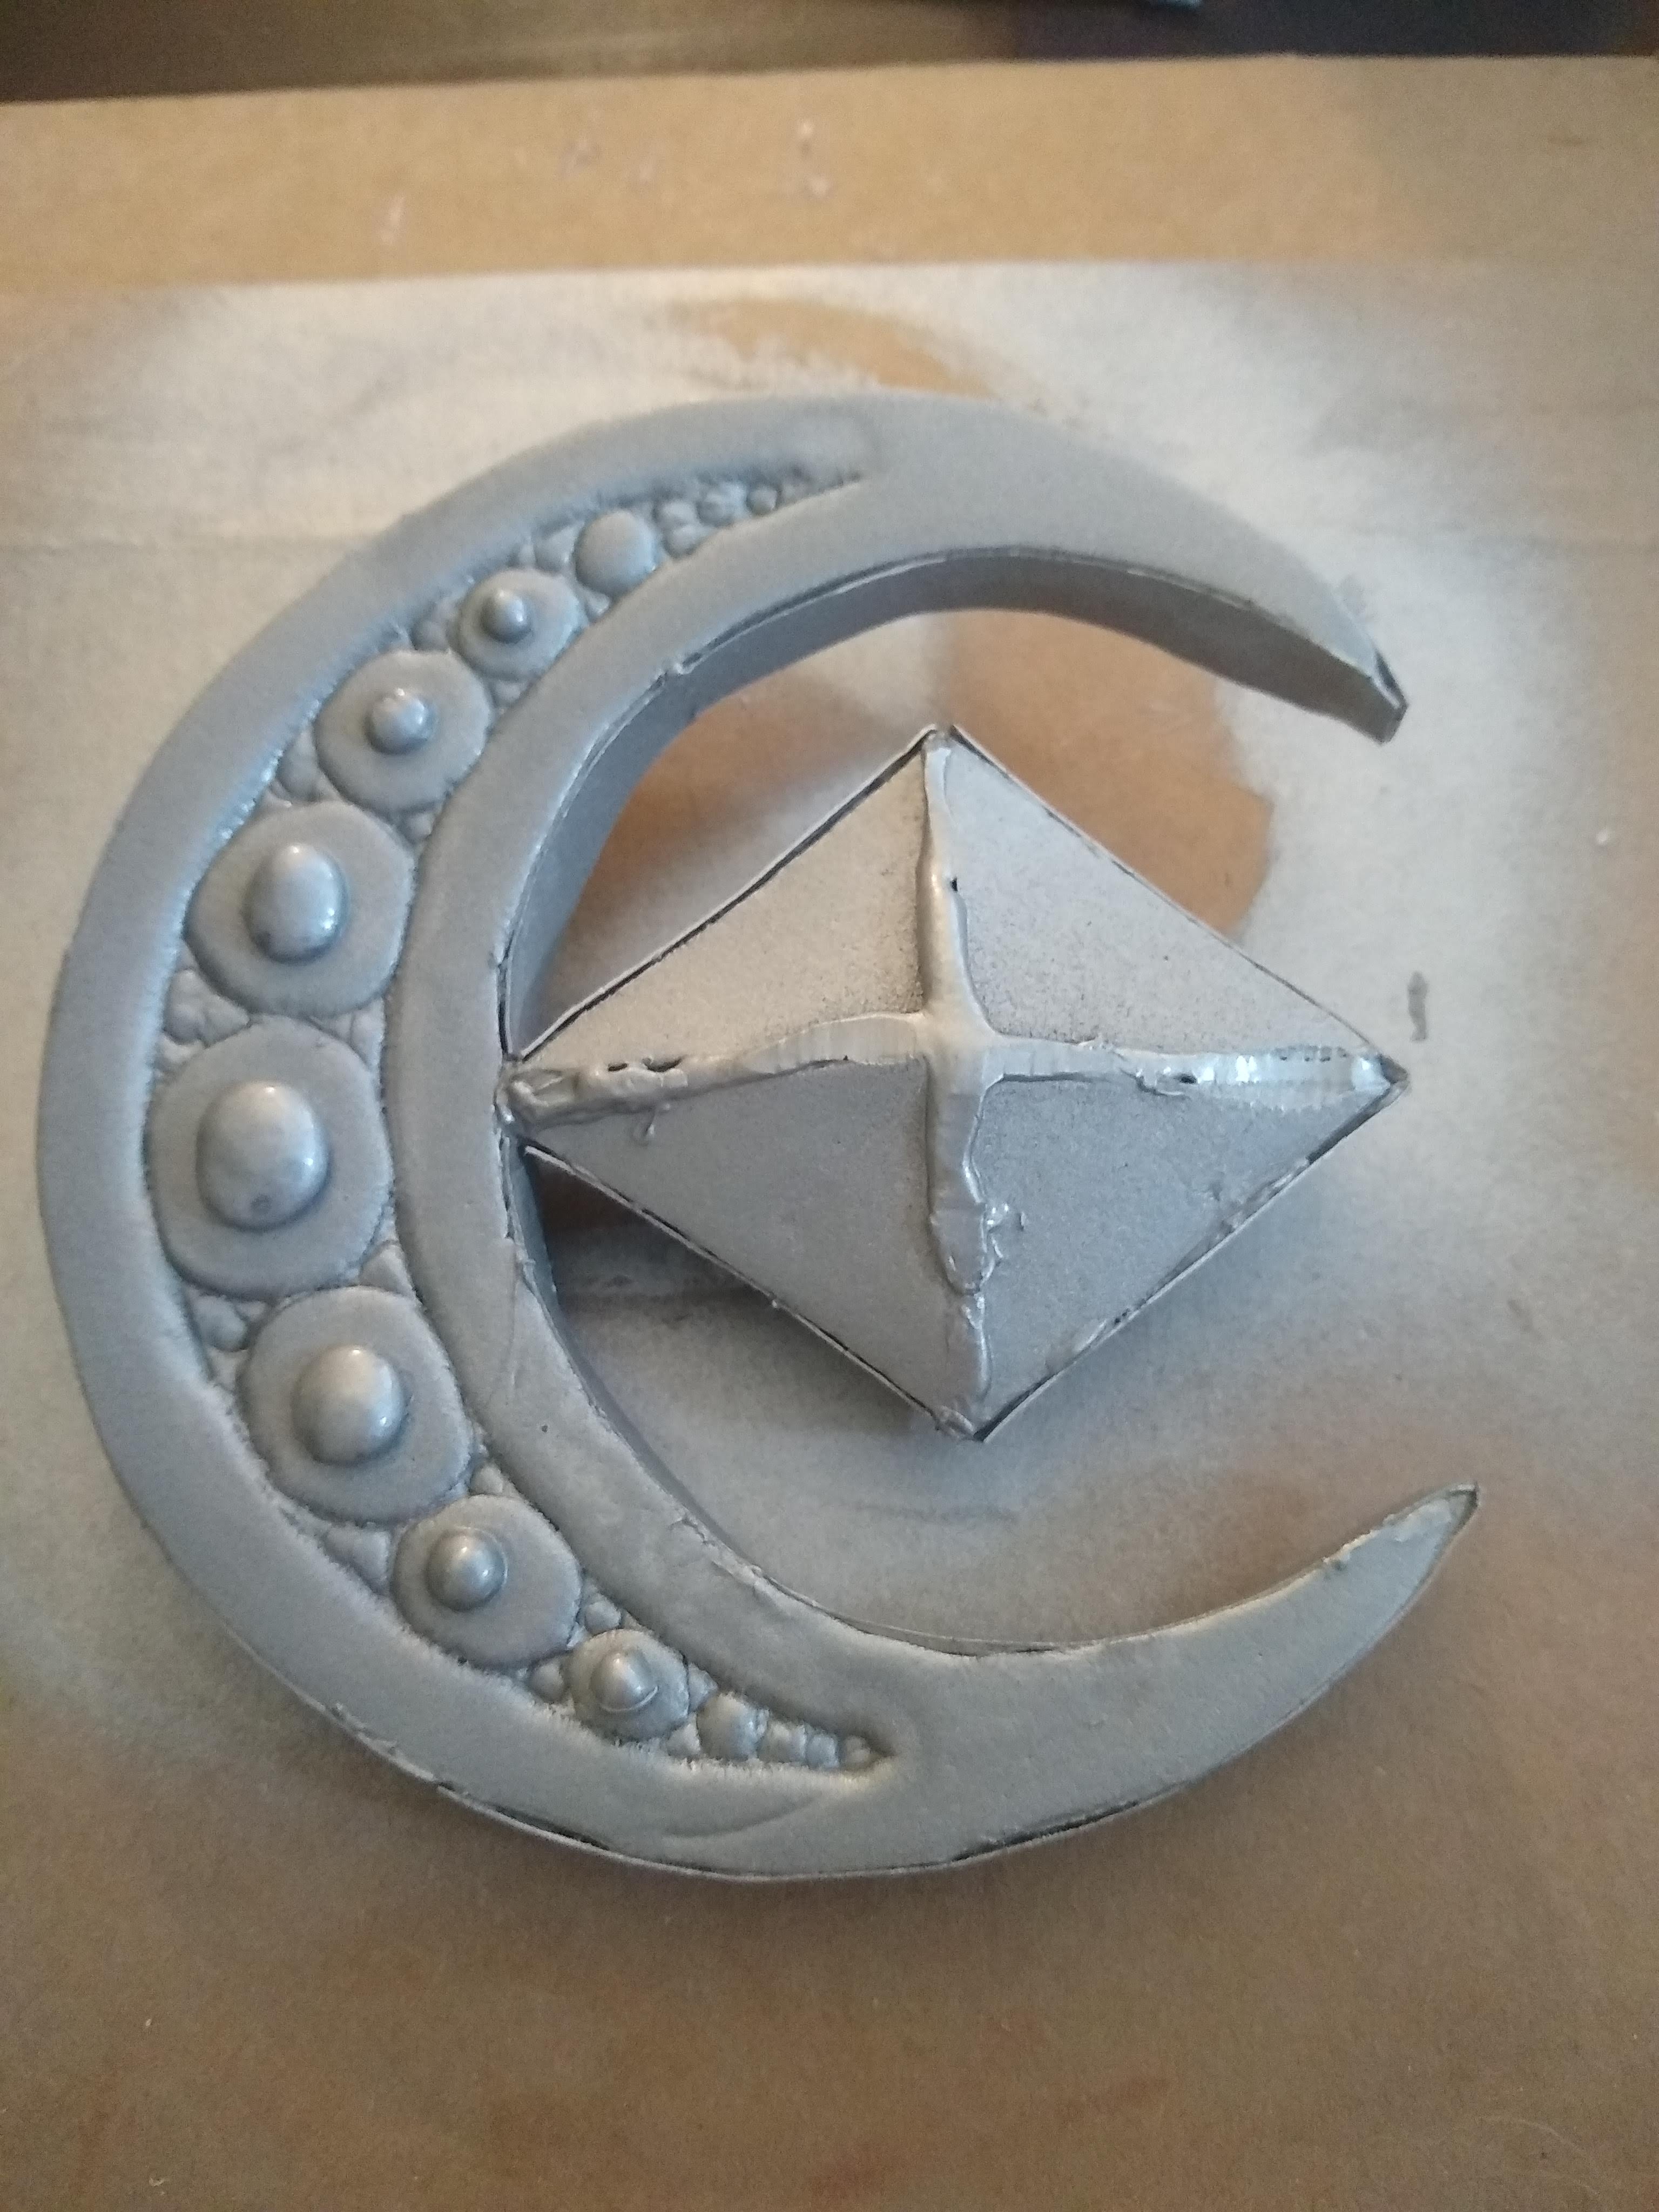
To form the embossing on the moon, I used the back of a paintbrush. Where I needed a more defined line, I used a craft knife. The raised dots were made with hot glue blobs.
With it all attached, I painted it with two coats of metallic spray paint. After that dried, I went back in with acrylic paint to dry brush on some texture. It's not perfect, but I think it does make it look a little more interesting, at the very least!
I hot glued pin backs to the back, 2 on the moon and 1 on the diamond. The moon pins to the loop of the belt flourish, and the diamond pins to the belt itself. I think there could be a better way to do this, maybe with magnets or snaps, but this was all I had on hand.
Headband
The base headband I got from the dollar store, and at first, I didn't plan to do much to it all…but that was too plain! I took a scrap rectangle of the white dress material and hot glued it along the top of the headband. To seal it, I did a quick ladder stitch on the underside.
For the gem, I made a circle shape out of floral wire, then filled it with hot glue. This was still too lumpy, so I put it in the oven. Unfortunately I've forgotten the temp or for how long. But, this did well to melt it to fit the form and be smooth on both sides! I painted the back with blue Posca paint markers, and a little white on the front to add an anime-style shine. I finished it with a coat of sparkly nail polish. (The same nail polish I wore for the con, actually!)
For the ribbony bit, it was a lot of gathering! I used a similar gathering technique as on the skirt, essentially just make a long rectangle and gather it up into a spiral. The hanging bit is another gathered rectangle. Then, it all got hot glued together.
Wig
This was my first time styling a wig, and…I don't know if I ever want to again!! It was stressful, knowing anything I cut was permanent, and even when styled it would need to get restyled after flying there!
The base wig is a Vivien Classic in champagne from Vega Theatrical Supplies, formerly Arda Wigs Canada. It's my first wig from them, and it's pretty nice. The texture is good, it was easy to cut and style. I wanted it to look like Themis' hair, but I couldn't quite cut the bangs right…so, I ended up with this. It's still pretty cute though. You can read how I attached the ears back up in the Ears section.

Wristbands
At one point I considered making gloves. Then I read about how to make gloves. Nope!
I had mostly forgotten about that, until the night before we left. It was 3 AM, and the only thing I had left was attaching the ears to the wig. I was at a standstill, no ideas at all, but I felt horrible sitting around doing nothing. Then, I realized…wristbands!
Easier and quicker than gloves, and cooler (temperature-wise) too! A super straight forward rectangle cut and hemmed, with a small strip of elastic attaching one end to the other. I had a small loop of fabric to cover the elastic too. I think it would have been better to have a length of elastic fully around the wrist enclosed in fabric, but I was using scrap fabric from the belt, and it was 3 AM. There wasn't a lot of thinking going on.
For the detail stitching on the wristbands, it's some random stitching pattern I had on my machine. I'm not sure what it's meant for. I would've liked a thick, solid line, but there wasn't a way to make that happen. So, this lil detail stitch worked just fine.
Closing
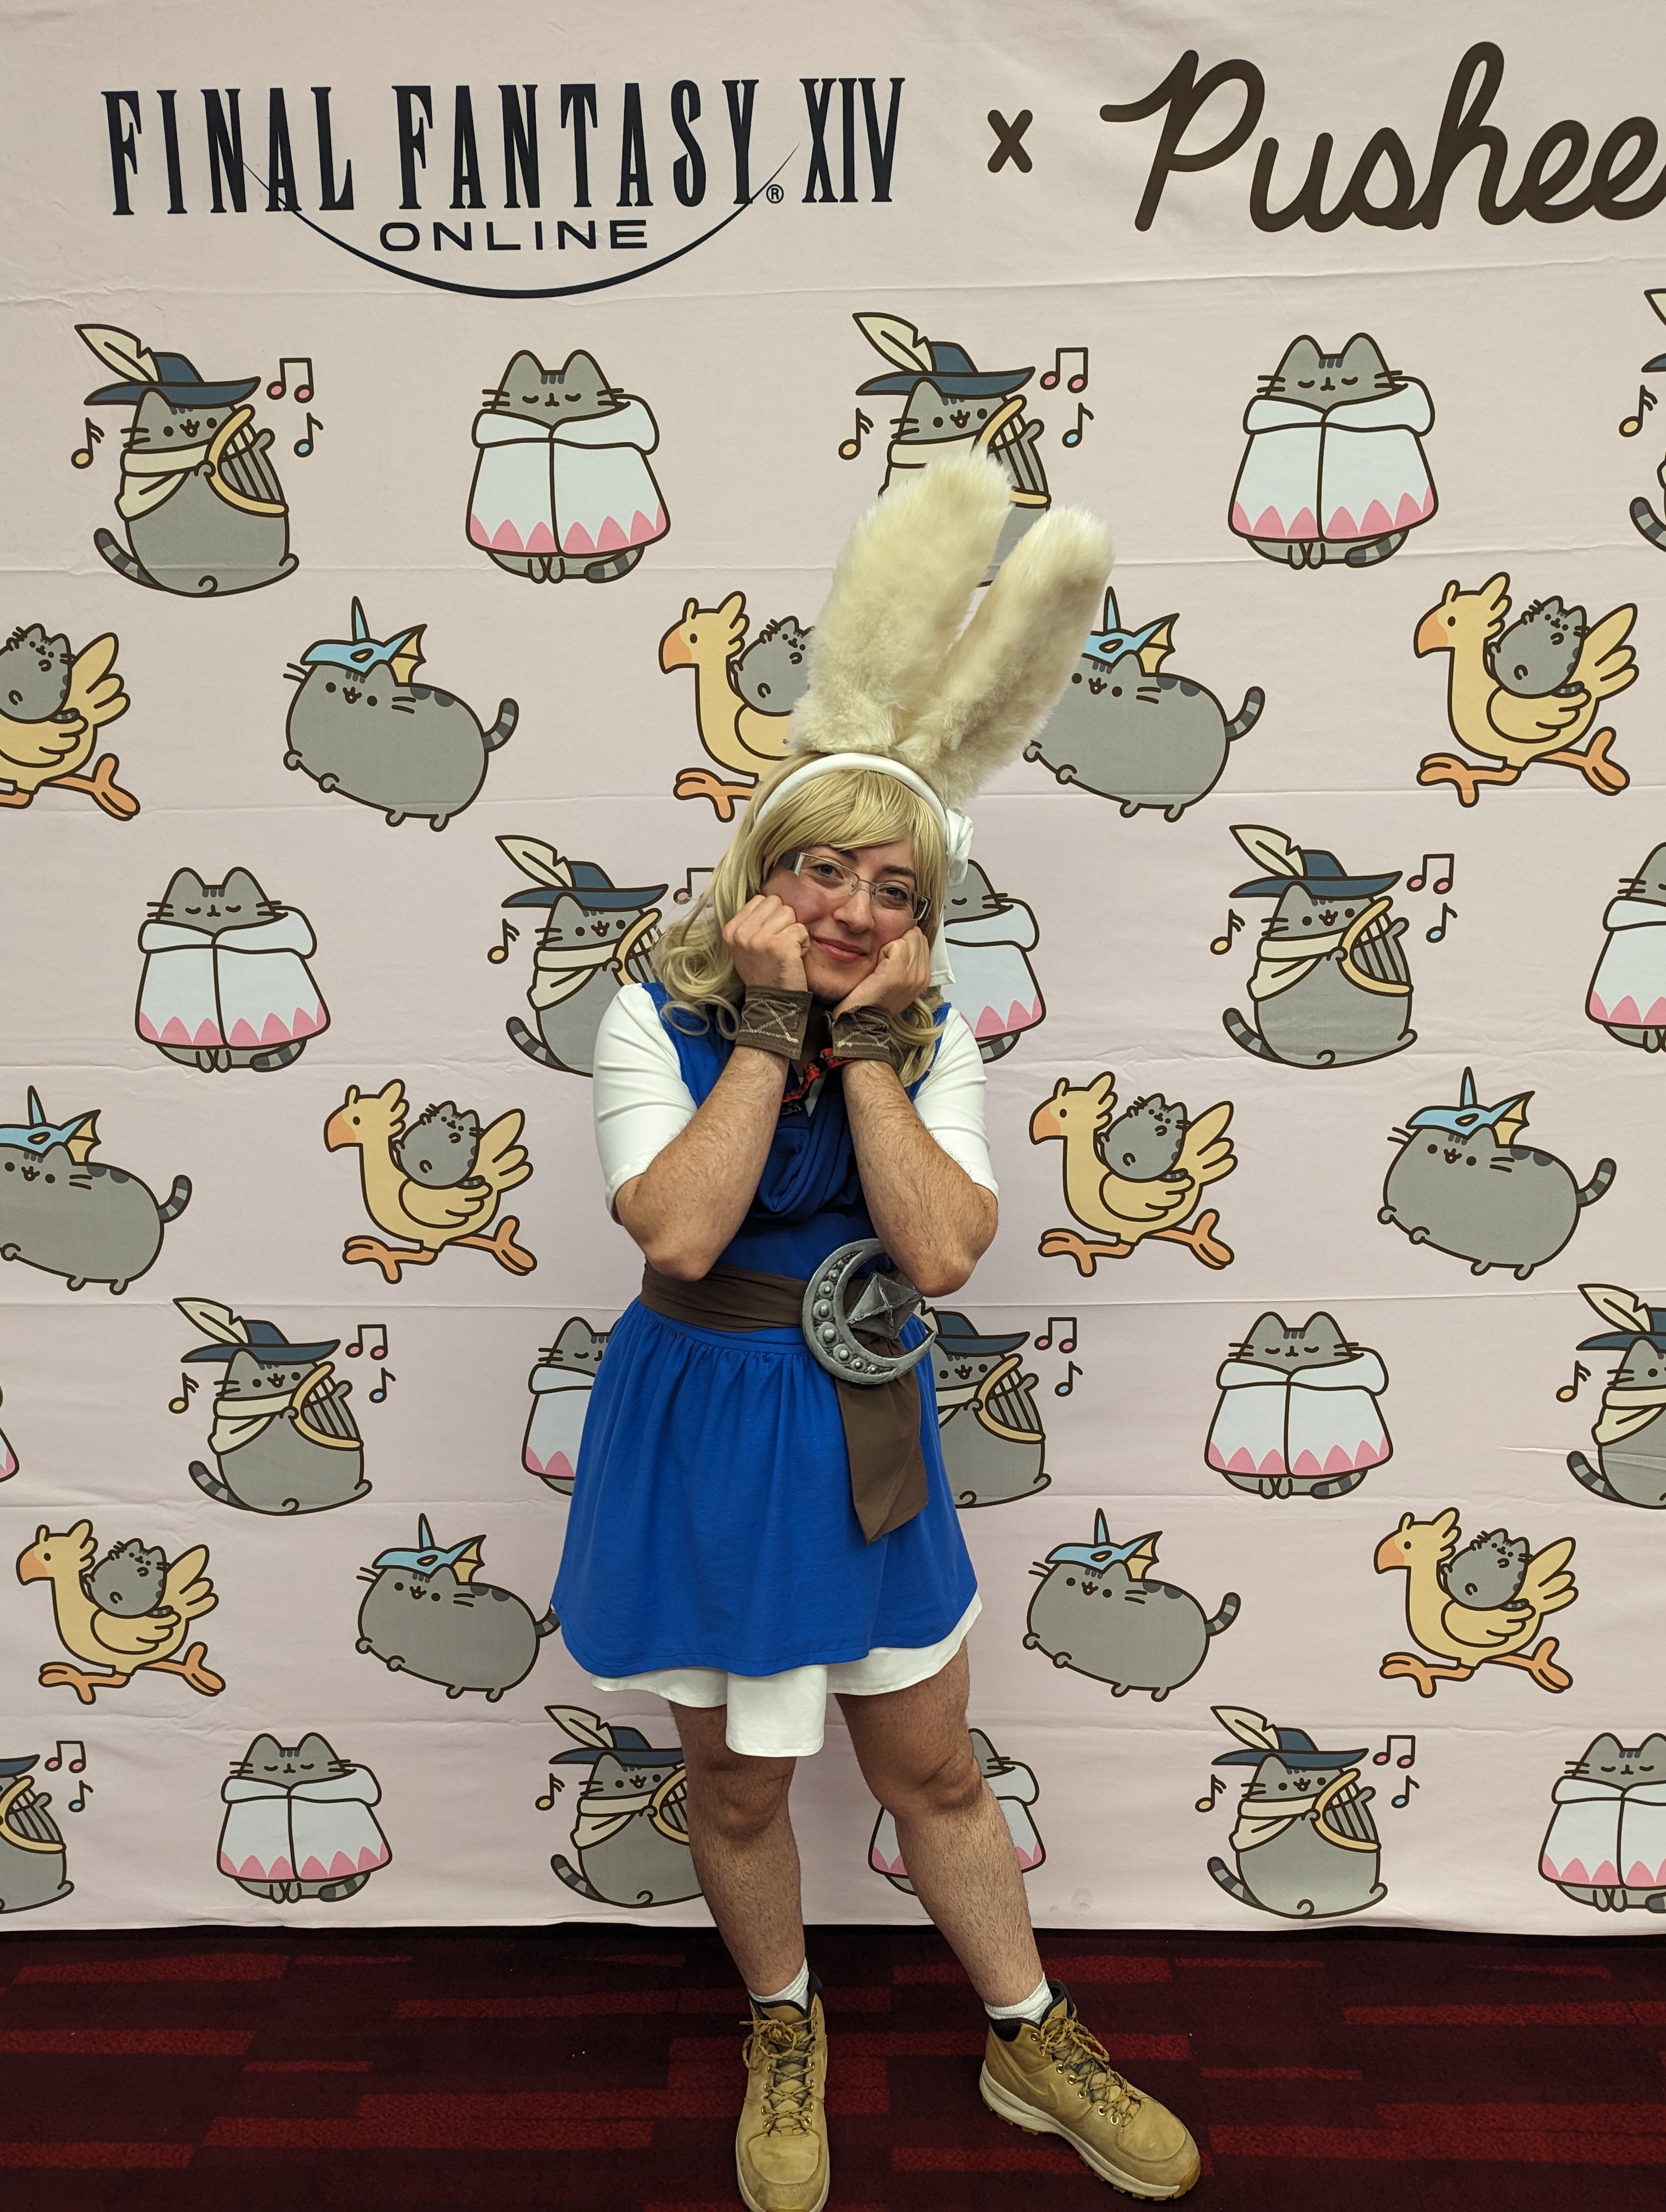
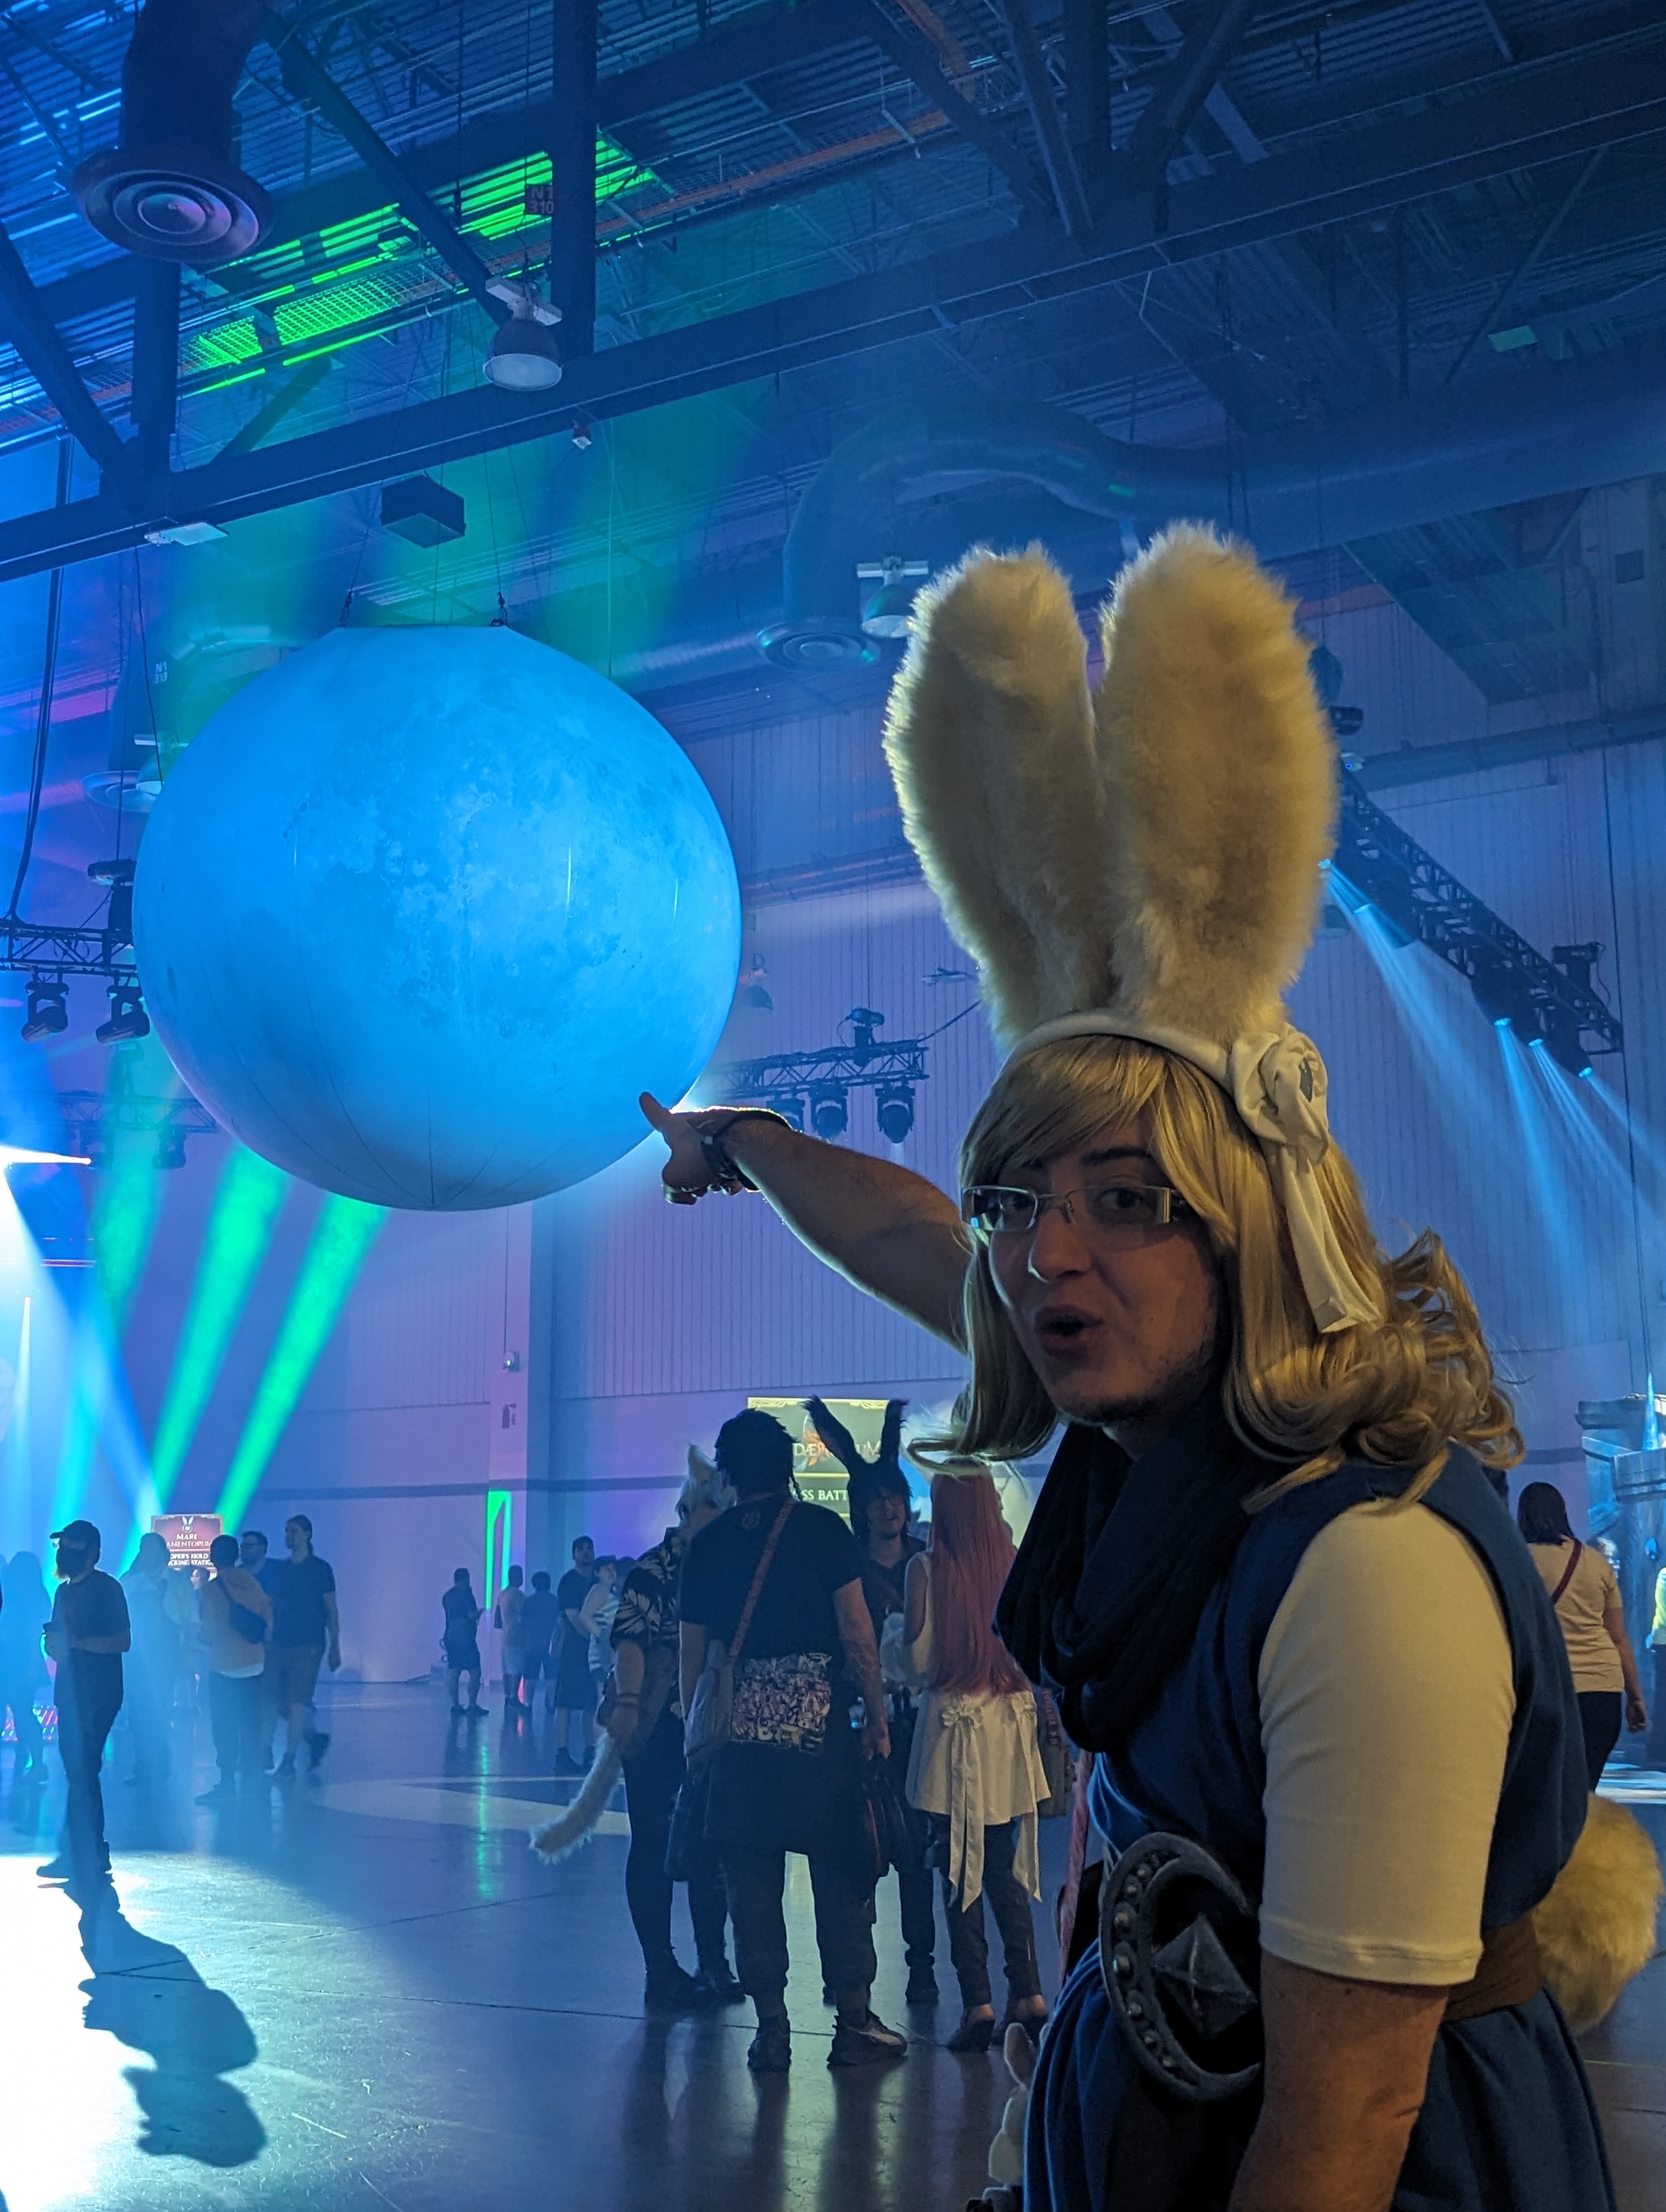
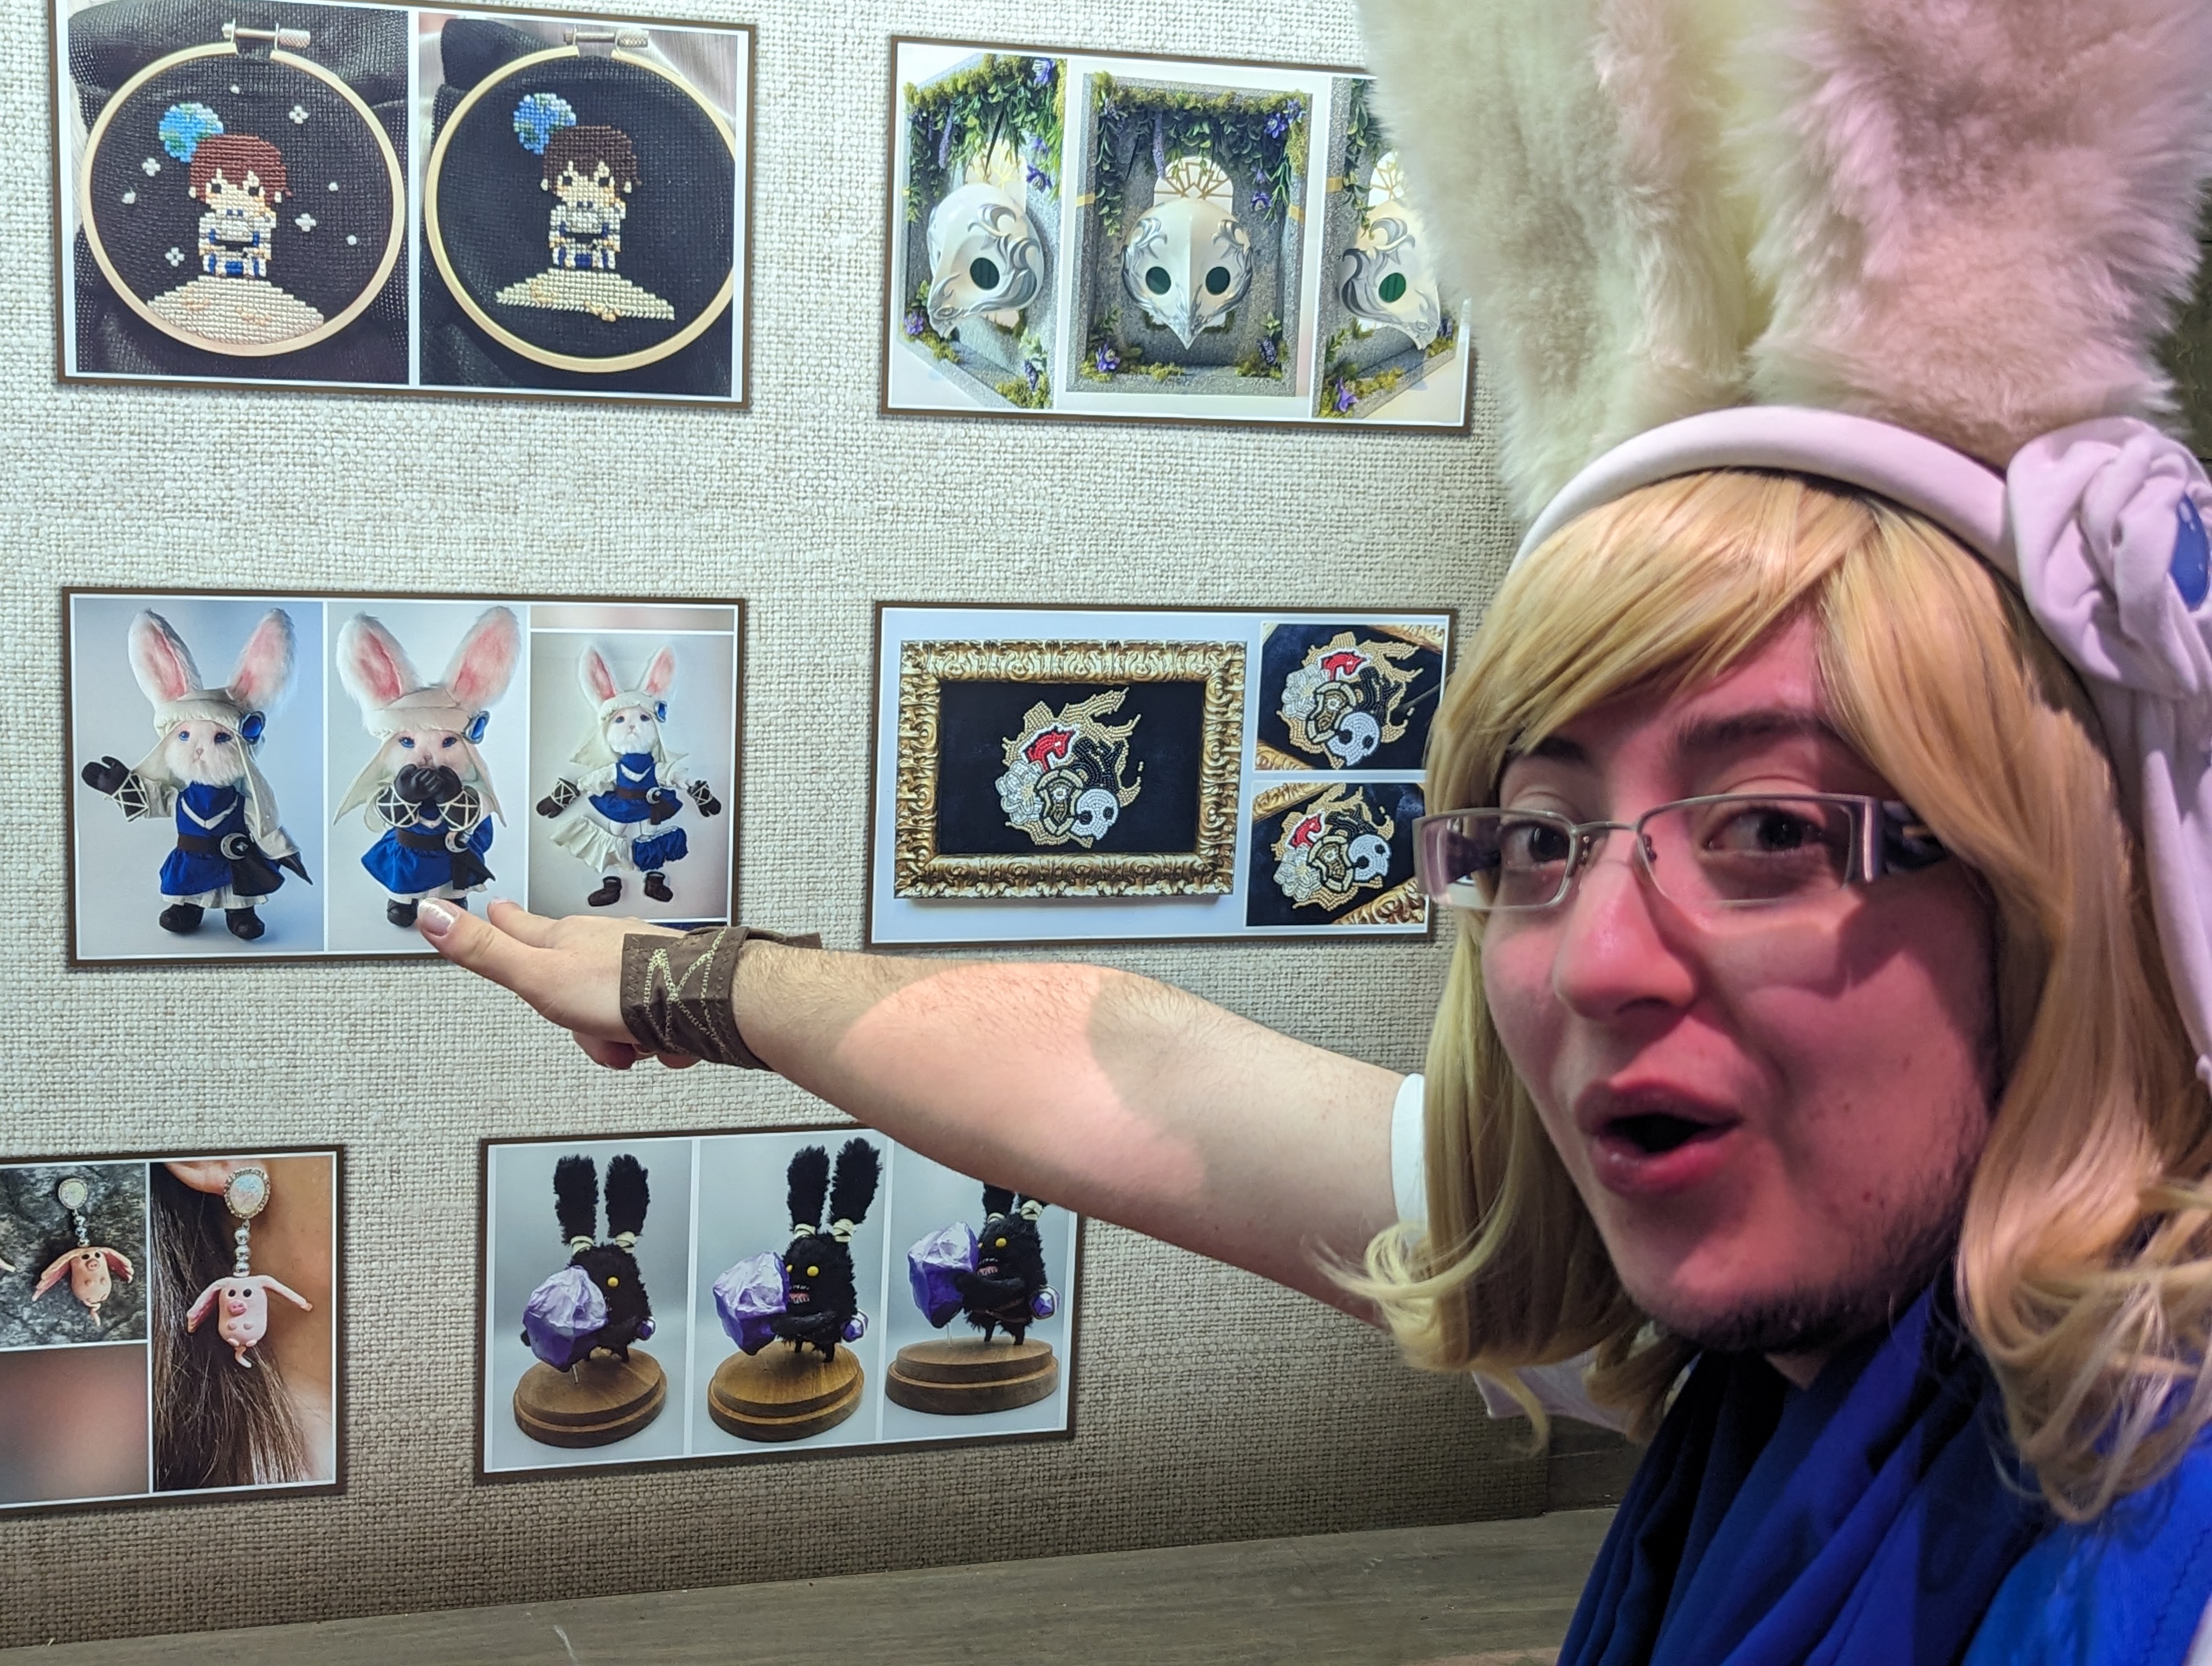
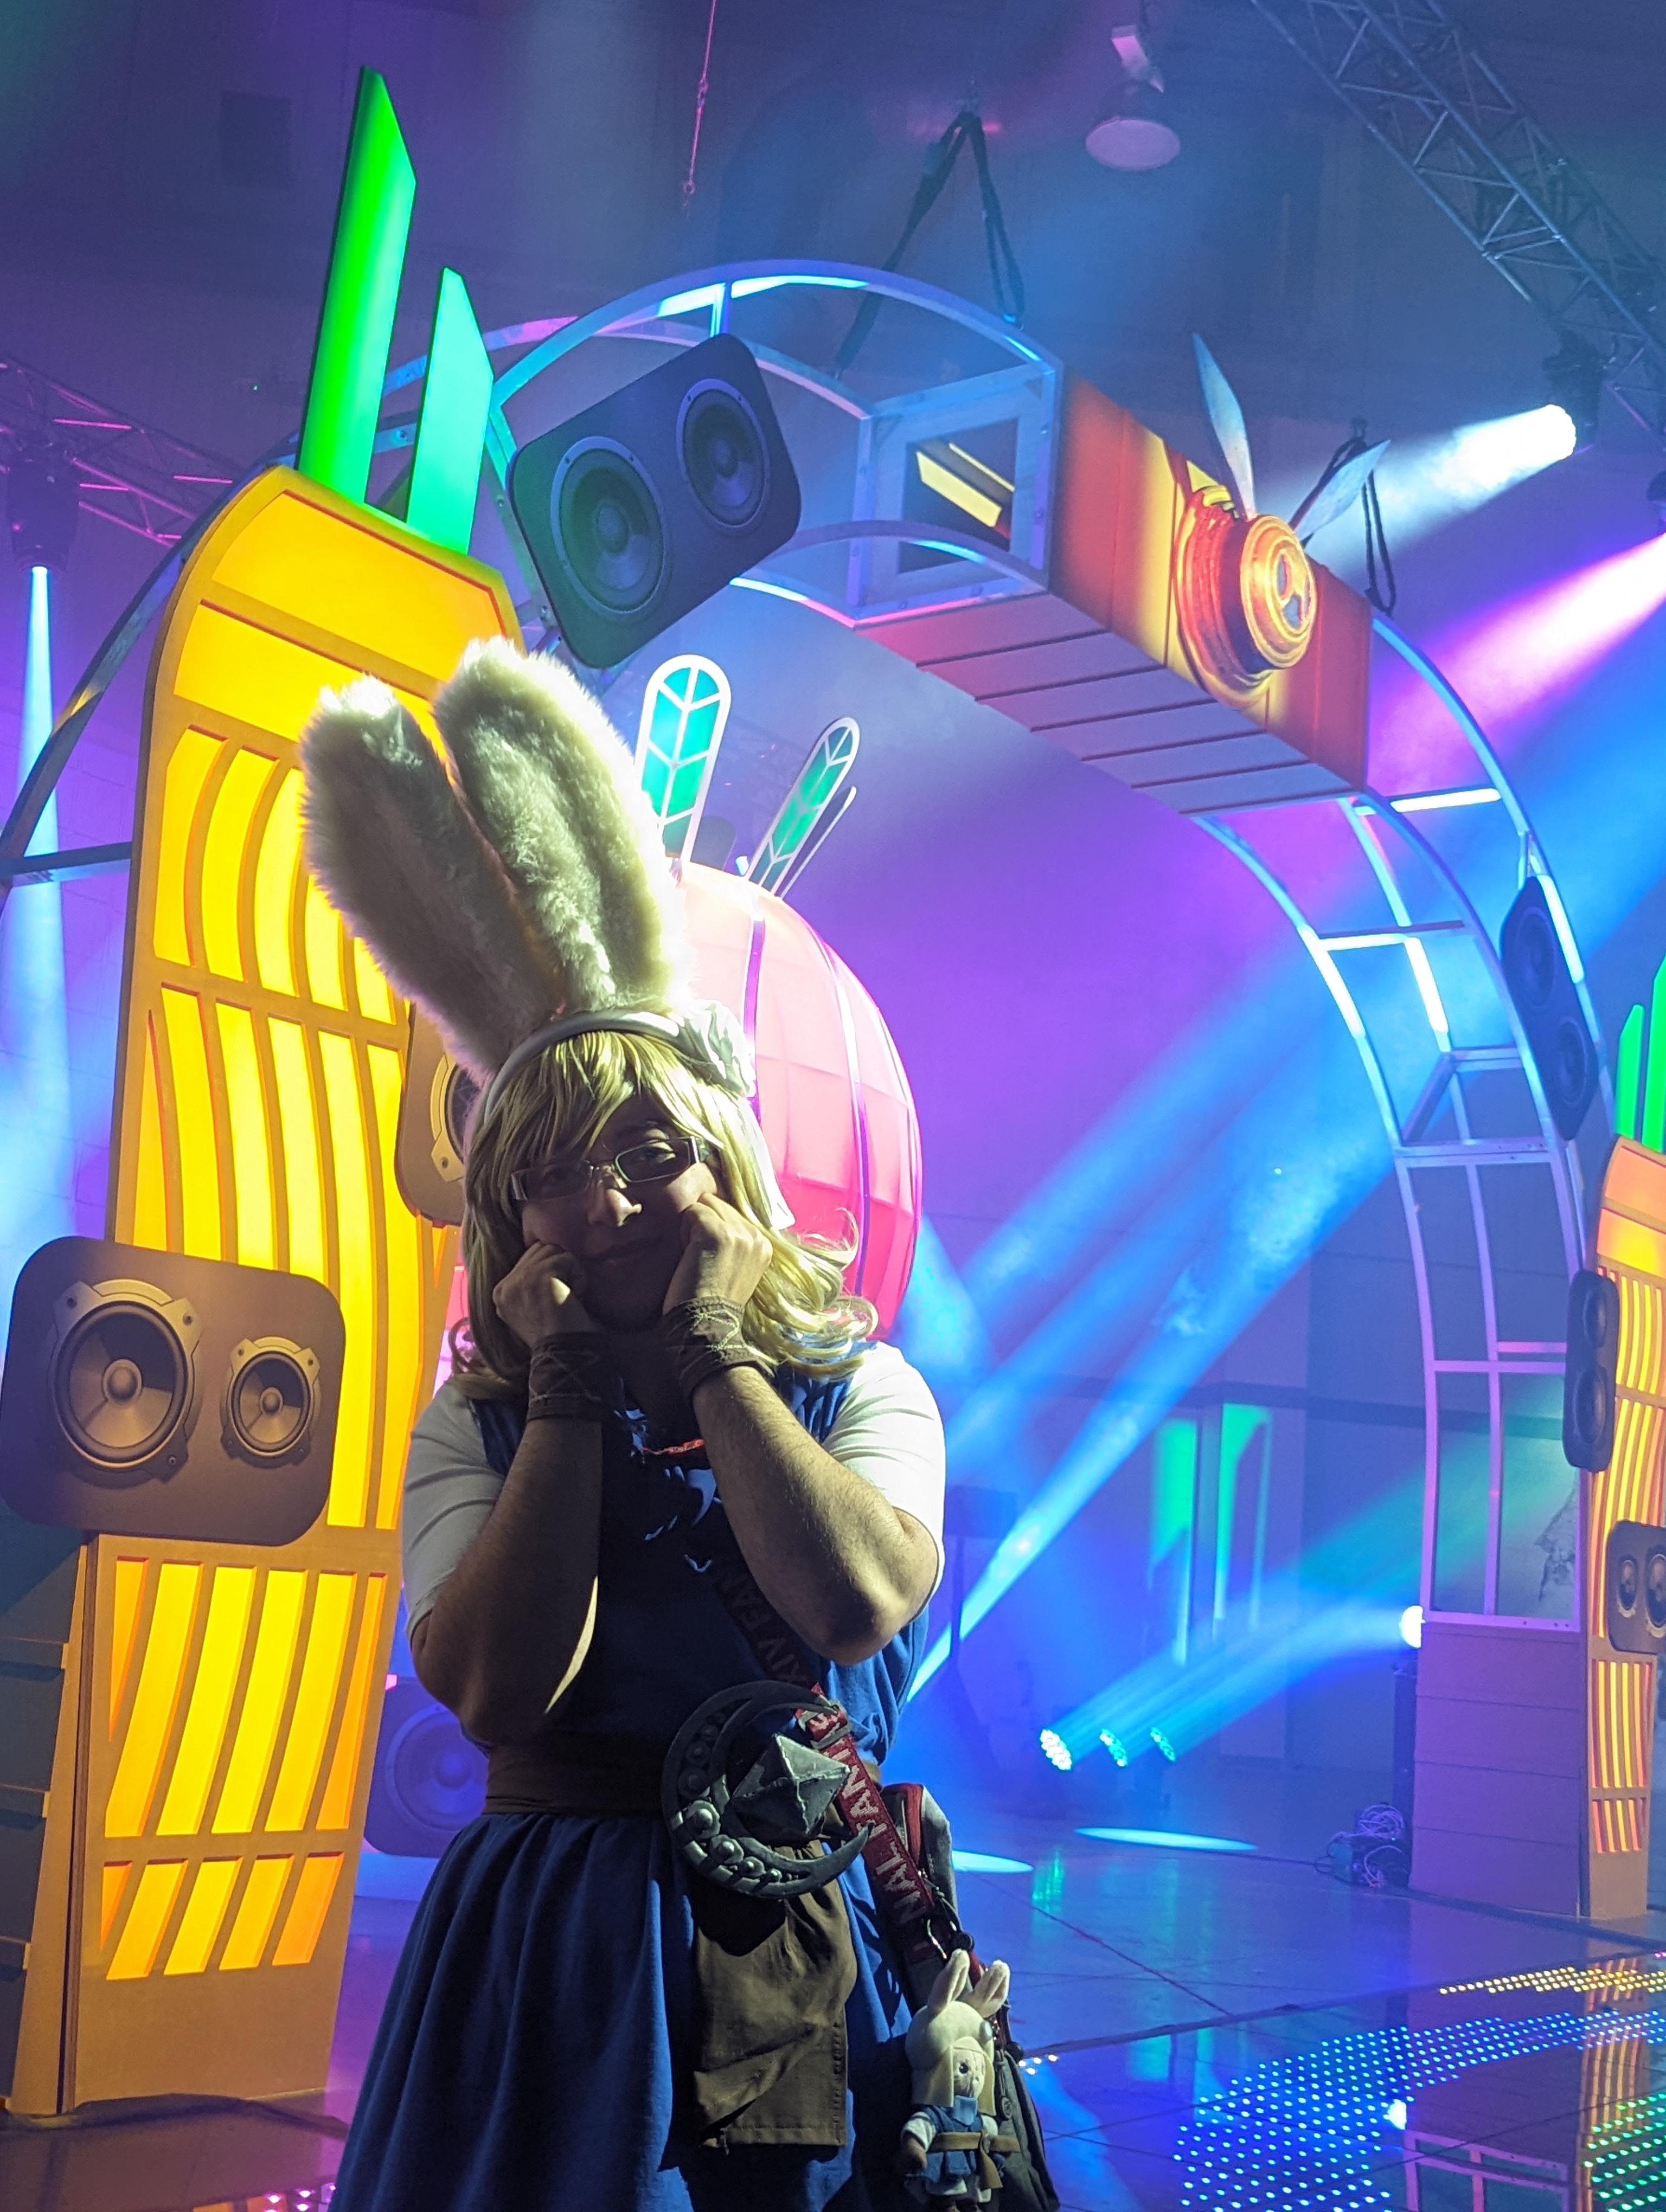
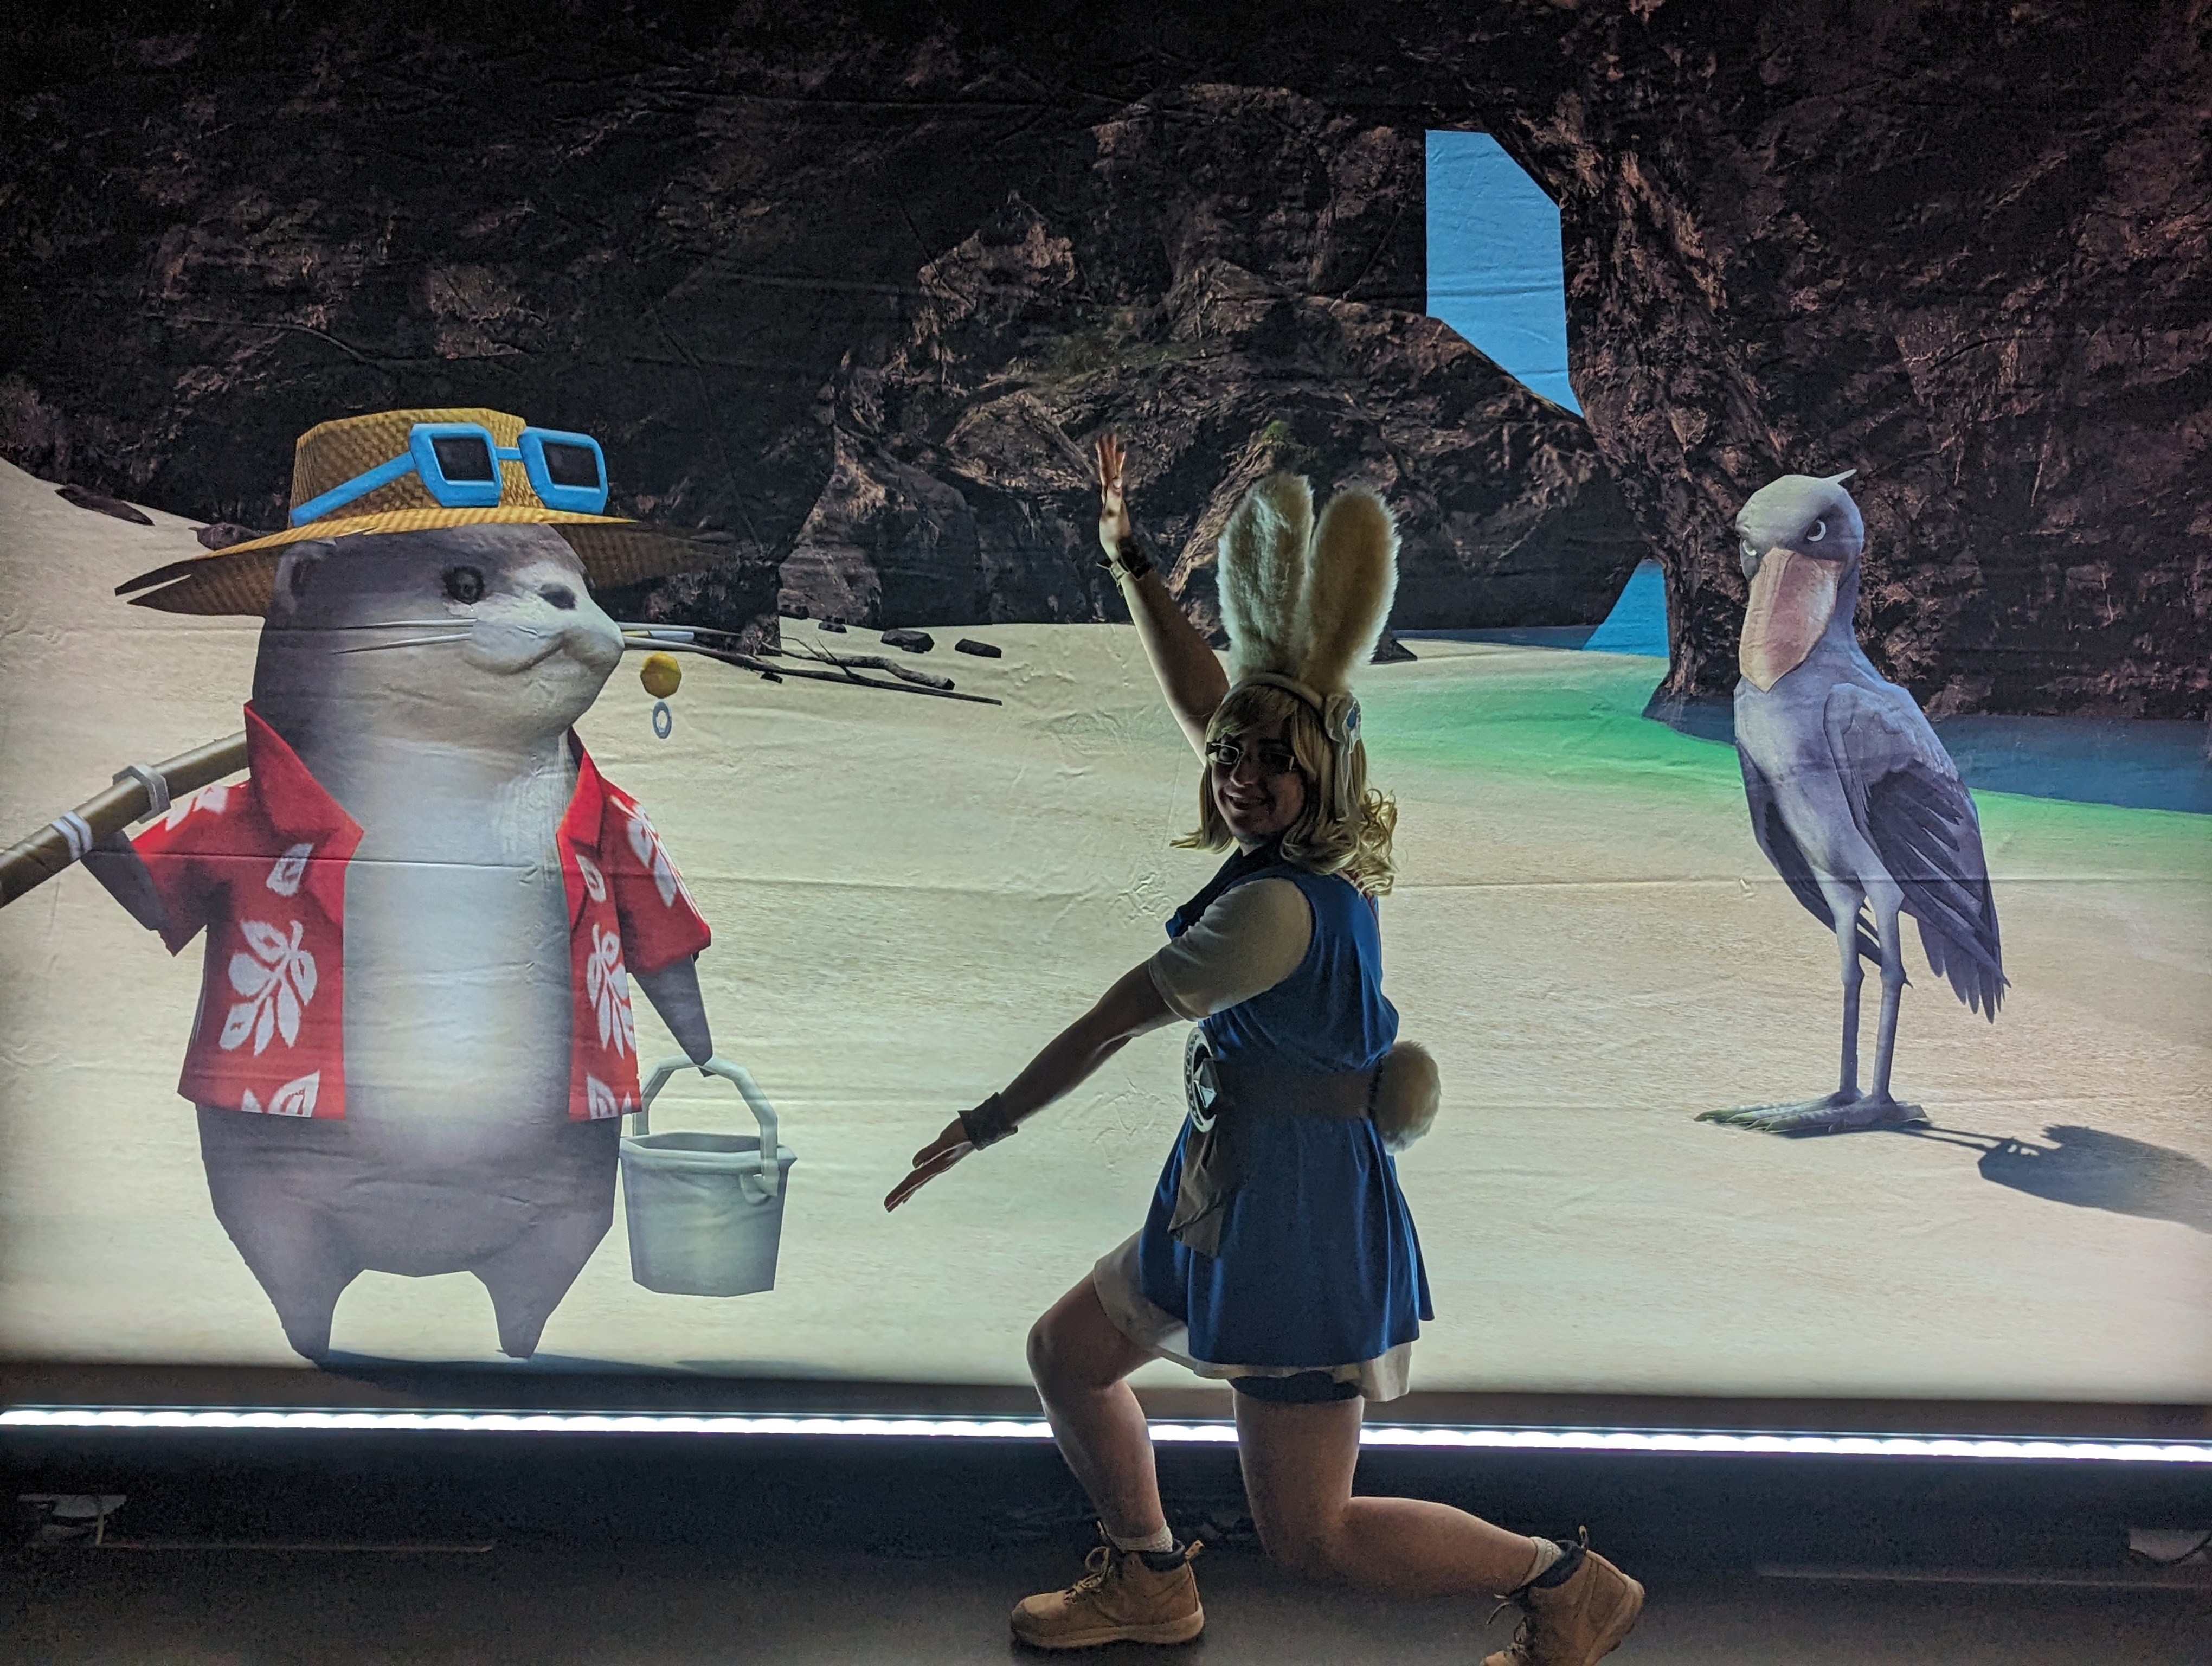
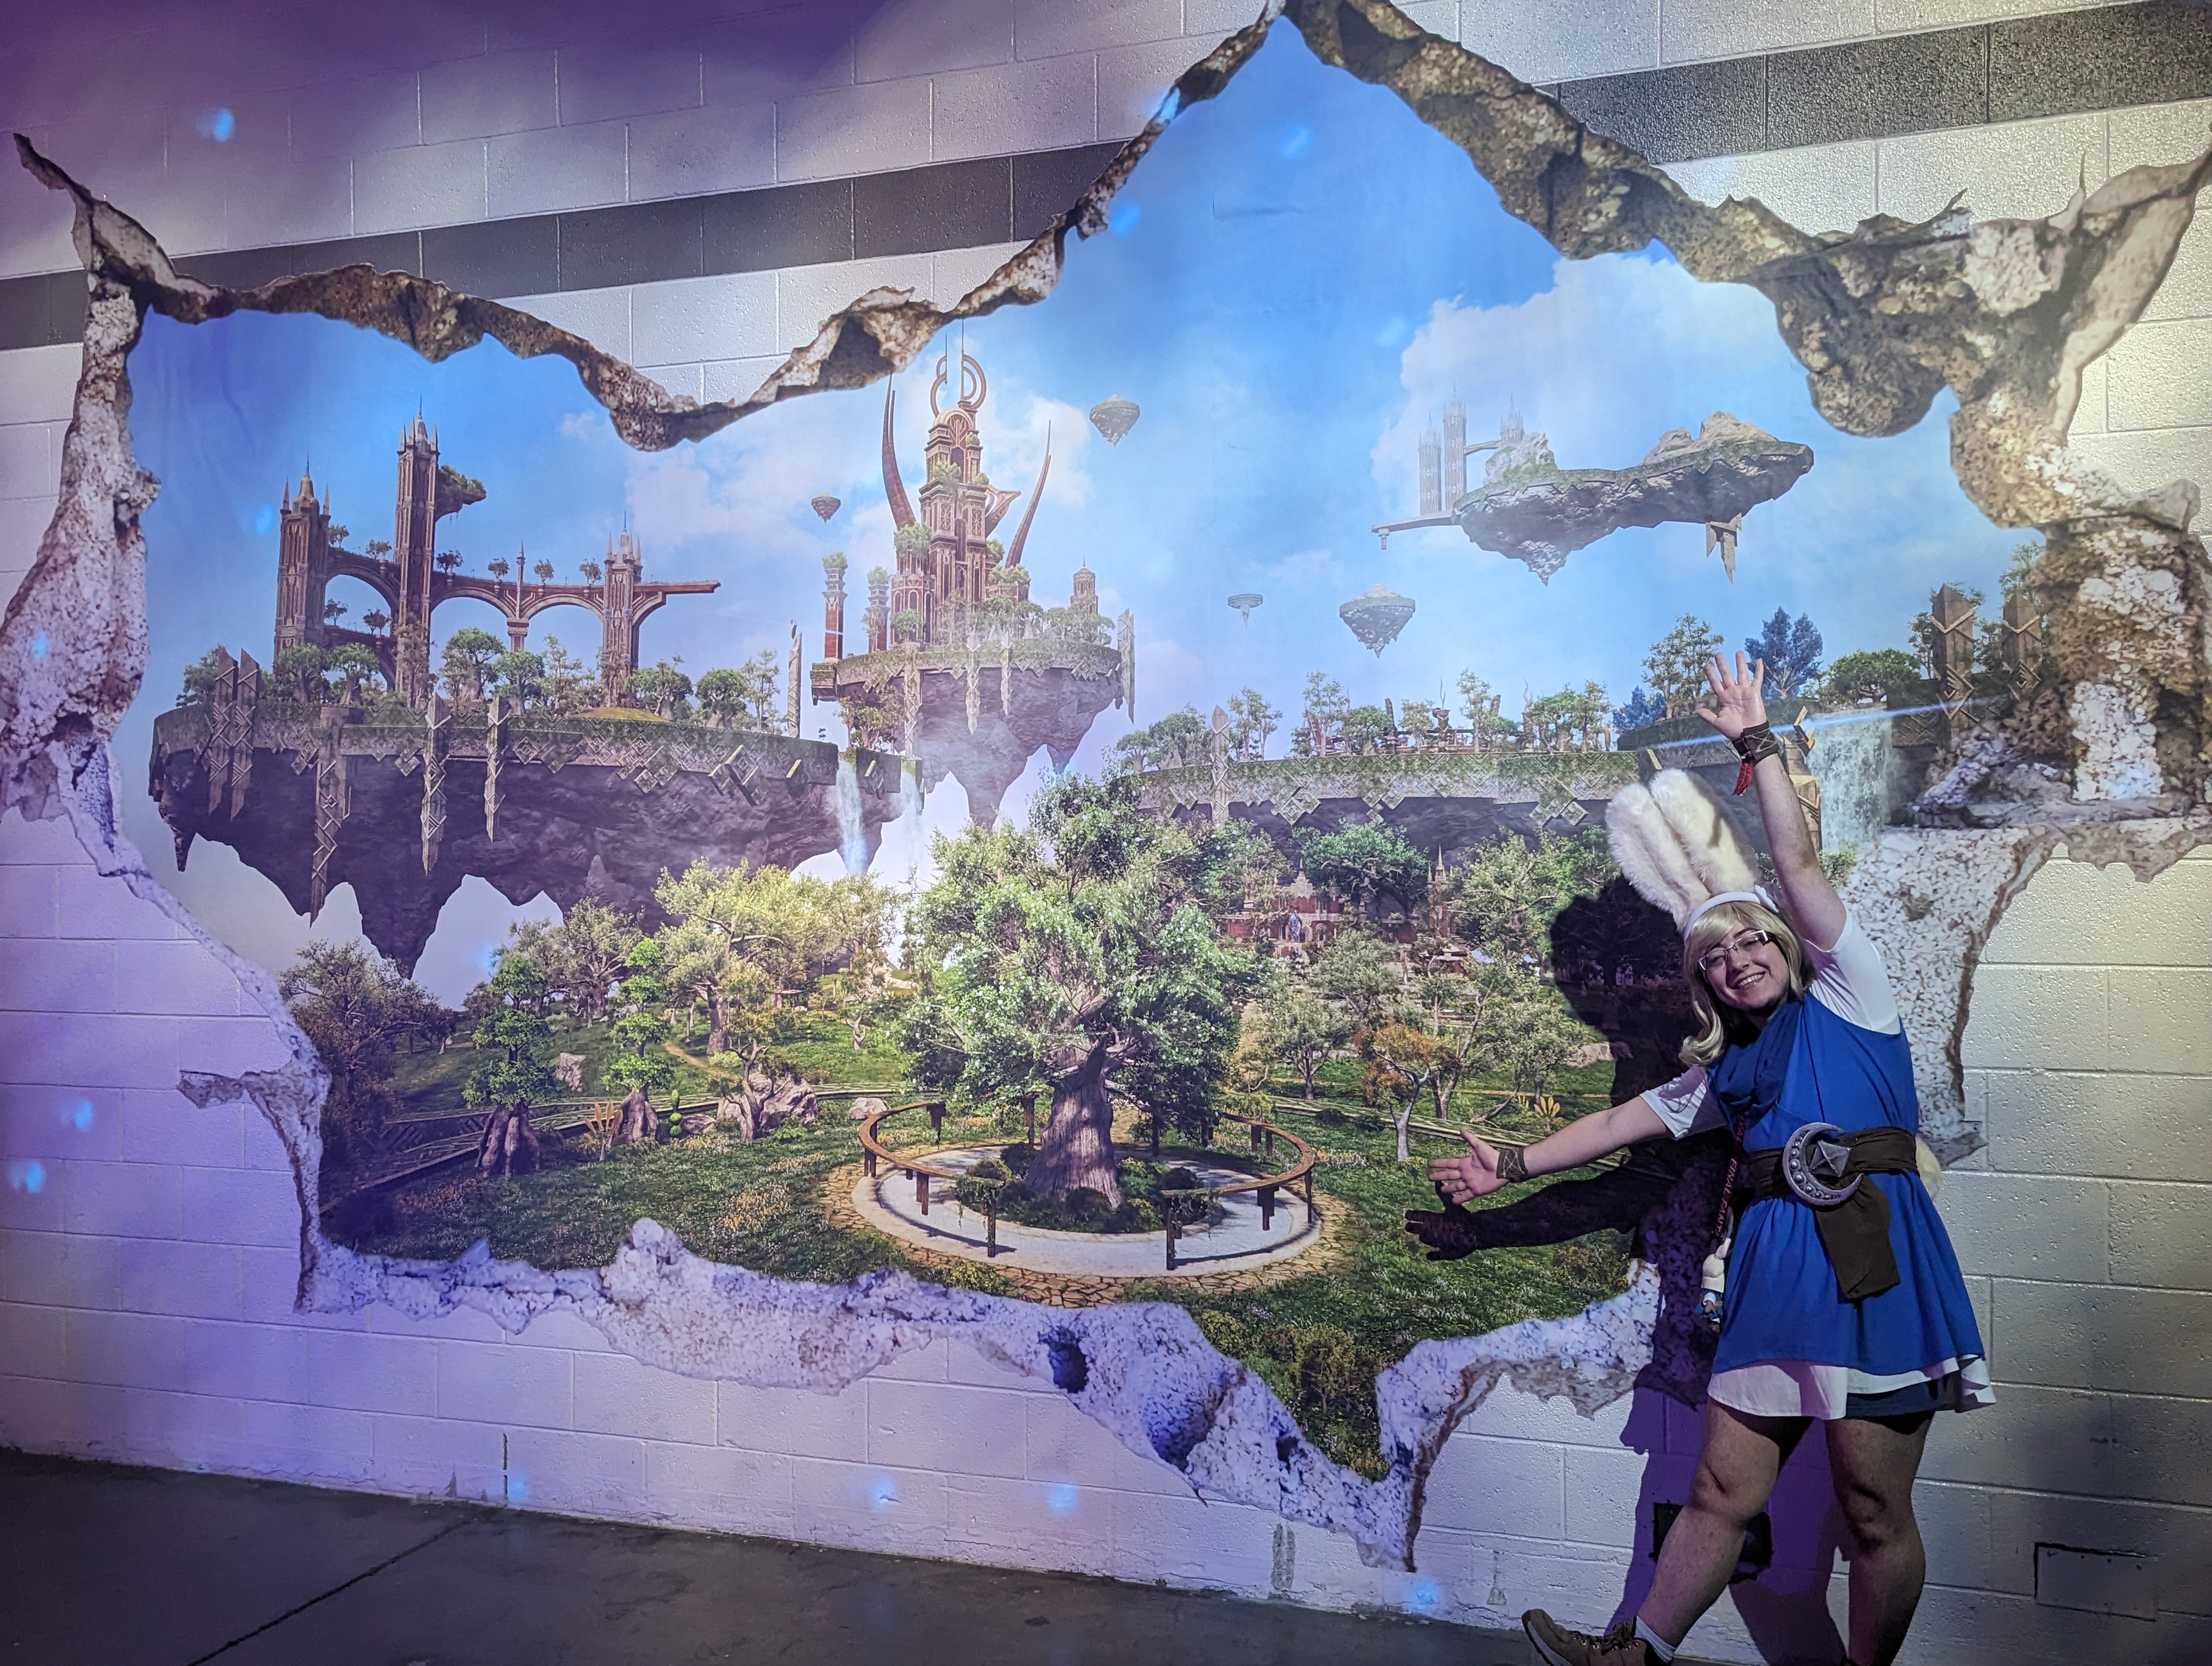
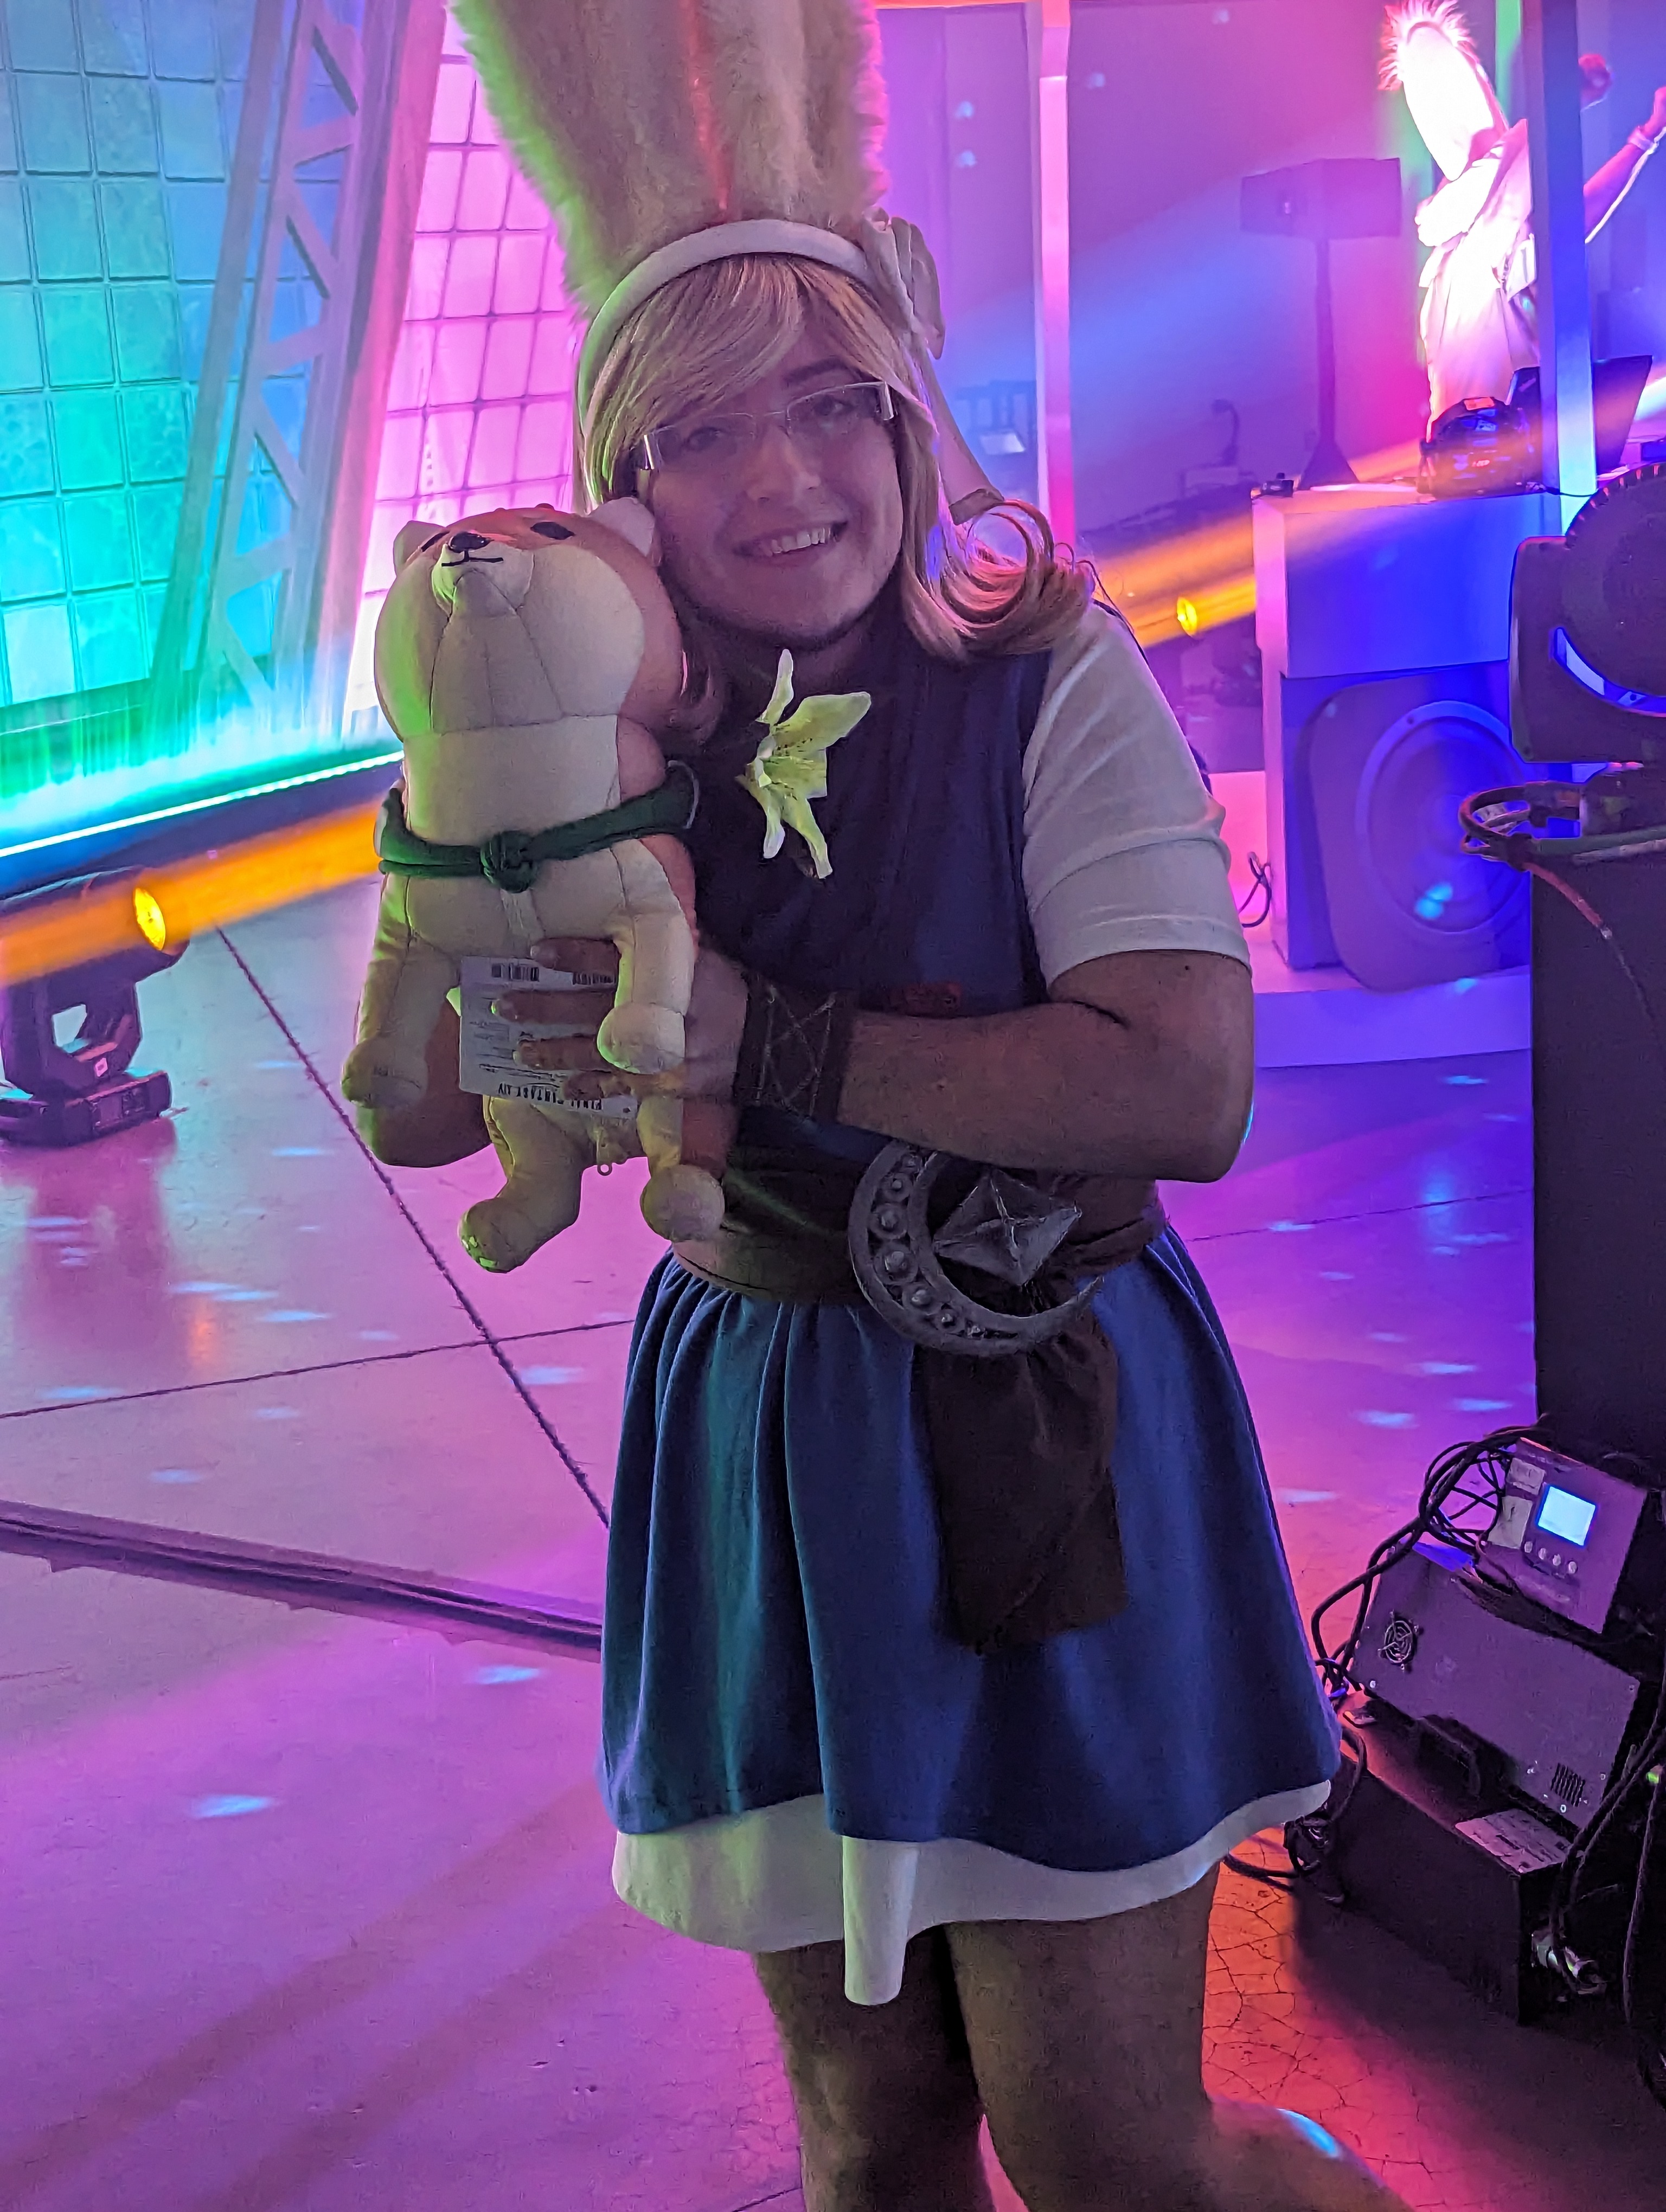
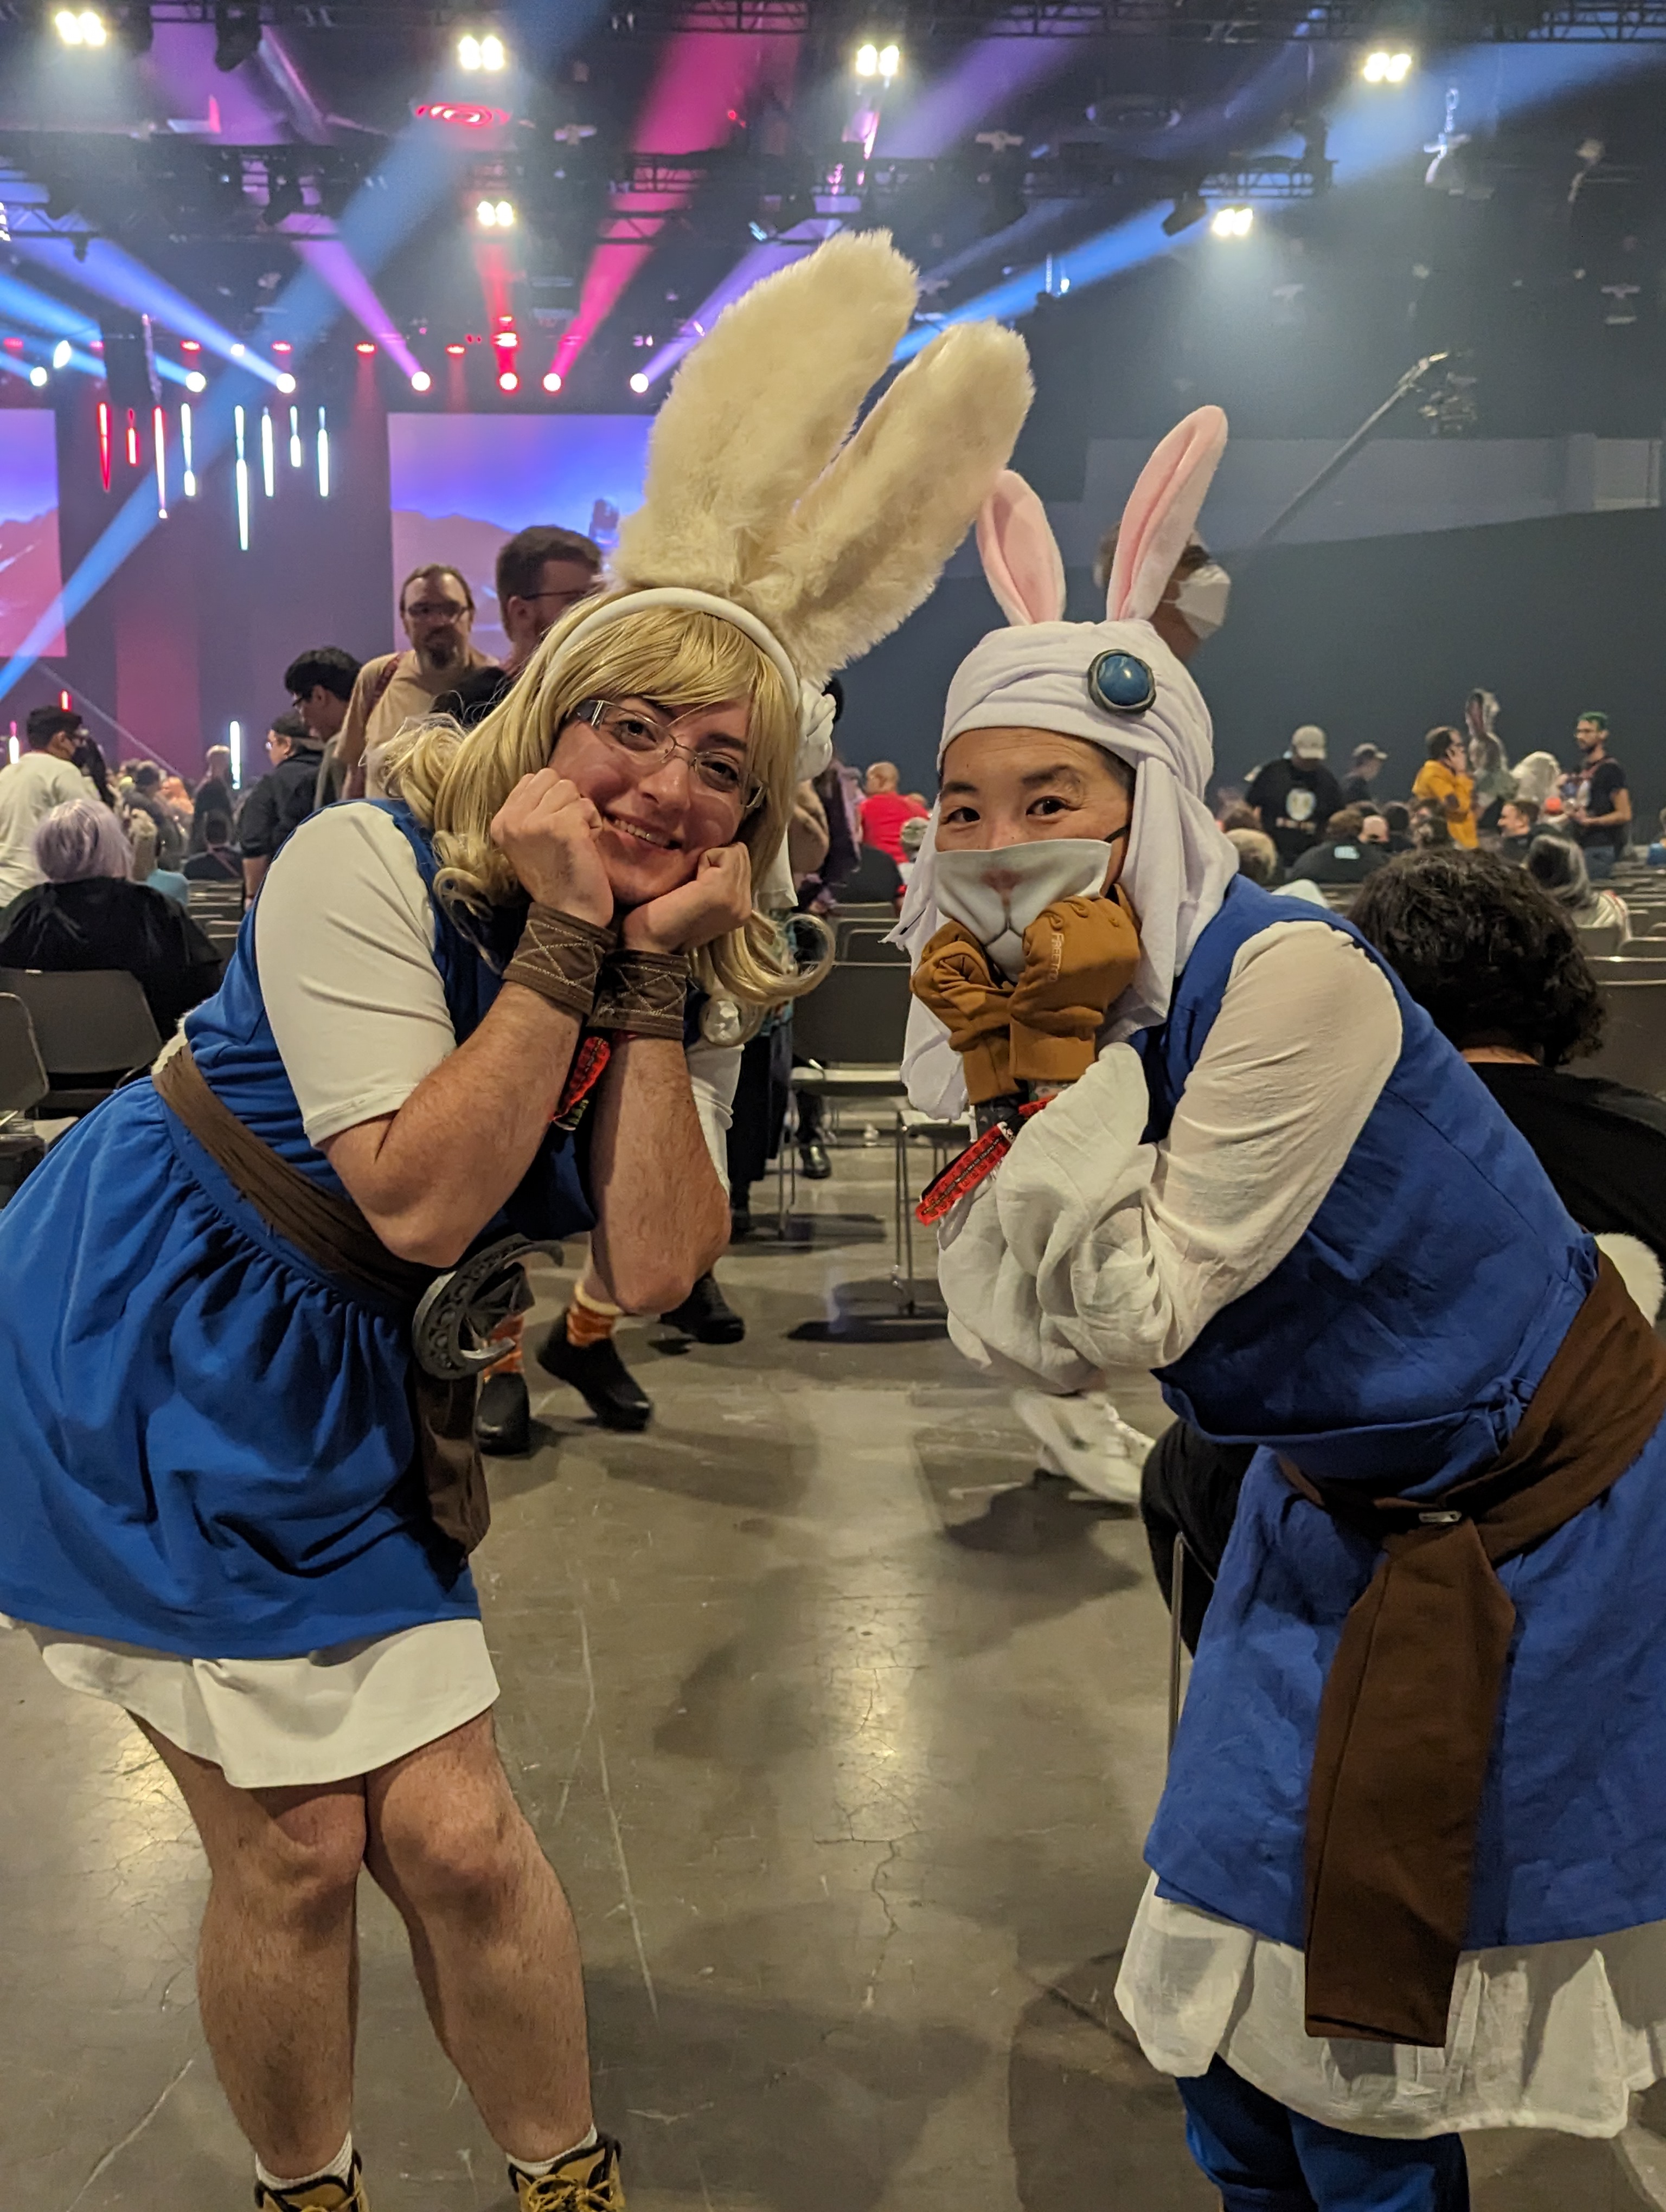
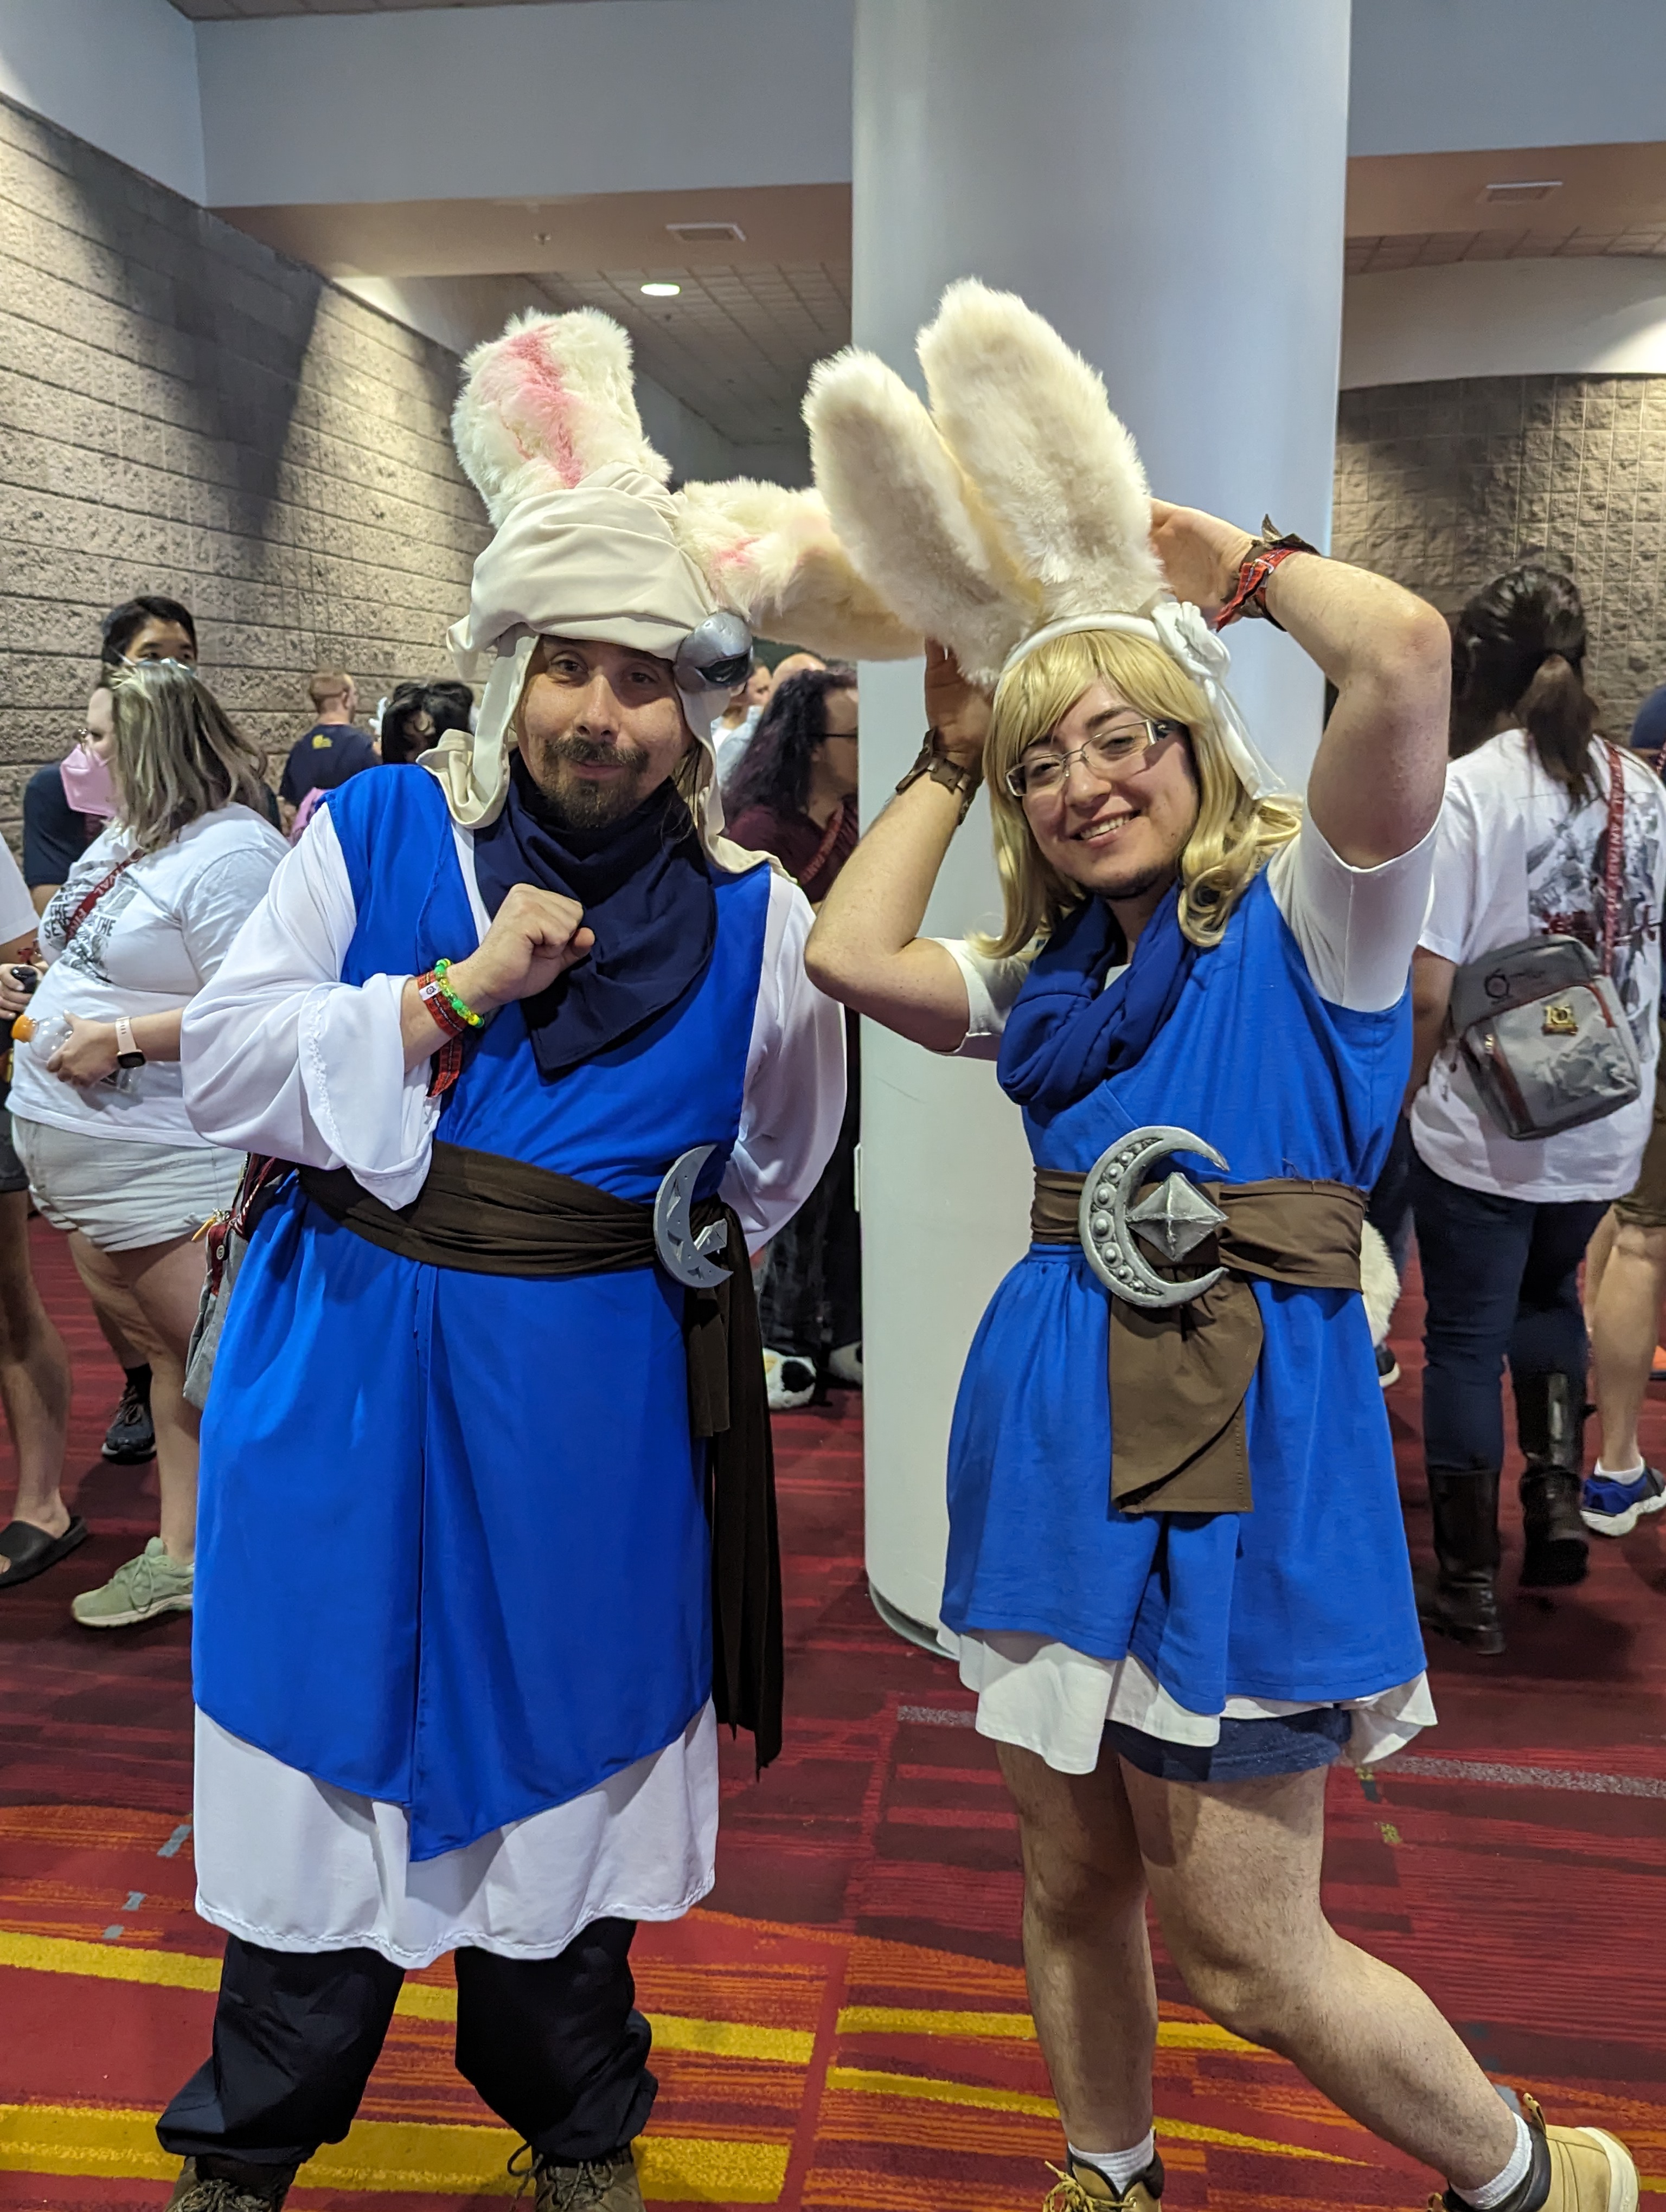
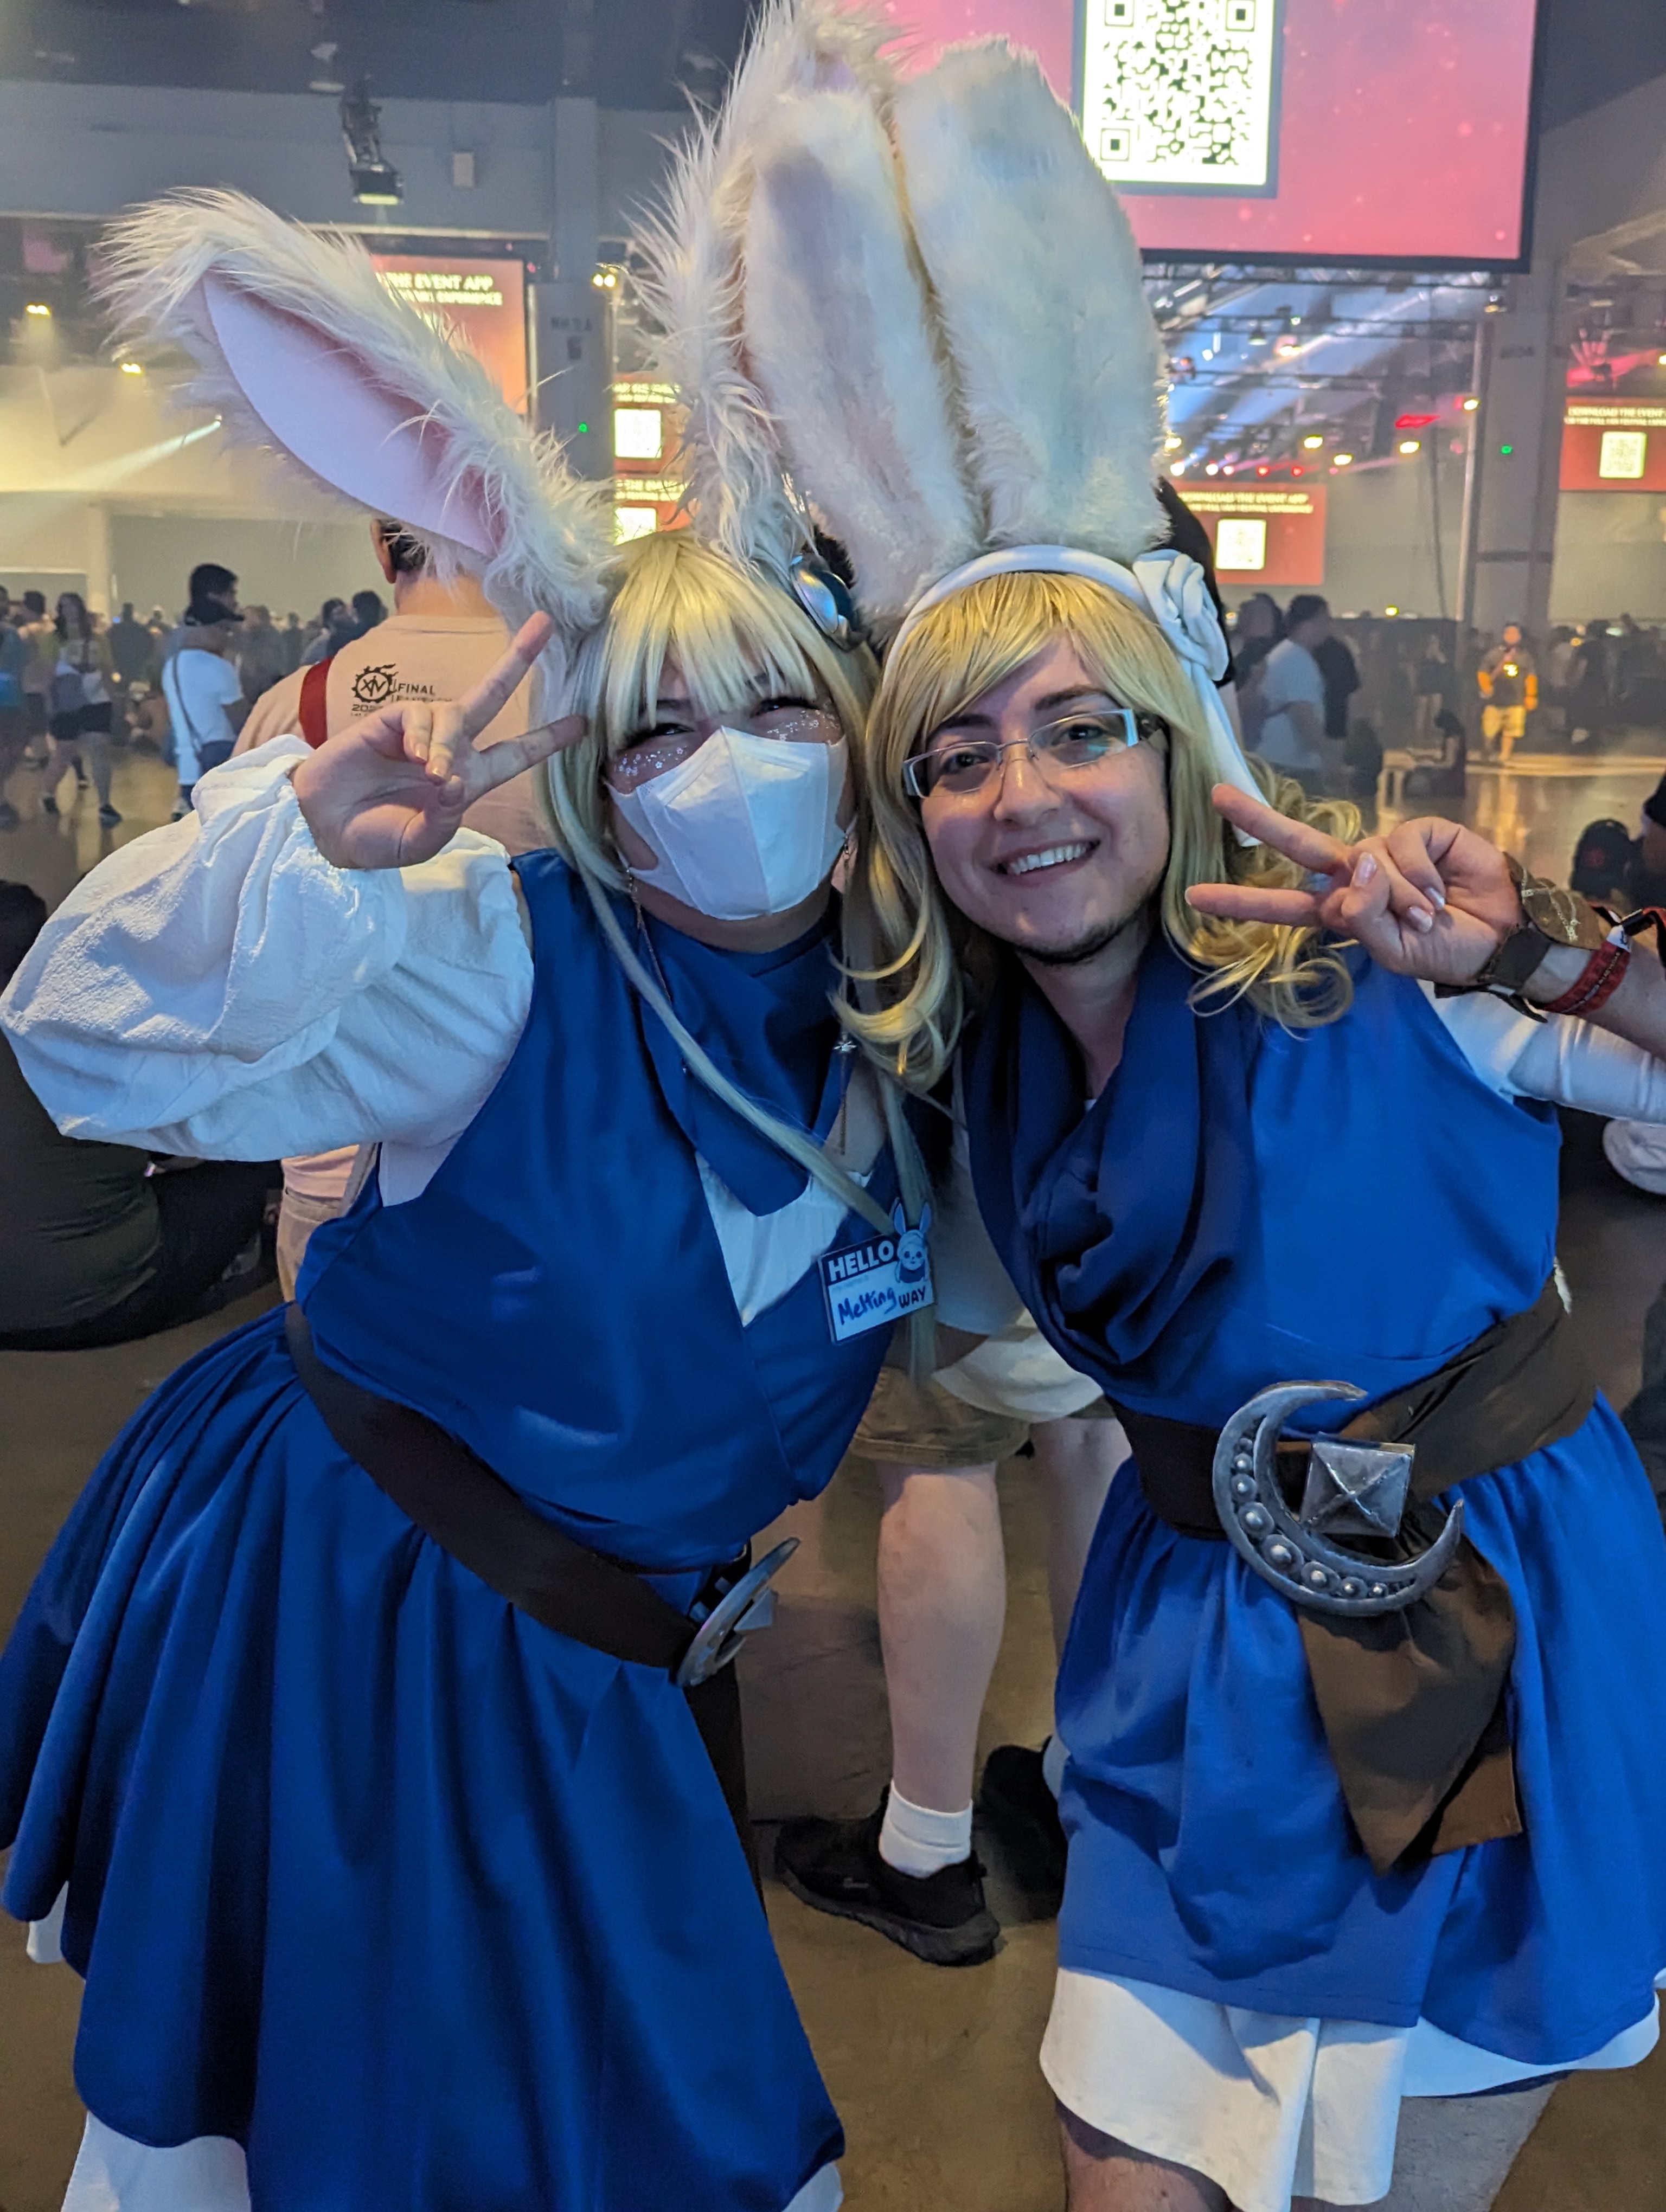
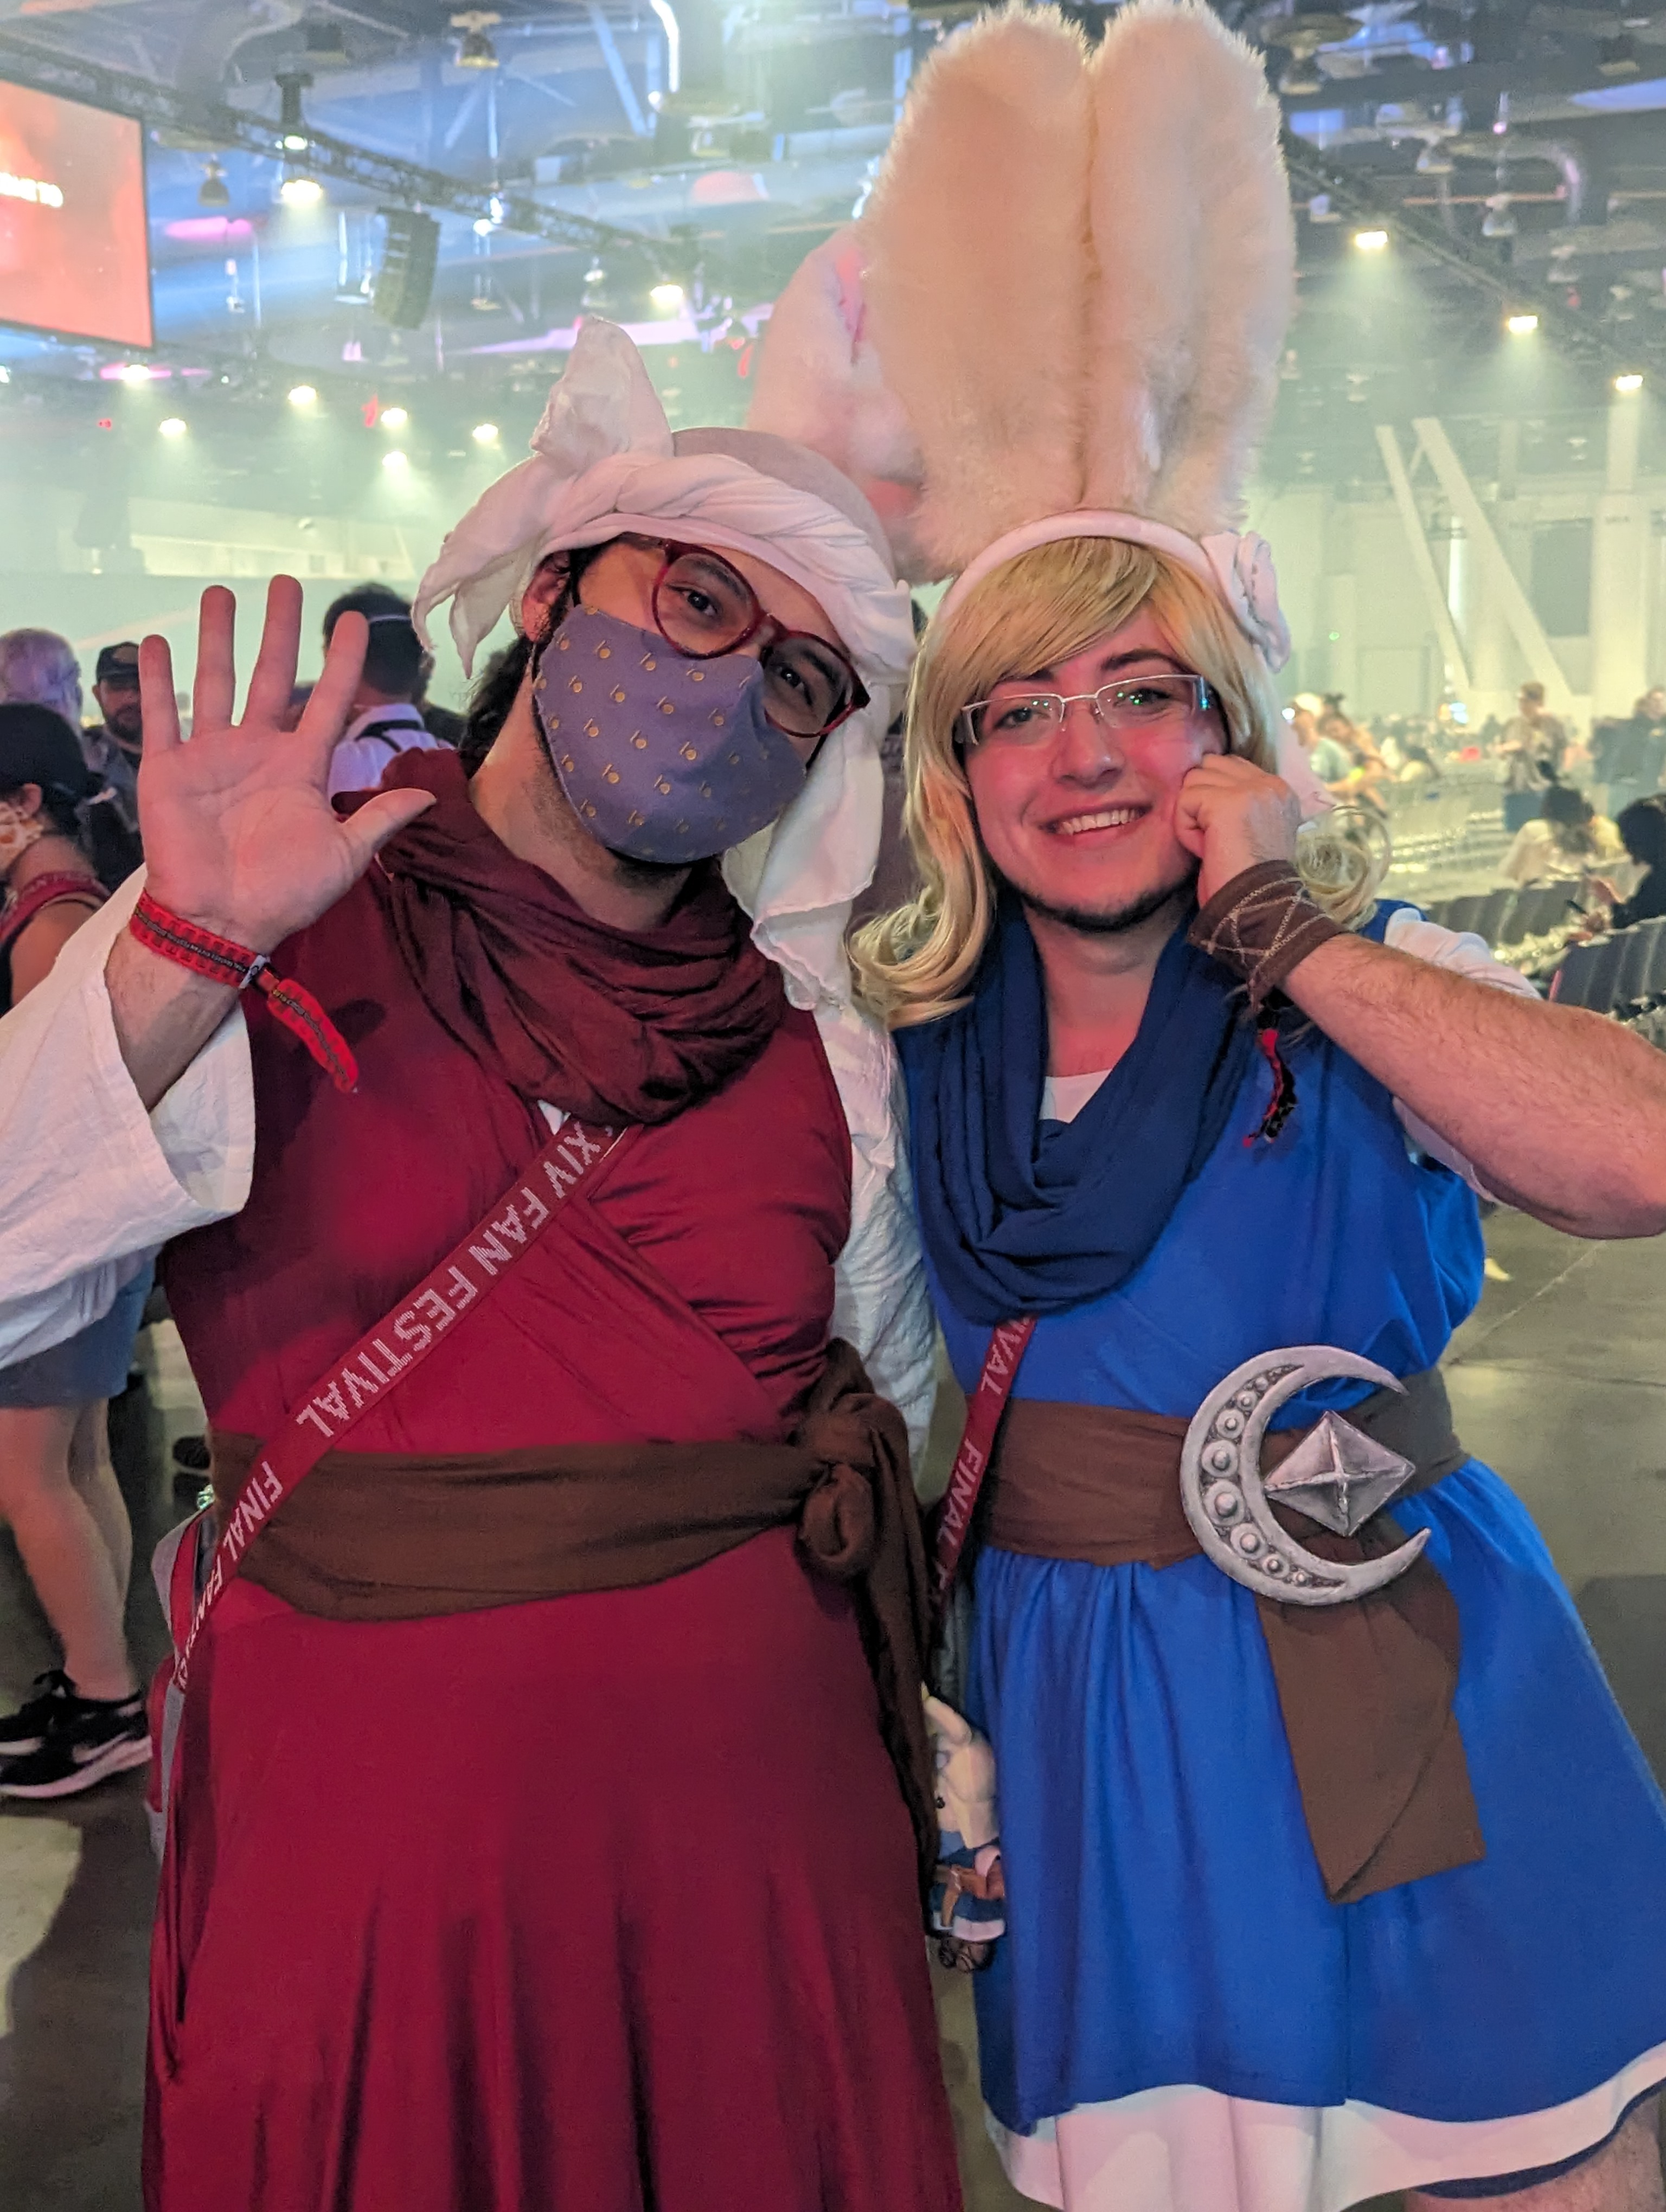
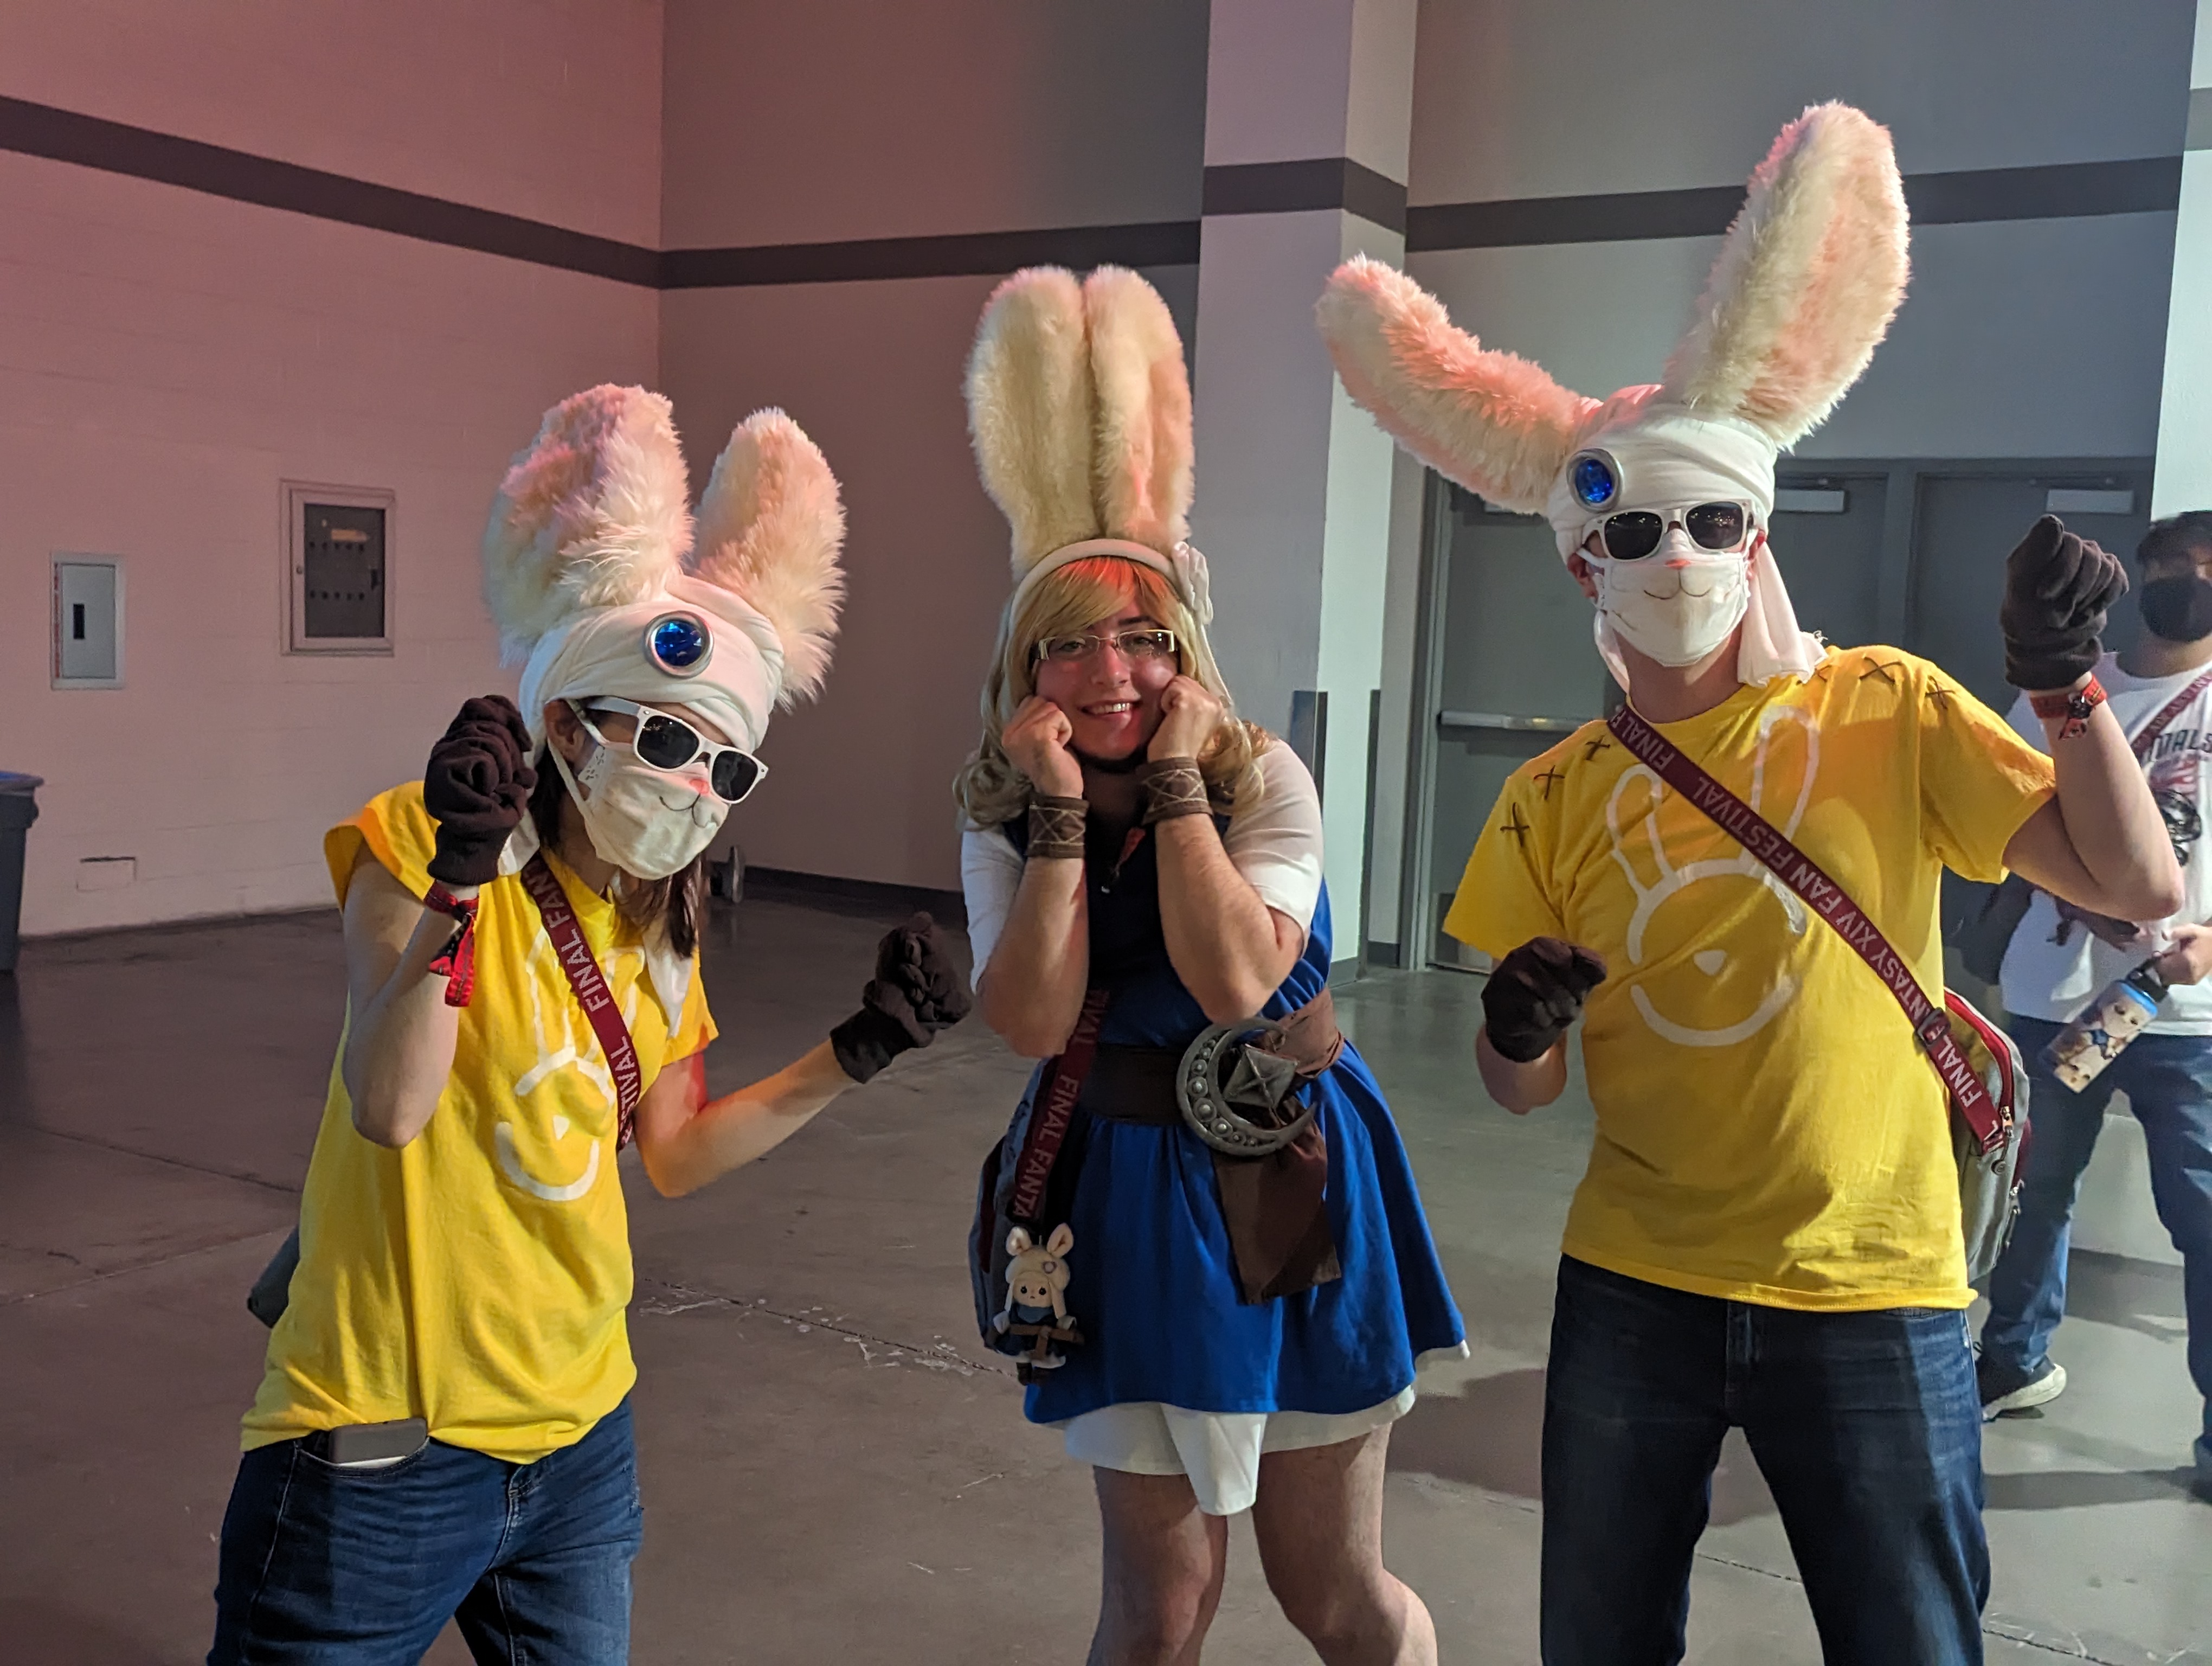
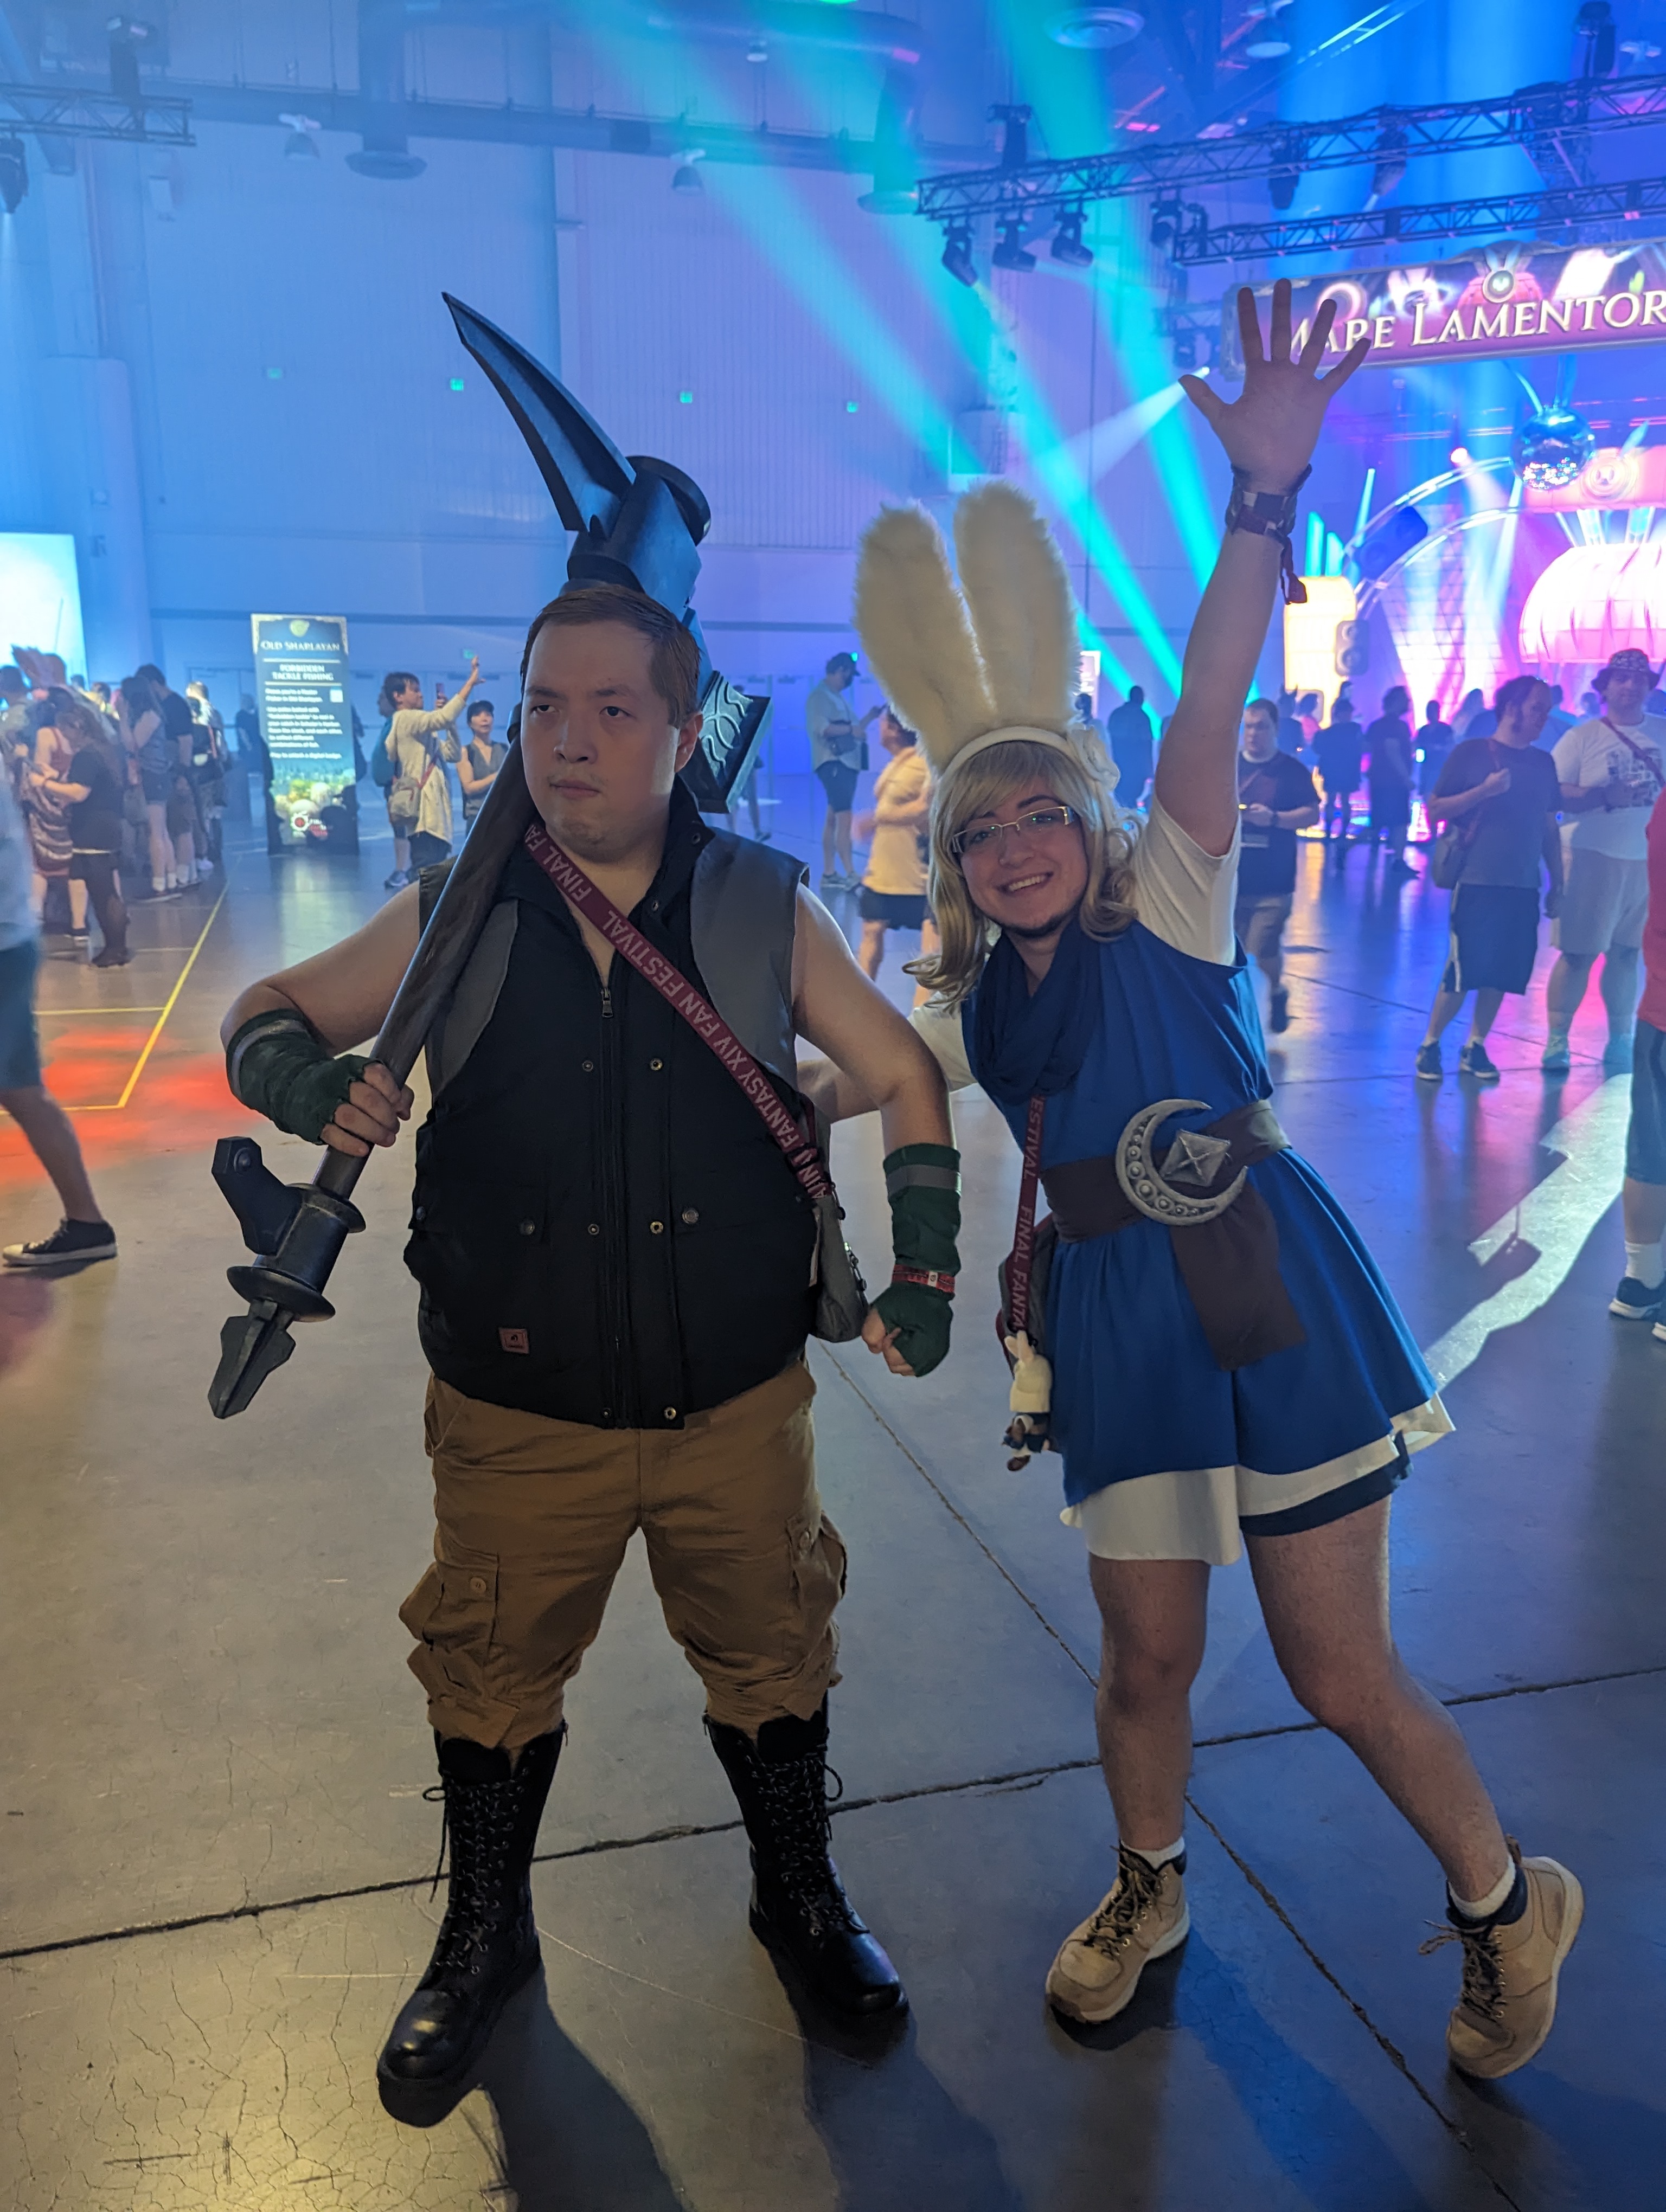
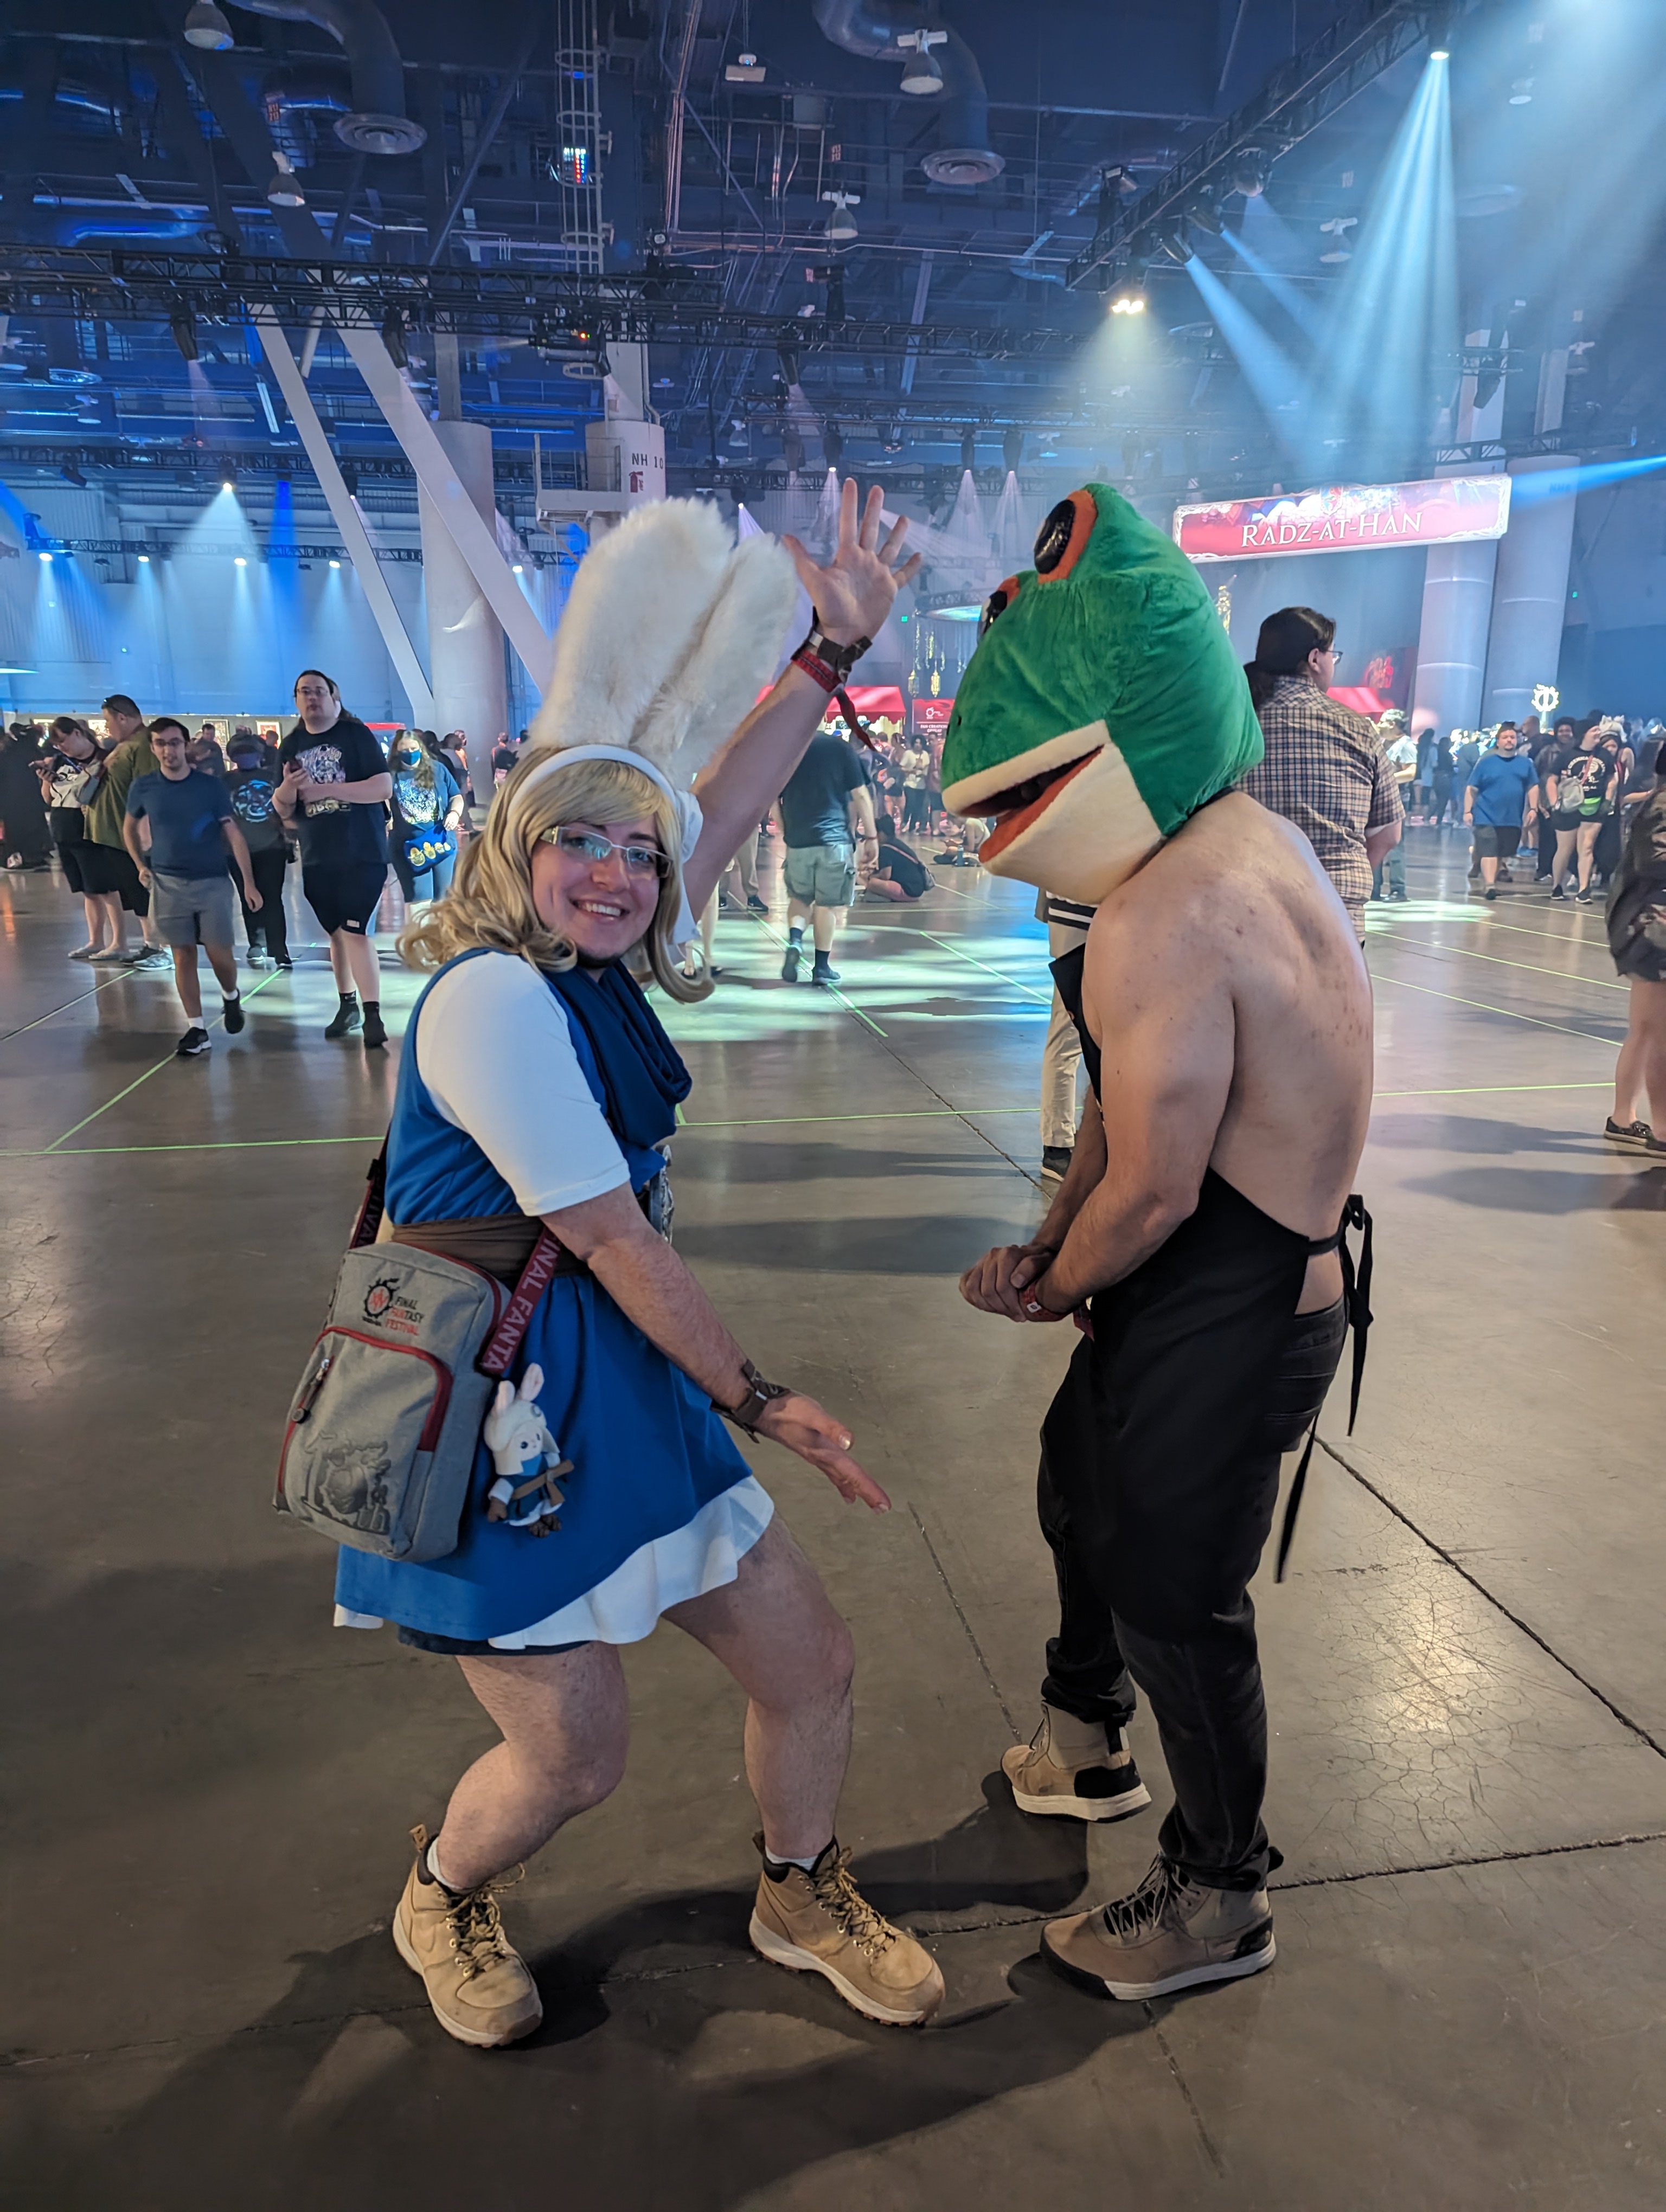
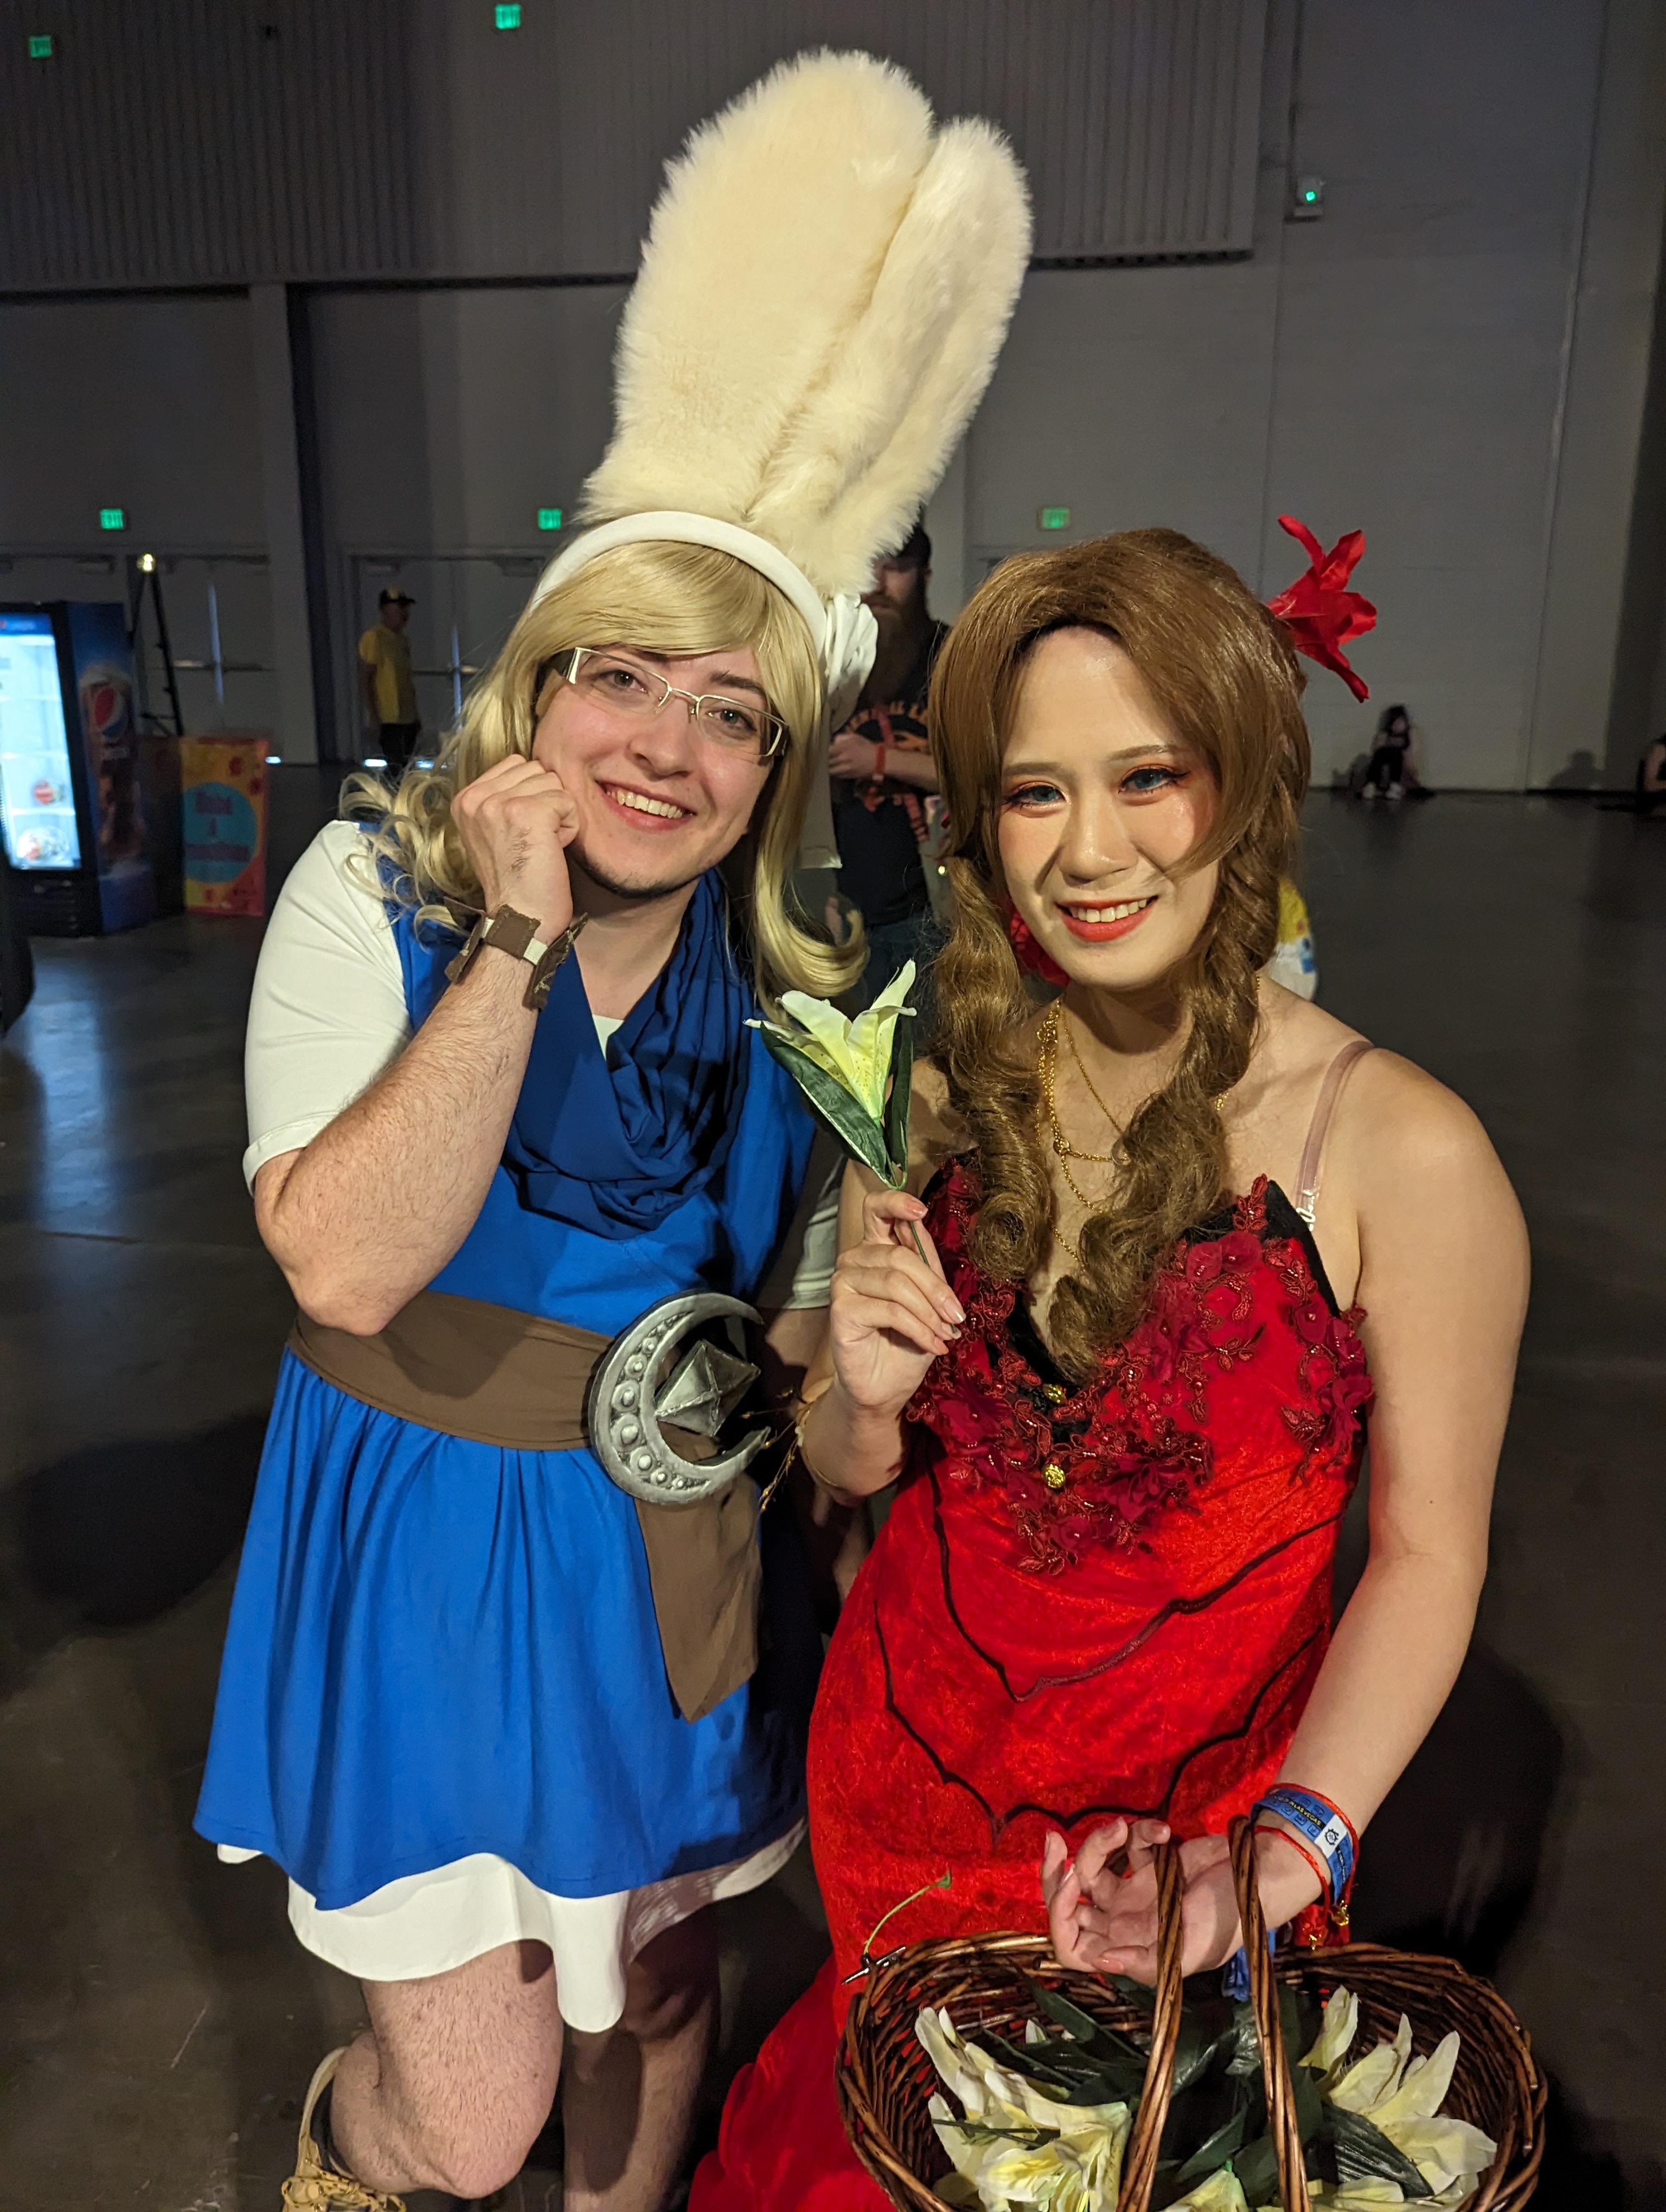
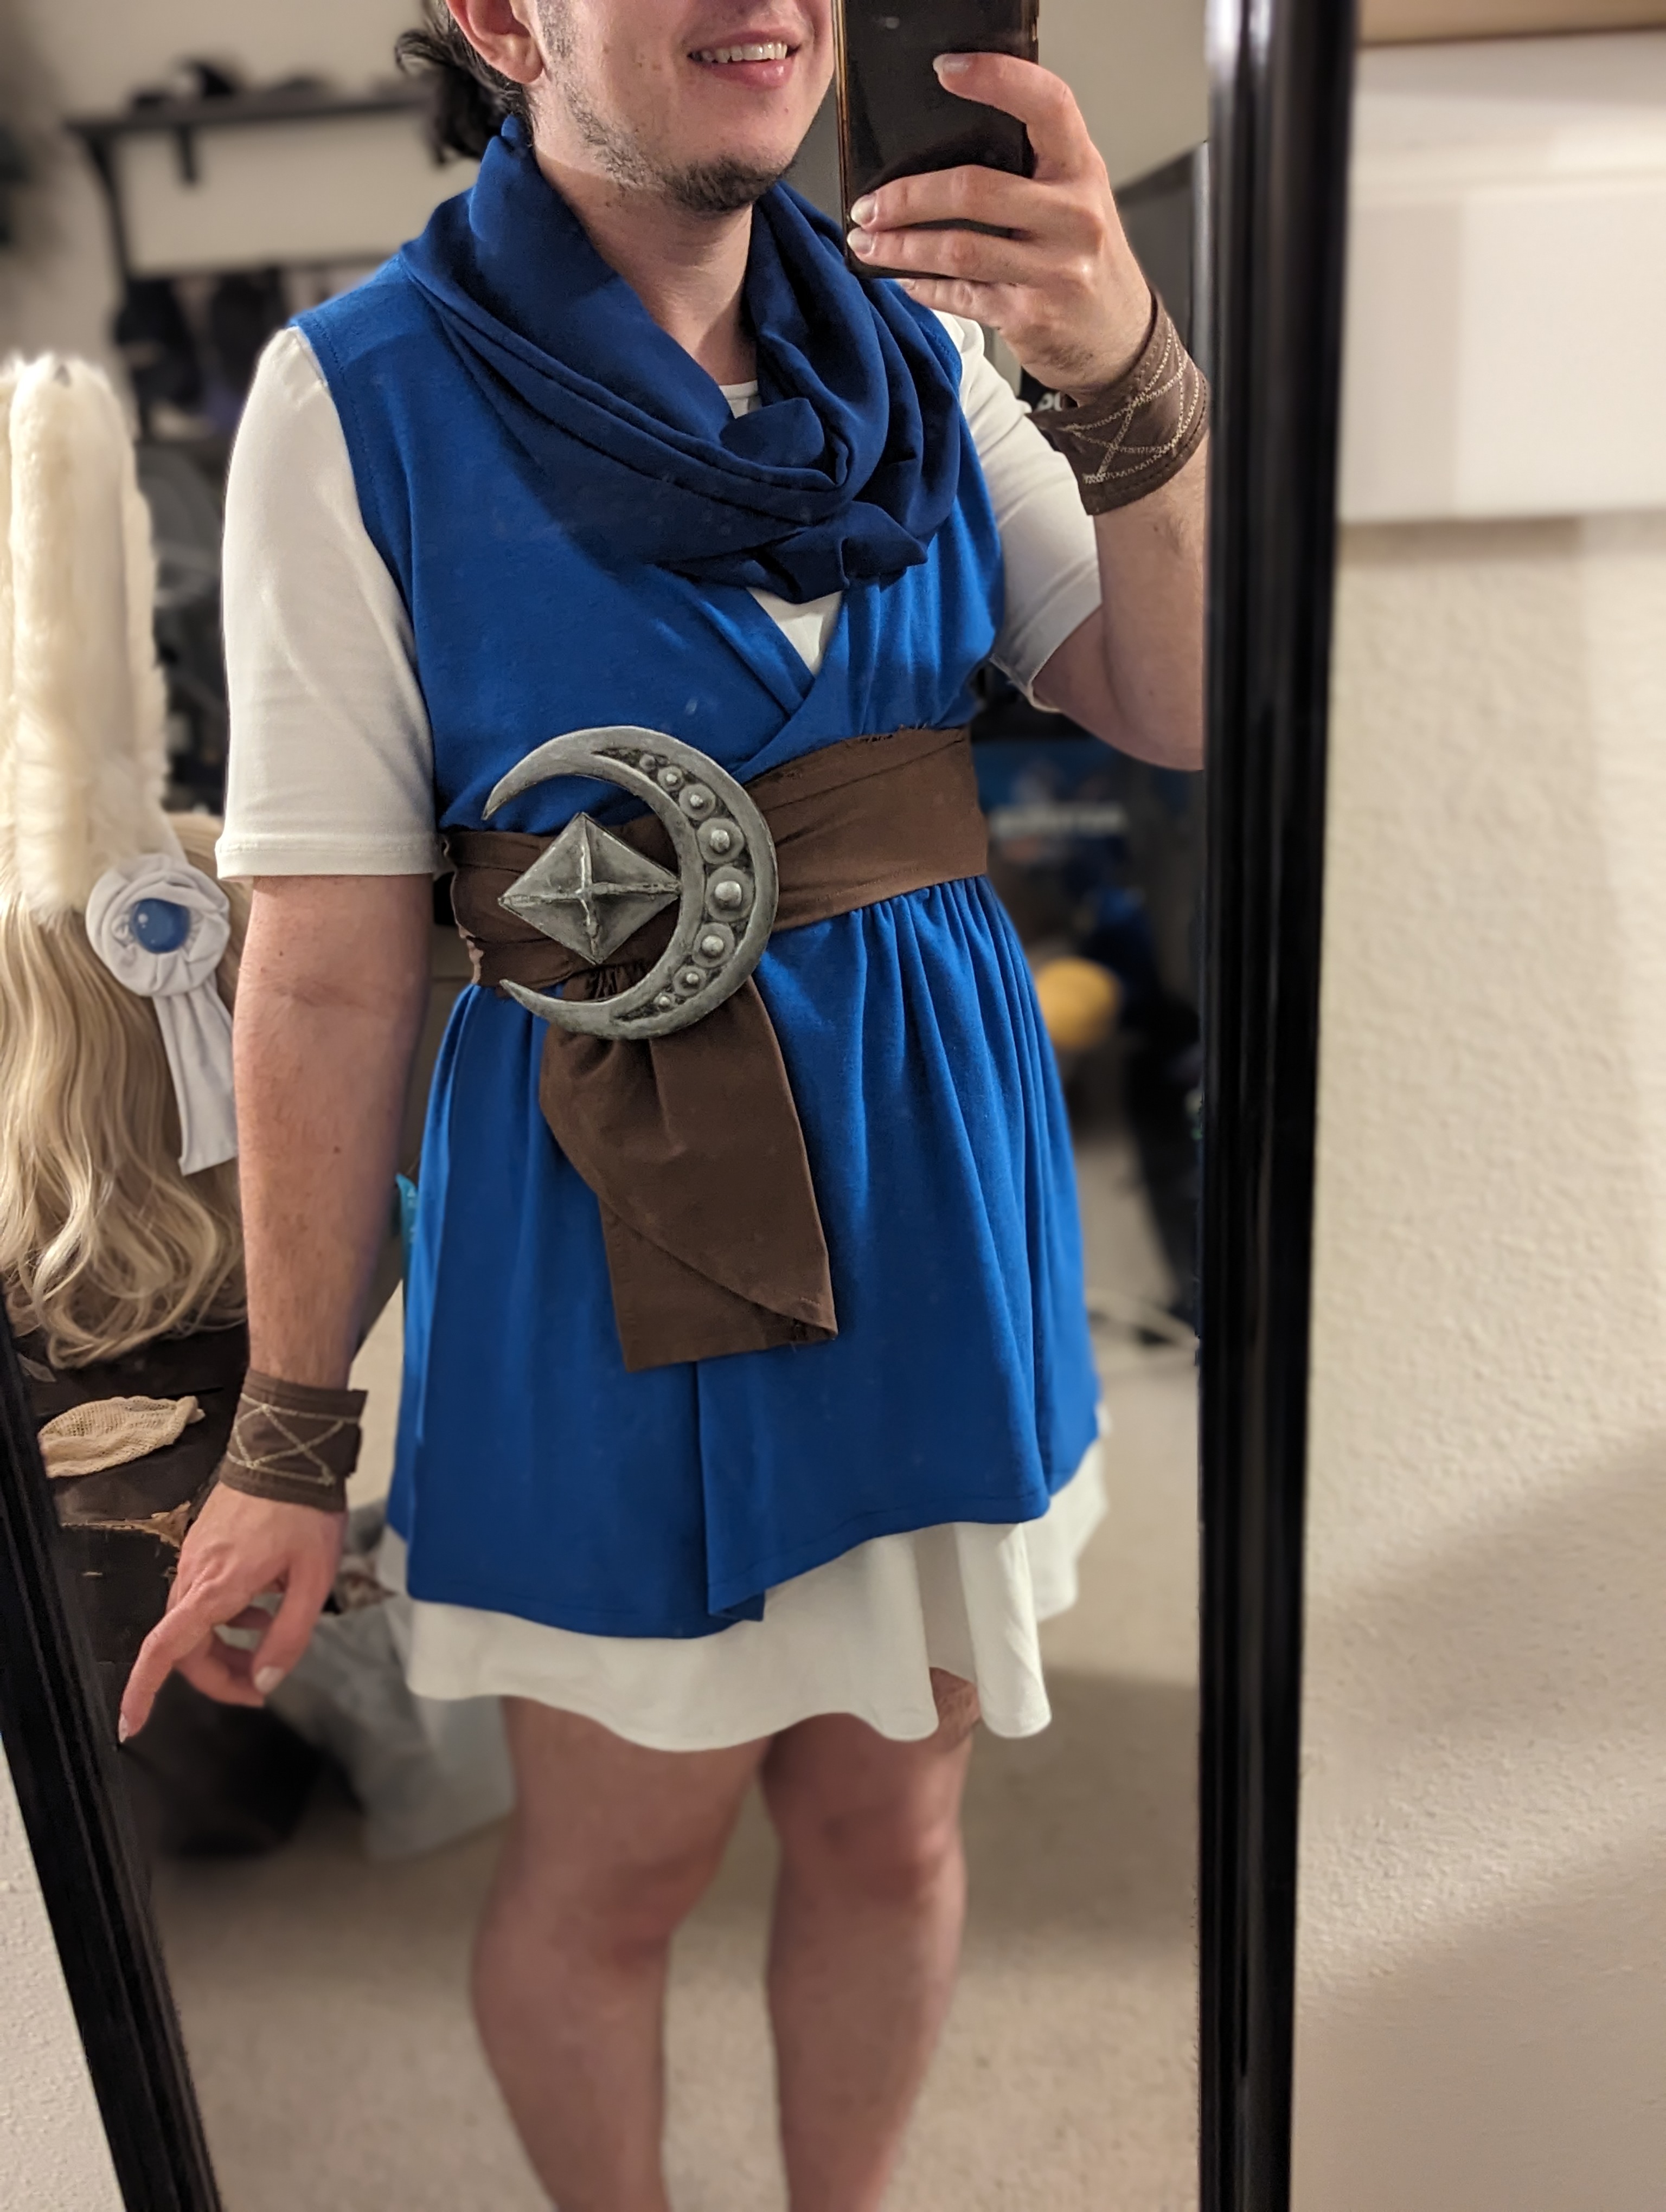
I'm proud of my first cosplay! There's things I learned, and things I'd do differently, but I put a lot of effort in and it paid off. I had a ton of fun wearing it at FanFest and getting pictures with every Loporrit I could find!
Con Photos
